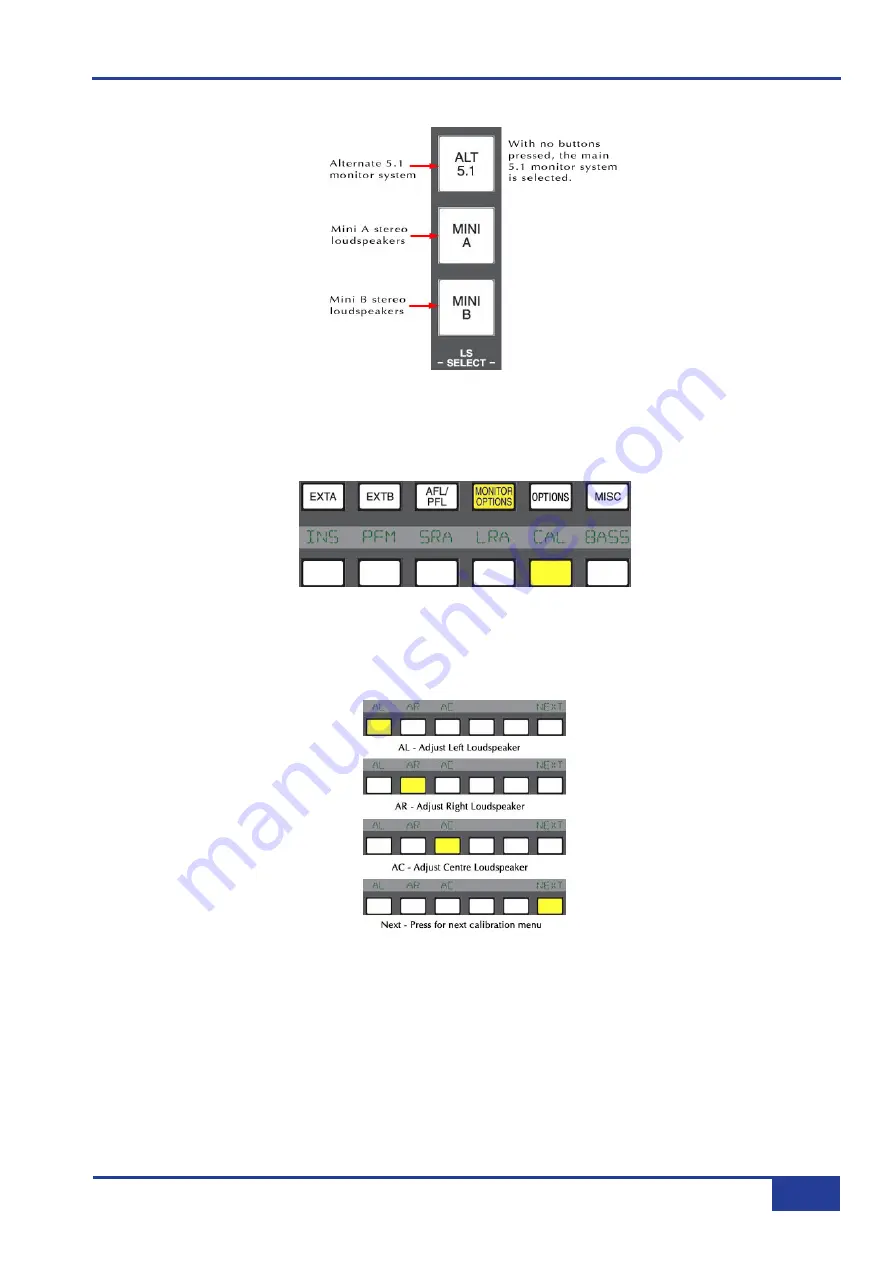
Now select the required monitor system – Main 5.1 (no selection), Alternate 5.1 (ALT 5.1), Mini A or Mini B.
Figure 5 – Monitor System
LCR Adjustment
To enter the calibration menus, press Monitor Options button in the Monitor Control Section, and then the Cal
button
Figure 6 - Monitor Options Menu
Pressing either AL, AR or AC will send pink noise to the Left or Right or Centre loudspeakers respectively. It is
recommended you wear ear protectors when carrying out calibration testing. See figure 7 for the first calibration
menu.
Figure 7 – First Calibration Menu
When AL, AR or AC are pressed, the main monitor pot will read 0.00. This value is -10dB, so you are able to
go up to 0dB (+10dB of gain), or down to -20dB -10dB of gain). Adjust the level for the required Sound
Pressure Level, 85dB C as recommended earlier, by turning the main monitor pot left or right from its initial
position, +10dB (fully clockwise), -10dB (fully anti-clockwise). Remember to point the SLM at the correct
loudspeaker when testing. When you press the next adjustment button, this will be set back at 0.00 (-10dB) for
that loudspeaker, and repeat the adjustments. When you press a different monitor system switch (i.e. ALT 5.1,
Mini A or Mini B) all monitors will be cut and the same process is repeated. None of your previous settings for
the other monitor systems will be lost.
AWS 900 Tutorials
3
AWS 900 Calibration Tutorial


