background image

15

4-7

Close

Click to close the video list;

Play

It  shows  stop  playing.  Single  click  will

continue to play.

Next

Play next video.

File list

Single  click  and  shift  to  video  file  list,  and

then choose your favorite video.

Volume

Single  click  volume.  It  shows  volume  is

decreased  when  it  shift  toward  left.  While

volume is increase when it is shifted toward

right.

Playing

progress

Adjust 

the 

progress 

by 

slide 

the

progress-displaying 

bar; 

go 

left 

for

backwards, go right for forwards;

Brightness

adjust

Adjust  brightness  with  stylus  while  moving

toward left and right. Turn right means turn

brighter.

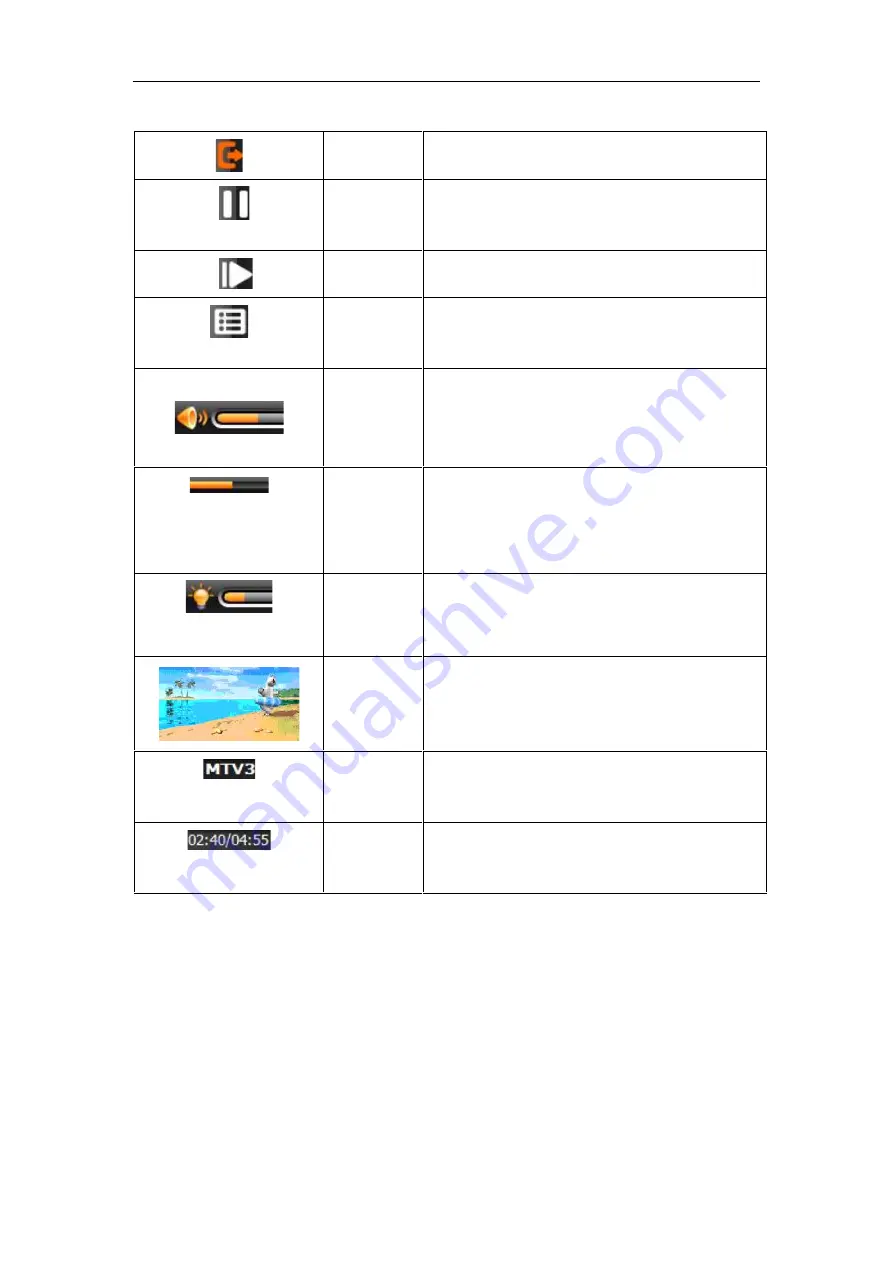
Play

interface

Full  screen  play.  Double  click  to  return

normal play status.

Video

name

Show current Video name

Time

Show the time consumed / The total time of

the video

4.4 Audio player operation interface

This chapter introduces how to use the mudic player to play your favorite music.

Содержание Truck Nav

Страница 1: ...Hardware User Guide ...

Страница 2: ...s used with incompatible accessories we assume no responsibility for any loss and damage caused hereby When using the navigation system you should always be aware of the real road conditions around you as road construction changes may result in the electronic navigation data differing from the actual road layout Please be sure to comply with the real road conditions and follow the traffic rules Op...

Страница 3: ...oduct working longer and more steadily Built in USB to communicate with a computer through USB cable Excellent signal reception with accurate position fixing Compatible with Bluetooth mobile phones the navigator can also be used for making and answering call with hands free Play MP3 and MP4 audio files 1 2 Package The packing box contains the following accessories 1 GPS navigator 2 12 24V Car Powe...

Страница 4: ...e Li battery 2 2 Specification CPU 800MHz ARM Cortex A7 flash memory 128 MB LCD display 5 or 7 TFT LCD display Resolution 800RGB H x480 V Touch screen High accuracy endurable touch screen USB USB Client 2 0 MINI USB port SD Micro SD MMC slot the maximum capacity of SD Card supported is 16GB Audio A Built in high fidelity speaker B High fidelity stereo earphone socket GPS Cold start 35s Hot start 1...

Страница 5: ...and WMA Photo viewer JPG GIF BMP PNG System setting FM Transmitter Screen adjustment Default set Volume Power Backlight Time and Date Language Sys Info Temperature Operating Temperature 0C to 60C Storage Temperature 20C to 60C Working humidity range 45 to 80 RH Storage humidity range 30 to 90 RH Atmospheric pressure 86KPa to 106KPa ...

Страница 6: ...k The built in Lithium battery is not user replaceable Under normal conditions if the back light is not so bright the actual running time will be different depending on how it is used Some functions audio playing video playing bright back light will consume more power which will reduce the running time Note The built in battery is a Lithium battery In order to avoid fire and burning please do not ...

Страница 7: ... to external power source Please press the button on the top of the unit to boot Note If bringing the unit from a cold environment into a warm one please wait for it to warm up naturally before turning on as large humidity changes can cause condensation which may cause short circuits 3 2 2 Power off Press the button on the top of the unit to turn off the unit will enter the power saving mode and m...

Страница 8: ... the screen with the stylus point 3 Drawing Click one point and hold to move on the screen Note Any broken stylus ball pen or sharp object will damage the LCD if you use it to operate the device 3 6 Micro SD card The Micro SD card contains the navigation software map data and your own media files Please insert the card correctly when use it Note Do not take out the Micro SD card when the system is...

Страница 9: ...f GPS device and the normal end with the Host port on computer 3 Please pull out the MINI USB cable after you finished your operation the GPS navigator will return to the pre operation interface Remark Other functions of the Truck Nav cannot be used while it is connected with a computer Note In the process of communication the following operations will break off the connection with computer any un...

Страница 10: ...9 Chapter Four Primary functions 4 1 The main interface and the functions 4 1 1 Main menu 4 1 Click the top left corner of the interface to shows the desktop and the date see Figure4 2 ...

Страница 11: ...10 4 2 Double click the date icon to enter the date setting interface see Figure 4 3 4 3 Click the top left corner of the interface change the desktop background see Figure 4 4 ...

Страница 12: ...lick the button to view the desktop and calendar 4 1 2 Function introduction Navigation Start the navigation software Bluetooth This device can answer and make phone after connecting with a mobile phone via Bluetooth Video player Supports ASF AVI WMV 3GP MP4 and FLV format Photo viewer Supports JPG BMP and PNG format Supports photo rotate enlarge shrink pictures automatic play etc ...

Страница 13: ...ion is updated frequently on occasion the navigation data may not be consistent with the current road layout due to recent changes or construction development Please comply with the actual highway conditions and traffic rules 2 Navigation The navigator offers the route for reference and assistance the driver may be more familiar with the route than the navigation software 3 Receiving signal Many f...

Страница 14: ...tures 1 Support ASF AVI WMV 3GP MP4 and FLV 2 Support full screen playing progress choosing and file selection Before using the Video player please copy your video file ASF AVI WMV 3GP MP4 and FLV to any folder 4 3 2 Operation Single click the Video button to enter the video file list as the picture 4 5 4 5 ...

Страница 15: ... 4 6 Close Single click to close current file Last Show last page next Show next page Video folder name Video folder name Video name Show video name Choose the video to enter the playing interface as 4 7 ...

Страница 16: ...shifted toward right Playing progress Adjust the progress by slide the progress displaying bar go left for backwards go right for forwards Brightness adjust Adjust brightness with stylus while moving toward left and right Turn right means turn brighter Play interface Full screen play Double click to return normal play status Video name Show current Video name Time Show the time consumed The total ...

Страница 17: ...audio player supports MP3 and WAV format you could set the playing sequence as you wish Before using the audio player please copy the files to any folder 4 4 2 Operation method 1 Single click the button to enter Music file list as 4 8 4 8 ...

Страница 18: ...17 4 9 Function instruction Close Close current file Last Show last page next Show next page Song name Show song name Choose the song to enter the playing interface as 4 10 4 10 ...

Страница 19: ...er Setting the playing mode Support sequencial playing loop playing repeat playing and random playing Open the play list Single click to display the play list and choose your favorite as picture 4 22 shows Playing progress Adjust the progress by slide the progress displaying bar go left for backwards go right for forwards Song title Show the song title Time consumpti on Show the time progress Tota...

Страница 20: ... BMP and PNG 2 Support picture rotate picture enlarge shrink and automatic play Before using the photo viewer please copy your photos to any folder 4 5 2 Operation method Single click the button to open the photo list as picture 4 11 4 11 4 12 ...

Страница 21: ...Click to close the viewer Shrink Shrink current picture in proportion Enlarge Enlarge current picture in proportion Previous Show the previous picture Next Show the next picture File list Single click and shift to video file list and then choose your favorite picture Rotate Click to rotate the picture by 90 degree Automatic Play Play all the pictures circularly on full screen from the current pict...

Страница 22: ...lume adjust interface as shown4 24 Volume adjustment includes 1 Speaker volume adjustment 2 Screen click tone setting 4 24 Close Exit volume setting interface Volume Single click to decrease the volume gradually there are 10 ranks for volume from mute to maximum Single click will decrease one rank ...

Страница 23: ...licking the left right shift button to set the on off key tone with loud soft and off the three states Turn left Turn on off screen click tone Turn right Turn on off the screen click tone Present volume Yellow blanks shows the present volume level 4 7 Backlight setting Single click to enter backlight setting interface as 4 25 4 25 Close Exit backlight setting interface ...

Страница 24: ...is display is in circle Shift right Single click and it will shift right and it will show last column This display is in circle Time interval System backlight will be closed automatically when no operation for a period time to save power There are several time interval choice for you never 3 min 2min 1min 30second later 10second later 4 8 Date and time setting Single click into the date time inter...

Страница 25: ...24 4 26 1 Single click button or to set time and date 2 Single or to choose time area Click to exit current interface after setting and then it will show in 4 44 Choose or to exit current interface 4 27 ...

Страница 26: ... cross using the stylus and repeat as the cross moves from the center to left top left bottom right bottom and right top to complete the calibration then click any where on the screen to save the calibration and exit to the main interface automatically To exit without saving please wait 30 seconds and it will exit from current interface automatically 4 29 ...

Страница 27: ...t the audio to a radio device Take 86 7 MHz frequency for example both the Truck Nav transmitting frequency and the received frequency of the radio should be 86 7MHZ then all the sounds will be heard through the radio 4 11 Language setting Single click into the language settings interface as shown in 4 32 ...

Страница 28: ...27 4 32 Single click language column to choose desired language 4 12 Navigation path Click the set the interface into navigation path set the default navigation paths as shown in Figure 4 33 4 33 ...

Страница 29: ...ck to reset to the default settings as shown in 4 34 4 34 Single click to restore the default settings single click to keep the current settings 4 14 GPS Information Click the button to enter the GPS information interface as in 4 35 ...

Страница 30: ...hone for call making and answering Operation method 4 15 1 Single click the button in main menu to open the Bluetooth interface as the following picture 图 4 36 Exit Single click to exit the Bluetooth interface Phone book Display contact list of paired cell phone Call history Display current call history Dial pad Phone number dialing ...

Страница 31: ...ing Cell phone searching profile management Bluetooth switched on and disconnect 4 15 2 Single click the button and open Bluetooth setting as the following picture 4 37 Close Single click to close current interface Searching Search for Bluetooth devices File management File and ring tones management ...

Страница 32: ...th on off Bluetooth on off Connect Disconnect Connect Disconnect Bluetooth 4 15 3 Single click botton you will get the following two pictures the one is in searching and the next one is the searching result 4 38 ...

Страница 33: ...32 4 39 Single click the device you want to connect and click to pair as the following pictures 4 40 4 41 After successful pairing and connecting it will show the following picture ...

Страница 34: ...isplay contact list of paired cell phone Call history Display call history Dial pad Dial phone number Message Download SMS of paired phone File manager Download files of paired phone Setting Cell phone searching profile management Bluetooth switched on and disconnect ...

Страница 35: ...34 4 15 4 Click the button to open the phone book interface as 4 43 4 43 Single click and enter phone book as 4 44 4 44 4 15 5 Single click the button to open call history as 4 45 ...

Страница 36: ...35 4 45 4 15 6 Single click the button to open dial pad as 4 46 4 46 Close Single click to close the current interface Number display Display current number input ...

Страница 37: ... Single click to select phone number from phone book Phone record Single click to select phone number from call history Dial phone Single click to make call 4 15 7 Single click the button and then it will be in dialing as 4 47 4 47 Return Keep call state and return to main interface Name Show the name you re dialing ...

Страница 38: ... Mute Mute the microphone while keeping the call Volume Single click to decrease the volume gradually Volume Single click to increase the volume gradually Hang up Single click and hang up 4 15 8 If there is an incoming call it will show the caller ID and its number as 4 48 4 48 Return Keep call state and return to main interface Caller ID Show caller ID ...

Страница 39: ...icrophone while keeping the call Volume Single click to decrease the volume gradually Volume Single click to increase the volume gradually Reject Single click to reject the call 4 15 9 Single click and it will display connected You can talk with each other as 4 49 4 49 4 15 10 Single click the button as 4 50 ...

Страница 40: ...39 4 50 Dial extension number Single click to shift the voice to cell phone Not available currently Not available currently 4 15 11 Single message button to download SMS of paired phone as 451 ...

Страница 41: ...40 4 51 Single click the button to enter the following interface as 4 52 4 52 4 22 12 Single click File Manager on the main Bluetooth interface to download files from paired cell phone as 4 53 ...

Страница 42: ...ttery The device turns off suddenly Low battery Charge the battery Cannot display clearly The back light is not bright enough Adjust the backlight The back light has been turned off Click the LCD the screen will turn bright again No response when selecting an icon The touch screen is not calibrated Calibrate the touch screen No sound The volume is very low Increase the volume Can not communicate w...

Страница 43: ...s beyond our responsibilities Don t use it under such conditions Temperature change abruptly high temperature above 60 low temperature under 10 high voltage dusty electrostatic interference avoid any corrosive liquid and dip into any liquid Avoid radiated interference The radiated interference from other electronic products will affect the display and it will be normal after suppressing the interf...

Отзывы: