SnapAV ELAN LUM-500-NVR-4CH Скачать руководство пользователя страница 4

4 of 8


ELAN


C

ONFIGURATION 

D

ETAILS


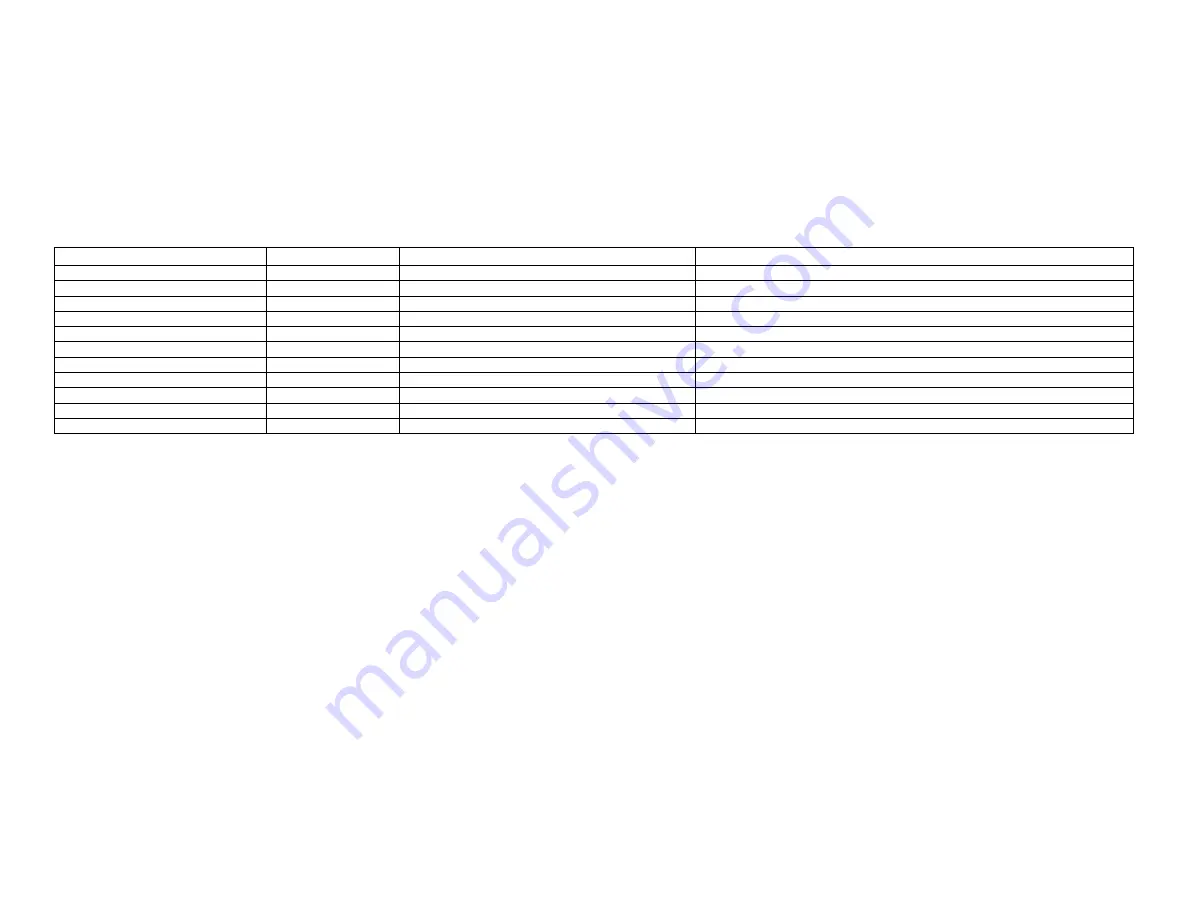
The following table provides settings used in the 

ELAN

 Configurator.  Please refer to the 

ELAN Configurator Reference Guide

 for more details. 

o


“<User Defined>”, etc.   


Type in the desired name for the item. 

o


“<Auto Detect >”, etc.   


The system will auto detect this variable. 


Devices

Variable Name

Setting

Comments

Media Tab

Two-Way Device > DVD Player

Name

<User Defined>

Device Type

SnapAV Luma 500 NVR xxCH

Select appropriate number of channels for your model

User Name

<User Defined>

Password

<User Defined>

IP Address

<User Defined>

Port

<User Defined>

One Way Interface

Interface Name

<User Defined>

Layout Template

SnapAV

Connect to Existing

<Select from List>

 SnapAV Luma 500 NVR xxCH

Two-Way Device Described above

Содержание ELAN LUM-500-NVR-4CH

Страница 1: ...pport the connection of up to 16 IP Cameras The NVR Connects to the ELAN Controller via Ethernet to provide communications enabling control from the ELAN system THE FOLLOWING FEATURES ARE SUPPORTED Ba...

Страница 2: ...Configuration Details 6 Test the system LUM 500 NVR CONFIGURATION In addition to normal SnapAV Luma setup procedures it is required to set the LUM 500 NVR devices to static IP addresses for reliable...

Страница 3: ...ort g System Controller SnapAV NVR 2 A V Cables Display 1 D evice M anufacturer P art N umber P ro to co l C o nnecto r T ype N o tes 1 SnapAV NVR SnapAV LUM 500 NVR xxCH Ethernet 2 Cat 5 Cable Assy I...

Страница 4: ...ll auto detect this variable Devices Variable Name Setting Comments Media Tab Two Way Device DVD Player Name User Defined Device Type SnapAV Luma 500 NVR xxCH Select appropriate number of channels for...

Страница 5: ...5 of 8 ELAN CONFIGURATION STEPS CREATE NVR INSTANCE 1 Under Media tab Sources Select Add New Video Server 2 From the dialog box choose the SnapAV Luma 500 NVR driver and click OK...

Страница 6: ...correct IP User and Password for the NVR Also set the port number default port is 80 CREATE CUSTOM INTERFACE 1 Under Sources select Add New Custom Source 2 Select the SnapAV Luma template and connect...

Страница 7: ...lly add the source to the desired zone controller input as normal and arrange the appropriate selections to manage your Display source to select the SnapAV NVR monitor out for one way control from the...

Страница 8: ...ace commands are functional authentication may have timed out on the SnapAV DVR Use the Menu button and navigate to Login Logout Menu and select Login UserID and Password should populate from ELAN cre...

Отзывы: