2
IMPORTANT:
BEFORE STARTING THE EQUIPMENT,
READ THE CONTENTS OF THIS MANUAL, WHICH MUST
BE STORED IN A PLACE FAMILIAR TO ALL USERS FOR
THE ENTIRE OPERATIVE LIFE-SPAN OF THE MACHINE.
THIS EQUIPMENT MUST BE USED SOLELY FOR WEL-
DING OPERATIONS.
1 SAFETY PRECAUTIONS
WELDING AND ARC CUTTING CAN BE HARMFUL TO
YOURSELF AND OTHERS. The user must therefore be edu-
cated against the hazards, summarized below, deriving from
welding operations. For more detailed information, order the
manual code 3.300.758
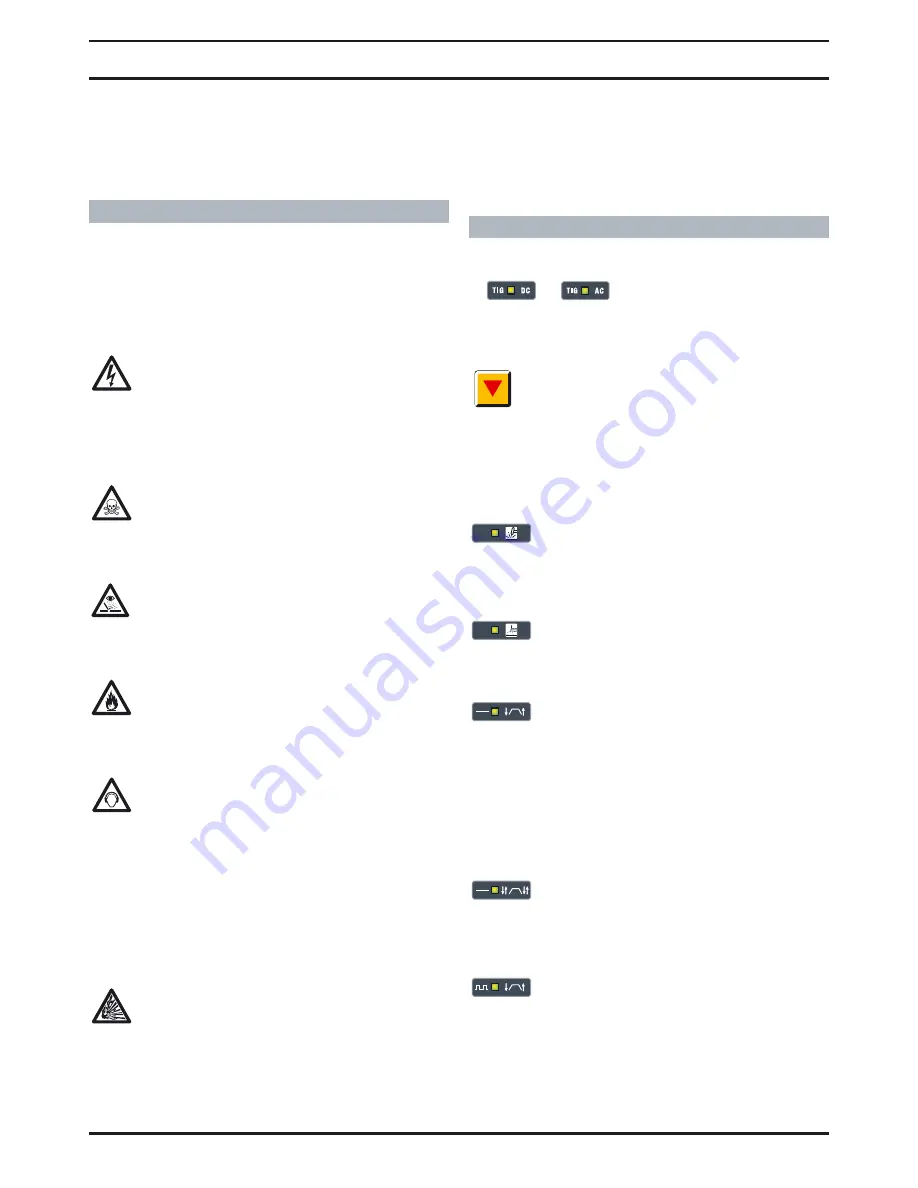
ELECTRIC SHOCK - May be fatal.
· Install and earth the welding machine according to
the applicable regulations.
· Do not touch live electrical parts or electrodes with
bare skin, gloves or wet clothing.
· Isolate yourselves from both the earth and the workpiece.
· Make sure your working position is safe.
FUMES AND GASES - May be hazardous to your health.
· Keep your head away from fumes.
· Work in the presence of adequate ventilation, and
use ventilators around the arc to prevent gases from
forming in the work area.
ARC RAYS - May injure the eyes and burn the skin.
· Protect your eyes with welding masks fitted with fil-
tered lenses, and protect your body with appropria-
te safety garments.
· Protect others by installing adequate shields or curtains.
RISK OF FIRE AND BURNS
· Sparks (sprays) may cause fires and burn the skin;
you should therefore make sure there are no flam-
mable materials in the area, and wear appropriate
protective garments.
NOISE
This machine does not directly produce noise excee-
ding 80dB. The plasma cutting/welding procedure
may produce noise levels beyond said limit; users
must therefore implement all precautions required by law.
PACEMAKERS
· The magnetic fields created by high currents may affect the
operation of pacemakers. Wearers of vital electronic equip-
ment (pacemakers) should consult their physician before
beginning any arc welding, cutting, gouging or spot welding
operations.
EXPLOSIONS
· Do not weld in the vicinity of containers under pres-
sure, or in the presence of explosive dust, gases or
fumes. · All cylinders and pressure regulators used in
welding operations should be handled with care.
ELECTROMAGNETIC COMPATIBILITY
This machine is manufactured in compliance with the
instructions contained in the harmonized standard EN50199,
and must be used solely for professional purposes in an
industrial environment. There may be potential difficul-
ties in ensuring electromagnetic compatibility in non-
industrial environments.
IN CASE OF MALFUNCTIONS, REQUEST ASSISTANCE
FROM QUALIFIED PERSONNEL.
2 DESCRIPTION OF THE EQUIPMENT
Led Mode
C D
These LEDs shows the welding mode selected by the
AC/DC switch
AF
Mode key E.
When selected, one of the following LEDs lights:
F, G, H, L, M
or
N.
In TIG mode there will always be two LEDs lit: one indicating
HF or striking start mode, and the other indicating conti-
nuous or pulse mode with 2- or 4-stage command. The
selection changes each time the button is pressed.
The LEDs light alongside the various symbols to display your
choice:
F - LED. TIG welding with arc started without
high frequency.
To light the arc, press the torch trigger or foot switch and
touch the tungsten electrode to the workpiece, then lift it.
This move must be quick and decisive (0.3 sec.).
L - LED. TIG welding with arc started with high
frequency.
To light the arc, press the torch trigger or foot switch: a high
voltage/frequency pilot spark will light the arc.
G - LED. Continuous 2-stage TIG welding
(manual).
When the torch trigger or foot switch is pressed, the current
begins to increase over the previously set "slope up" time,
until it reaches the value set by means of the knob
AA
.
When the switch is released, the current begins to drop over
the previously set "SLOPE DOWN" time, until it returns to
zero.
IN THIS POSITION, YOU MAY CONNECT THE PEDAL
CONTROL ACCESSORY TIG250FP
.
H - LED. Continuous 4-stage TIG welding
(automatic).
This program differs from the previous one in that the arc is
both started and shut off by pressing and releasing the torch
trigger or foot switch.
M - LED. Pulsed 2-stage TIG welding
(manual).
When the torch trigger or foot switch is pressed, the current
begins to increase over the previously set "slope up" time,
until it reaches the value set by means of the knob
AA
.
When the trigger is released, the current begins to drop over
the previously set "SLOPE DOWN" time, until it returns to
zero.
INSTRUCTION MANUAL FOR ARC WELDING MACHINE
Содержание TIG250
Страница 6: ...6 ...


