BAKING STONE INSTALLATION AND CONDITIONING INSTRUCTIONS
INTRODUCTION
1.
Read these Operating Instructions thoroughly before installing or conditioning the Baking Stone.
2.
WARNING: New Baking Stone must be conditioned prior to first use. Failure to pre-dry the
Baking Stone and following these instructions can result in warping or cracking and will VOID
ALL WARRANTIES.
SAFETY INSTRUCTIONS
1.
CAUTION:
Handle Baking Stone carefully. Baking Stone impacting on hard surfaces before, during or
after installation may crack or develop hairline fractures. These fractures may expand over time and lead
to premature product failure.
2.
CAUTION:
Do not stack or wedge the Baking Stone together. The Baking Stone must be installed
unrestrained.
3.
CAUTION:
Never clean Baking Stone with high abrasion brushing or water as it may crack.
Wipe the Baking Stone clean with a dry rag.
4.
WARNING:
Do not subject the Baking Stone to thermal shock. Food cannot be thawed directly on the
Baking Stone. Use a screen or pan with frozen products.
5.
WARNING:
DO NOT immerse or allow liquids to come in contact with the Baking Stone.
6.
WARNING:
NEVER season the Baking Stone with any type of baking oil.
7.
WARNING:
An odor may occur during the initial heat up. This is normal as the Baking Stone is adjusting
to its environment.
TROUBLESHOOTING
PROBLEM
SOLUTION
Not heating up
1. Check for any lose connections
2. Make sure your thermostat is set to the desired temperature
3. Check your power switch and check indicator light
4. Contact 4J Customer Service 1-262-656-1956
Short circuit
1. Contact 4J Customer Service 1-262-656-1956
Internal light
not working
1. Disconnect the unit and let the chamber cool down
2. Replace the bulb
Burning smell
coming from unit
1. Stop using unit, unplug it
2. Contact 4J Customer Service 1-262-656-1956
Food is baking
unevenly
1. Unplug the unit, let the chamber cool down and reset the thermostat
2. If food is still baking unevenly, contact 4J Customer Service 1-262-656-1956
OPERATING PROCEDURE OF CUSTOM PIZZA OVEN
NOTE: THE TIMER CONTROL IS INDEPENDENT FROM THE TEMPERATURE CONTROL. WHEN COOKING
IS COMPLETED, YOU WILL NEED TO TURN OFF THE POWER SWITCH.
OPERATING PROCEDURE
1. Plug the unit into the power supply.
2. Turn on the power switch which will illuminate when on. (Turn on the light switch if needed, to illuminate
the inside of the oven).
PREHEAT OVEN
1. Turn the temperature control dial to the desired temperature. The heat indicator illuminates during the
heating cycle and will turn off when the desired temperature is reached.
NOTE: REMOVE THE WRAP AND CARDBOARD FROM THE PIZZA.
2. Once the oven is ready to cook, open the oven door, then use the provided Pizza Peel (pizza spatula) to
scoop up the pizza and place, centered, inside the oven. Remove Pizza Peel from pizza and close the door.
3. Set the timer control according to the instructions on the pizza package. Usually 10-15 minutes.
4. Timer will “ding” when complete.
NOTE: ALWAYS USE OVEN MITTS OR POT HOLDERS WHEN OPENING OR CLOSING DOOR.
5. Check with Pizza Peel that the crust is golden brown. Bake for additional time if desired.
6. Remove pizza with Pizza Peel and serve.
7. Turn off light switch and power switch.
DURING NORMAL OPERATIONS, THE EXTERIOR OF THE UNIT IS HOT.
CLEANING
NOTE: PROPER MAINTENANCE PLAYS AN IMPORTANT PART IN THE LIFE SPAN AND FUNCTIONING OF THE UNIT.
1.
IMPORTANT
: Turn the temperature control, light switch and power switch to the OFF position.
Unplug the power cord.
2. Allow the unit to cool for 60 minutes minimum.
3. Clean excess food debris from the interior of the unit.
4. Clean Baking Stone with a dry cloth only.
DO NOT USE WATER ON THE STONE SURFACE.
5. Clean exterior of unit with a stainless steel cleaner. Be sure to dry unit.
6. Do not immerse in water or other liquid. Avoid splashing water into the motor unit.
DO NOT IMMERSE UNIT!
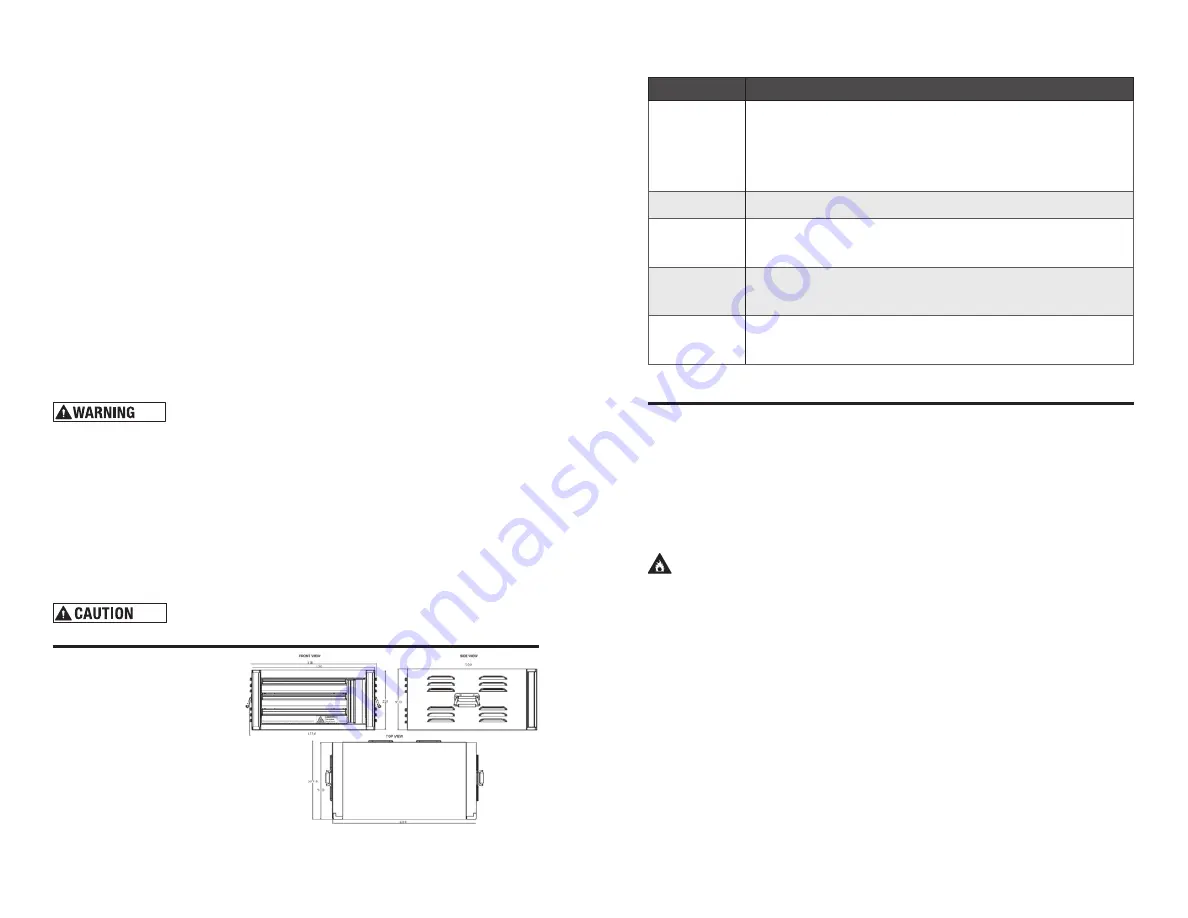
SPECIFICATIONS
•
Product Name:
Custom Pizza Oven
•
Part Number:
SSX19P115
•
Temperature Range:
122°F -662°F
• Exterior
Dimensions (mm):
550x465x255
• Exterior
Dimensions (inches):
21.65x18.31x10.04
•
Internal Dimensions (mm):
345x345x180
•
Internal Dimensions (inches):
13.58x13.58x7.08
•
Net Weight:
60lbs
•
Gross Weight:
65lbs
•
Voltage (V):
120V
•
Power (KW):
1400W


