


3
1. Safety instructions
Welcome
Congratulations! You now own one of the most state of the art and technologically advanced
high definition Television products available. In order to make set-up as easy as possible, we
would like to familiarize you with the features and functions of this special product. Please
read this user s manual carefully and thoroughly and keep in a safe place for future reference.
We thank you for your business and hope you enjoy this product.
Caution
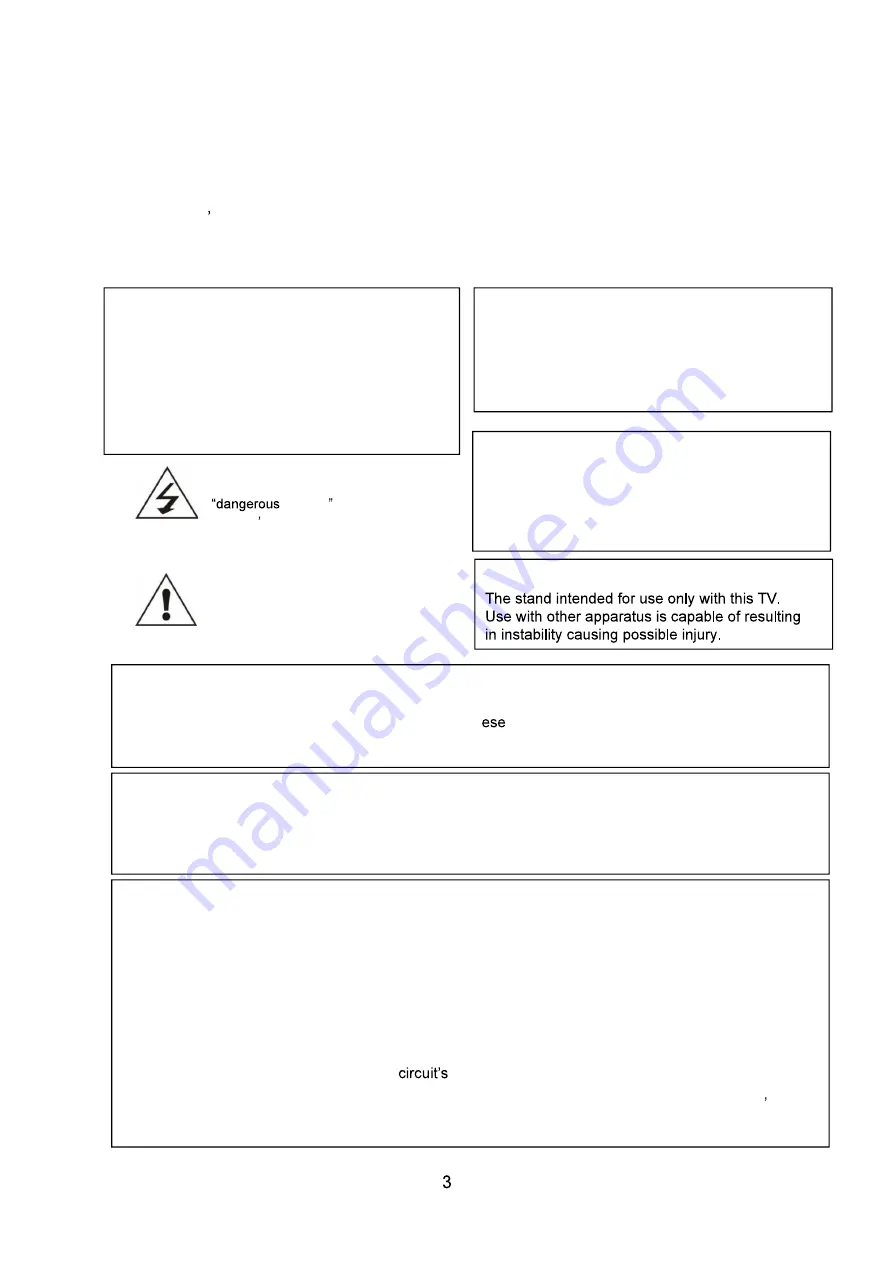
This symbol is intended to alert the
user to the presence of uninsurable
Voltage within the
Product s enclosure that may be of
sufficient magnitude to constitute a risk of electric
shock to persons.
This symbol is intended to alert the
user to the presence of important
operating and maintenance
(servicing) instructions in the
literature accompanying the appliance.
CAUTION: TO REDUCE THE RISK OF ELECTRIC
SHOCK, DO NOT REMOVE COVER (OR
BACK), NO USER-8ERVICEABLE PARTS
INSIDE.REFER SERVICING TO
QUALIFIED SERVICE PERSONNEL
RISK OF ELECTRIC SHOCK
DO NOT OPEN
CAUTION
-TO PREVENT DAIMAGE WHICH MAY
RESULT IN FIRE OR SHOCK HAZARD
-DO NOT EXPOSE THIS APPLIANCE TO RAIN
OR MOISTURE.
-SHOCK HAZARD DO NOT OPEN
WARNING
-
vases, shall be placed on the apparatus.
-
case the user may be required to take adequate measures.
To reduce the risk of fire and electric shock, do not expose this product to rain moisture.
WARNING
-Apparatus shall not be exposed to dripping or splashing and no objects filled with liquids, such as
vases, shall be placed on the apparatus.
-This is Class B product. In a domestic environment this product may cause radio interference in which
case the user may be required to take adequate measures.
To reduce the risk of fire and electric shock, do not expose this product to rain moisture.
FCC NOTICE
This device has been tested and found to comply with the limits for a Class B device, pursuant to Part 15
of the FCC Rules. These limits are designed to provide reasonable protection against harmful
interference in home environment as well as in a commercial, industrial or business environment. This
equipment can generate, use and radiate radio frequency energy and, if not installed and used in
accordance with the instruction, may cause harmful interference to radio communications. However,
there is no guarantee that interference will not occur in a particular installation. If this equipment does
cause harmful interference to radio or television reception, which can be determined by tuning the
equipment off and on, the user is encouraged to try to correct the interference by one or more of the
following measures:
-Reorient or relocate the receiving antenna.
-Increase the separation between the equipment and receiver.
-Connect the equipment into an outlet on
different form that to which the receiver is connected.
-Consult the dealer or an experienced radio/TV technician for help.
Changes or modrticalion not expressly approved by the party for compliance could void the user s
authority to operate the equipment.
Connecting of peripherals requires the use of grounded shielded signal cables.
CAUTION
These servicing instructions are use by
qualified service personnel only. To reduce the
risk of electric shock, do not perform any
servicing other than that contained in the
operating instruction unless you are qualified to
CAUTION
Apparatus shall not be exposed to dripping or splashi
This is Class B product. In a domestic environment th
in which
Содержание 55LI0521-1
Страница 1: ...1 Read this manual carefully and retain for future reference...
Страница 5: ...5 2 Accessories User s Manual Remote Control Batteries AAAX2 3 Controls and connections 3 1 Front view...
Страница 29: ...29 you can also select Browser to search the internet As the figure shows...
Страница 33: ...33 You can see the information of the current playing sonny at the left of the menu...
Страница 37: ...37 6 4 2 Time Setting 6 4 3 Common...
Страница 38: ...38 As the figure shows As the figure shows...
Страница 40: ...40 As the figure shows As the figure shows...


