Quick Operation Guide of Hybrid Video Recorder
9
Live View Screen Introduction
No.
Name
Description
1
Channel List
Displays the list of channels.
2
Live View Window
Displays the live image from the selected channel.
3
Play Control Bar
Play controls.
4
PTZ Control
Pan, tilt, zoom operations.
5
Video Configuration
Brightness, contrast, saturation and hue of the image can be adjusted.
Start Live View
Steps:
1.
In the live view window, select a camera by clicking the mouse.
2.
Double click a camera from the device list to start the live view.
3.
You can click the
button on the toolbar for live view of all cameras in the device list.
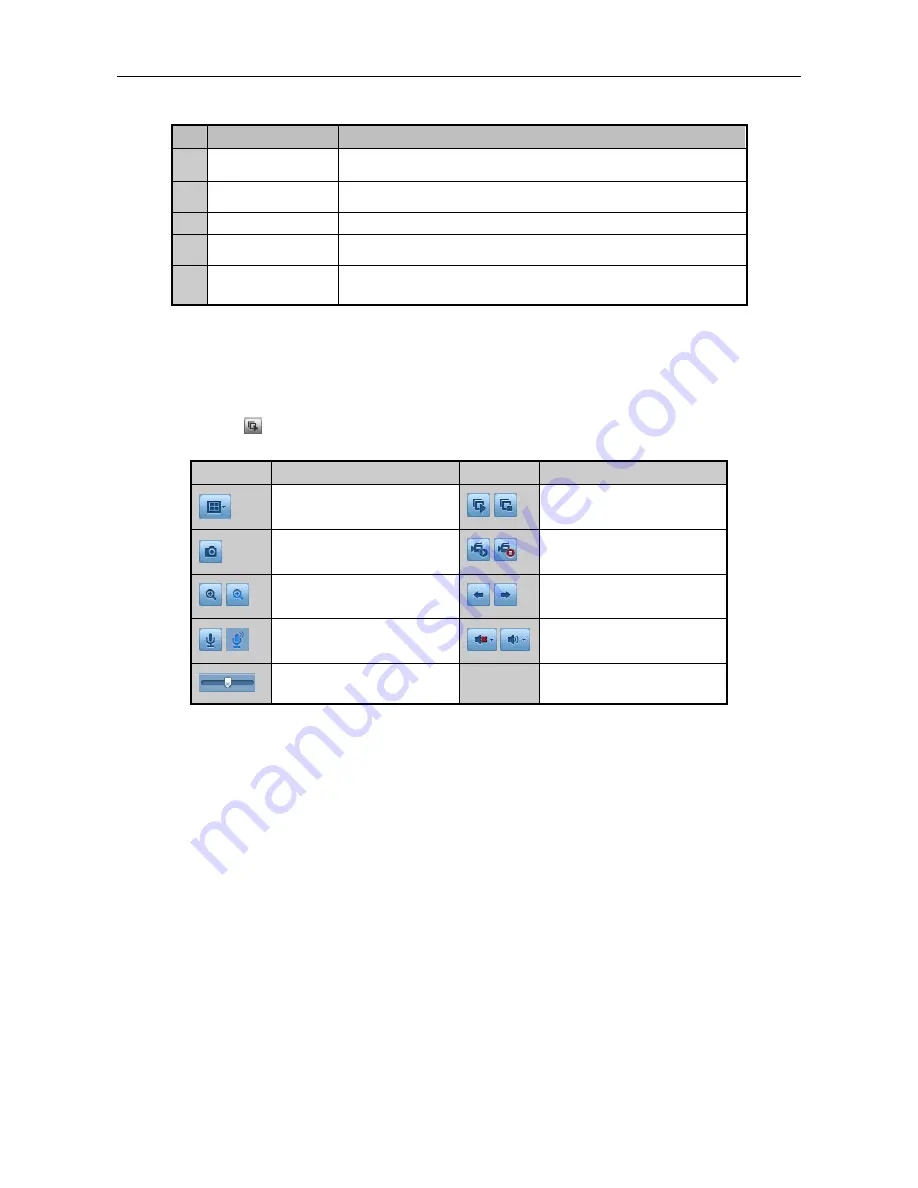
Refer to the following table for the description of buttons on the live view window:
Icon
Description
Icon
Description
Select the window-division mode
/
Start/Stop All Live View
Capture picture during live view
/
Start/Stop All Recording
/
Enable/Disable Digital Zoom
/
Previous/Next Page
/
Start/Stop Two-way Audio
/
Open/Close Audio
Adjust Volume
Recording
Recording can be set to Manual or Scheduled.
Steps:
1.
Click Remote Configuration> Camera Settings> Record Schedule to enter the Record Schedule page.
2.
Select the camera you want to configure.
3.
Check
Enable Schedule
to enable recording schedule.


