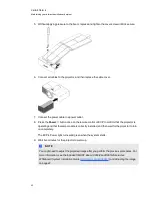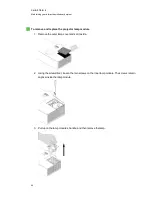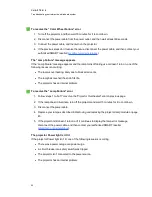
4. Ensure that the projector lamp is installed securely.
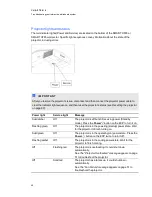
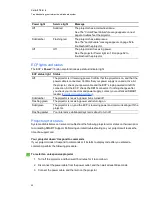
5. Confirm that your projector is turned on and that the projector status lights are illuminated. If the
projector displays unusual status light behavior, see
on page 49 to
troubleshoot your system.
Partial, scrolling or incorrectly displayed image
N
N O T E S
l
The following procedure applies to Windows® 95, Windows 98, Windows 2000 and
Windows XP operating systems on desktop computers only.
l
This procedure may vary depending on your version of Windows operating system and your
system preferences.
g
To resolve a partial, scrolling or incorrectly displayed image
1. Select
Start > Control Panel
.
2. Double-click
Display
.
The
Display Properties
window appears.
3. Click
Settings
.
4. Verify that your display resolution setting is lower than or equal to 1024 × 768 (SMART UF65
projector) or 1280 × 800 (SMART UF65w projector).
I
I M P O R T A N T
If the projector still does not display the entire image, perform the following procedure to
change the monitor display.
g
To change the monitor display
1. Click
Advanced Properties
.
2. On the
Monitor
tab, click
Change
.
3. Click
Show all devices
, and then select
Standard monitor types
from the list.
4. In the
Models
list, select the resolution you need.
5. Verify that the resolution setting of the monitor display is lower than or equal to 1024 × 768
(SMART UF65 projector) or 1280 × 800 (SMART UF65w projector).
C H A P T E R 6
Troubleshooting your interactive whiteboard system
56
Содержание Board X800i4
Страница 16: ......
Страница 22: ......
Страница 94: ......
Страница 102: ...X XGA support 28 Z zoom 66 I N D E X 92...
Страница 103: ......
Страница 104: ...Toll Free 1 866 518 6791 U S Canada or 1 403 228 5940 www smarttech com...

