{ Design. Uniqueness. Innovation }
DESIGN
DIRECT
SERIES
17
18
6.2.3 Recording
There two types of recording in that door phone – manual recording or schedule recording (including
motion detection). Manual recording has more priority than schedule recording. In case if manual recording
has occured then schedule recording will be paused until the end of manual recording.
Schedule recording is described in details on the 17th page of that manual.
Press button on the tool bar to start manual recording. Press button again to stop manual
recording.
6.2.2 Playback
Click right mouse button to display instrumental panel. Then press icon to enter playback menu.
Playback
Date 12/11/2015 Time 00:00 -- 23:59
Channel Time Size
0/0
Sun.
Wed.
Sat.
01 02 03 04 05 06 07
08 09 10 11 12 13 14
15 16 17 18 19 20 21
22 23 24 25 26 27 28
29 30
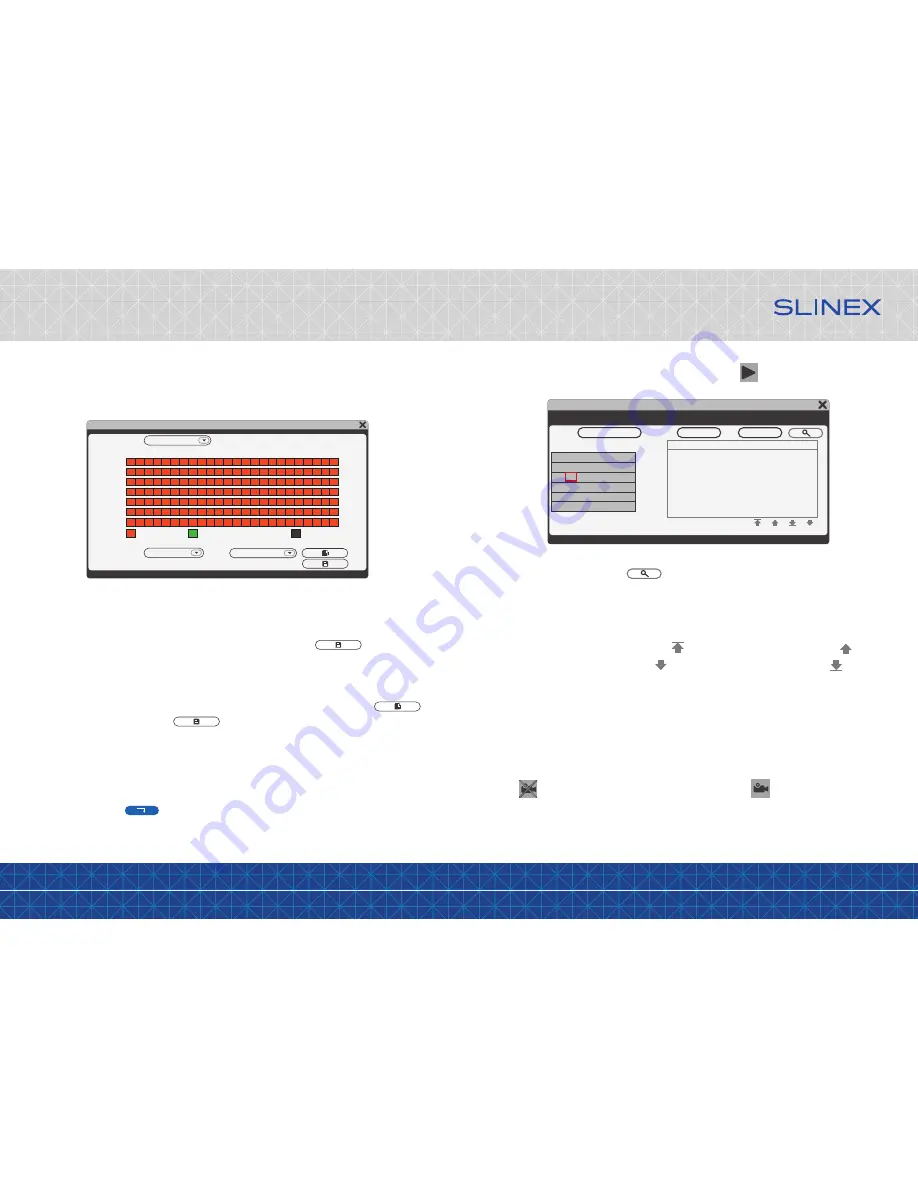
Enter date and time and then press button to find reccords matched to your request. Channel
column shows the channel number which that file was recorded. «Time» and «Size» columns shows current
record starting time and its size in MB. Record with orange background indicates that it was recorded as
motion detection trigerred. Record with black background indicates that it was recorded by schedule.
Press left mouse button on file name to start playback in full screen mode. As the playback will be ended up
the monitor will be returned to the file list. Press button to go to the first page of the list or button
to go to the previous page of the list. Press button to go to the next page of the list or button to
go to the last page of the list.
Scheduling
Record schedule can be seted up on this screen. There are three types of schedule settings: «MD» – motion
detection recording (orange color in schedule table), «Normal» – constant recording (green color in
schedule table) and «None» – disable recording (grey color in schedule table).
Maintenance
→
Upgrade
Create an «ivrupgrade» folder on the SD card root. Copy upgrade file into this folder and insert SD card into
door phone slot. Press icon to start system upgrade. Firmware upgrade will take two or three
minutes. Don’t remove SD card or turn off the power during this time, otherwise it can demage the door
phone. System will be restarted after firmware upgrade.
Scheduling
Channel 3
Copy from Mon to All
00 06 12 18 23
MD Normal None
Mon.
Tue.
Wed.
Thu.
Fri.
Sat.
Sun.
Choose one of the schedule settings under schedule table and then click on the time which you want to
apply this type of setting on the schedule table. One square on the schedule table matches one hour time
interval. Then the first left square of the table matches the time from 00:00 to 01:00 and the last one matches
the time from 23:00 to 00:00. When all the settings will be done then press icon to save all
the changes.
Alternative way to set all the schedule is to set the schedule for one day and then copy it for other days of
the week. Use «Copy from» bar under schedule. Choose the day which you want to copy schedule from in
the left block and choose the day(s) which you want current schedule to be applied to. Press
icon to start copying, and then press icon to save all the settings.


