Skyvue NXG-4650 Скачать руководство пользователя страница 9

7

Owner’s Manual  - 

Model 

NXG-4650

I

mportant

 I

nformatIon

IMPORTANT SAFETY INSTRUCTIONS

Caring for the front panel

•  Turn off the main power and unplug the AC cord from the GFI wall outlet before handling.

•  Gently wipe the surface of the front panel with a soft cloth (cotton, fl annel, etc.).

  To protect the front panel, do not use a dirty cloth, liquid cleaners, or a chemical cloth (wet/dry 

sheet type cloth, etc.). This may damage the surface of the front panel.

•  Wiping with a hard cloth or using strong force may scratch the surface of the front panel.

•  Use a soft damp cloth to gently wipe the front panel when it is really dirty.

  (It may scratch the surface of the front panel when wiped strongly.)

•  If the front panel is dusty, use an anti-static brush, which is commercially available, to clean it.

• To avoid scratching the frame or screen, please use a soft, lint free cloth for cleaning. 

CHILD SAFETY:

It Makes A Difference How and Where You Use Your Flat Panel Display

Congratulations on your purchase! As you enjoy your new product, please keep these safety tips in mind:

THE ISSUE

•  The home theater entertainment experience is a growing trend and larger fl at panel displays 

are popular purchases. However, fl at panel displays are not always supported on the proper 

stands or installed according to the manufacturer’s recommendations.

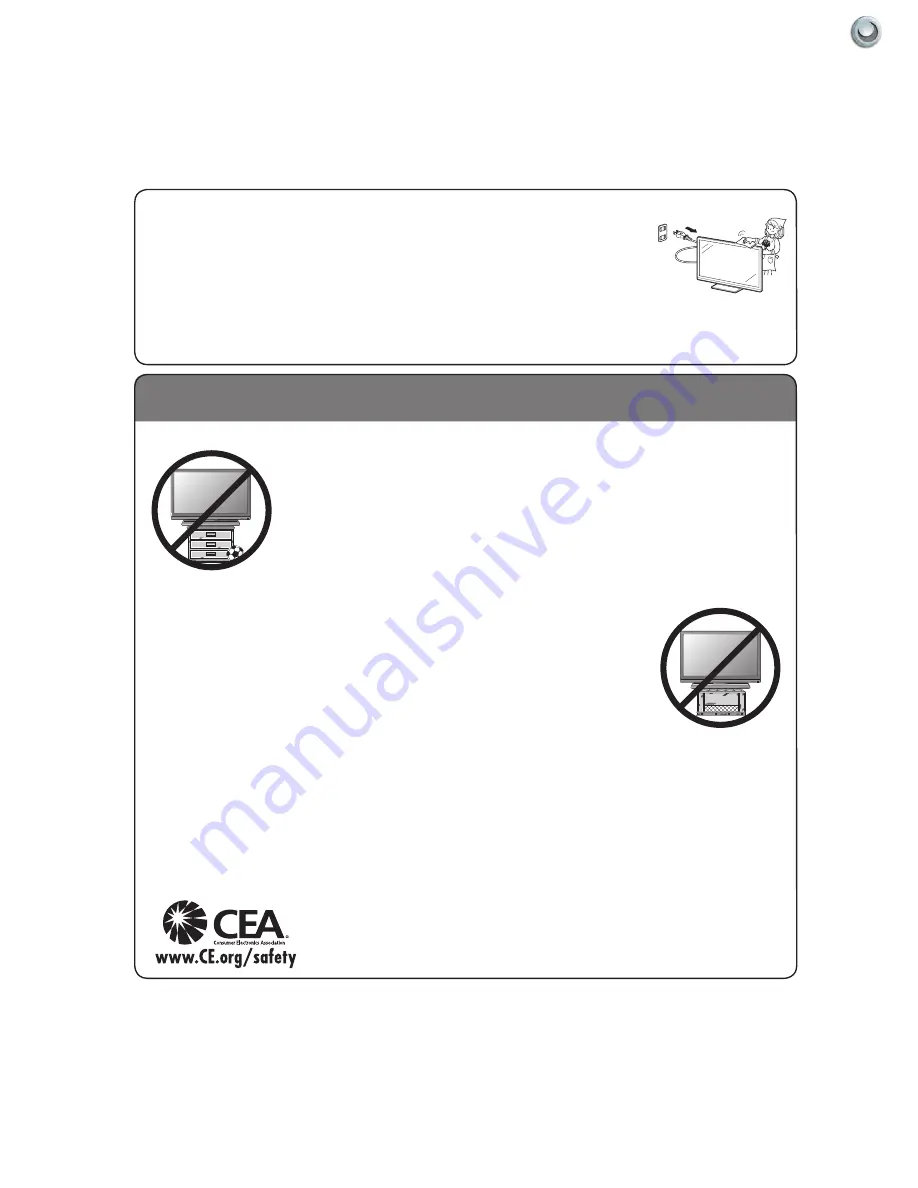
•  Flat panel displays that are inappropriately situated on dressers, bookcases, shelves, desks, 

speakers, chests or carts may fall over and cause injury.

THIS MANUFACTURER CARES!

•  The consumer electronics industry is committed to making home entertainment enjoyable 

and safe.

TUNE INTO SAFETY

•  One size does NOT fi t all. Follow the manufacturer’s recommendations for the safe installation 

and use of your fl at panel display.

•  Carefully read and understand all enclosed instructions for proper use of this product.

•  Don’t allow children to climb on or play with furniture and television sets.

•  Don’t place fl at panel displays on furniture that can easily be used as steps, such as a chest 

of drawers.

•  Remember that children can become excited while watching a program, especially on a 

“larger than life” fl at panel display. Care should be taken to place or install the display where it 

cannot be pushed, pulled over, or knocked down.

•  Care should be taken to route all cords and cables connected to the fl at panel display so that 

they cannot be pulled or grabbed by curious children.

WALL MOUNTING: IF YOU DECIDE TO WALL MOUNT YOUR FLAT PANEL DISPLAY, ALWAYS:

•  Use a mount that has been recommended by the display manufacturer and/or listed by an independent laboratory (such 

as UL, CSA, ETL).

•  Follow all instructions supplied by the display and wall mount manufacturers.

•  If you have any doubts about your ability to safely install your fl at panel display, contact your retailer about professional 

installation.

•  Make sure that the wall where you are mounting the display is appropriate. Some wall mounts are not designed to be 

mounted to walls with steel studs or old cinder block construction. If you are unsure, contact a professional installer.

•  A minimum of two people are required for installation. Flat panel displays can be heavy.

Note:


CEA is the preeminent trade association promoting growth in the $161 billion U.S. 

consumer electronics industry. More than 2,200 companies enjoy the benefi ts of CEA 

membership, including legislative advocacy, market research, technical training and 

education, industry promotion and the fostering of business and strategic relationships

.

LC-60LE632U_70LE732U_E.indb   5

2011/02/04   16:19:25

2012 SKYVUE

7

2012 SKYVUE

7

Содержание NXG-4650

Страница 1: ...Owner s Manual Weatherproof Televisions IMPORTANT Please read this owners manual before starting or operating the equipment NXG 4650 MODEL...

Страница 2: ......

Страница 3: ...the goals of operating with unparalleled customer service and extensive research and development Upon extensive research of national competition we realized that yet all outdoor television manufacture...

Страница 4: ......

Страница 5: ...ing the product CAUTION RISK OF ELECTRIC SHOCK DO NOT OPEN CAUTION TO REDUCE THE RISK OF ELECTRIC SHOCK DO NOT REMOVE COVER OR BACK NO USER SERVICEABLE PARTS INSIDE REFER SERVICING TO QUALIFIED SERVIC...

Страница 6: ...se undesired operation Wireless Radio For product available in the USA Canada market only channel 1 11 can be operated Selection of other channels is not possible This device is going to be operated i...

Страница 7: ...or long periods of time 13 Refer all servicing to qualified service personnel Servicing is required when the apparatus has been damaged in any way such as power supply cord or plug is damaged does not...

Страница 8: ...ay cause the cabinet to deform and cause the paint to peel off LC 60LE632U_70LE732U_E_01 indd 4 2011 02 21 15 45 56 2012 SKYVUE 6 2012 SKYVUE 6 IMPORTANT SAFETY INSTRUCTIONS Outdoor Antenna Grounding...

Страница 9: ...facturer s recommendations for the safe installation and use of your at panel display Carefully read and understand all enclosed instructions for proper use of this product Don t allow children to cli...

Страница 10: ...The SkyVue Outdoor TV s will resist water exposure from normal rain sprinklers garden hoses etc however it is not designed to withstand pressure washers high pressure water jets hurricane type weathe...

Страница 11: ...Guide 26 On Screen Display OSD Functions 27 On Screen Display Menu 28 Channel Menu 28 Picture Menu 28 Audio Menu 28 Time Menu 29 Setup Menu 29 Lock Menu 29 Adjusting On Screen Displays Channel Menu 30...

Страница 12: ...sun changes during the day as seen in the drawing on the right This means that the quality of the picture will change during the day If you intend to install the TV in areas where direct sunlight will...

Страница 13: ...o Out HDMI Audio Out and RF connectors 1 The Internal Component Source is inside the Component Cover located on the back of the unit 2 Open the 3 latches located on the back cover of your SkyVue TV an...

Страница 14: ...o source Use the SOURCE button to select VGA on your MAIN SOURCE to view this connection 4 PC Audio IN This connection port is for people who want to provide audio to the TV when using a PC or a DVI v...

Страница 15: ...ss portions of a video signal to be processed separately Component video improves color accuracy further by split ting the chrominance signal into two portions 12 Composite Video In The composite vide...

Страница 16: ...y DVD Player HD DVD Player HD Cable or Satellite Box HDCP devices Skyvue Speakerbar Composite non HD 480i Only Non High Definition Cable or Satellite Box VCR Older Game Consoles Camcorder Cable Name C...

Страница 17: ...Speaker bar in place and secure with the same 4 8 32 screws that were removed in step 1 3 Screw securely 4 Loosen the 3 latches and open the Component Cover 5 Take the Speaker Cable from the speaker...

Страница 18: ...shown in Figure 5 The sound will be projected in a downward direction 5 Using the 4 additional 8 32 Phillips Head screws align the screw holes on the speakerbar mount with the holes on the speakerbar...

Страница 19: ...or Antenna through VCR 1 Make sure the power of the TV is turned off 2 Make sure there is an antenna or cable connection to the VCR already 3 Use a Coaxial RF cable and connect from your VCR s Antenn...

Страница 20: ...player is turned off 2 With a Component Cable connect the green connector to the DVD Blu ray player and Component green connector port on the TV 3 Connect the blue color connector to your DVD Blu ray...

Страница 21: ...u ray player s manual to make sure the DVD Blu ray player is configured to output correctly to the TV 2 This TV will turn off automatically if there s no signal present for more than 15 minutes Connec...

Страница 22: ...and Component red connector port off the back of your TV to the right side of your green blue red component connection 7 Turn on the TV and your set top box 8 Use the remote control s input button or...

Страница 23: ...necting to an External Amplifier or Amplified Speakers Connecting with Digital Coax Best Option 1 Make sure the power of the TV and your receiver is turned off 2 Obtain a Coaxial SPDIF cable connect i...

Страница 24: ...e sig nals correctly from the TV Connecting to a PC Connecting with DVI Digital Best Option 1 Make sure the power of the TV and your receiver is turned off 2 Obtain a HDMI to DVI conversion cable conn...

Страница 25: ...t port 4 Turn on the power of the TV and your PC 5 Use the remote control s input button or the input button the TV to switch to VGA Please Note 1 For the best results please set your PC resolution to...

Страница 26: ...secure it in place Note it may be necessary to use a small amount of glue to secure the IR emitter in place as most IR emitters dual stick tape do not adhere well to powder coated surfaces Use a small...

Страница 27: ...s button switches between the different sources of the TV When the On Screen Display OSD is active this button acts as the enter button and confirms the menu selection CH CH These buttons change the T...

Страница 28: ...home DVR Back Push to return to previous page in menu Left Arrow Push to move menu selections left Select Push to make a selection in the menu or guide Right Arrow Push to move menu selections right A...

Страница 29: ...d also exits the OSD by going to the previous level of the OSD This button exits the OSD entirely Via the TV Panel Buttons Adjusting the On Screen Display from the TV Panel Buttons CH This button chan...

Страница 30: ...V s side panel or Input button on the Remote Control Press TV from the Input Select option Channel Menu This menu manages Channel functions including Air Cable Channel Label Auto Scan DTV Signal stren...

Страница 31: ...ke Up time setting Setup Menu This menu manages Setup functions including Lock Menu This menu manages Lock functions including System Lock Change Password Hotel Mode Input Block Menu Language Transpar...

Страница 32: ...ess the buttons to highlight the Air Cable adjustment Press the button to begin the Auto Scan process A screen will appear with the message Are You Sure You Want to Auto Scan Press the button to begin...

Страница 33: ...to change the channel number for which you wish to change the Channel Label or view the signal strength on the DTV Signal meter Channel Label Press the buttons to highlight the Channel Label adjustmen...

Страница 34: ...trast adjustment then use to adjust contrast This adjustment is available only when Personal picture mode is selected Brightness Press the buttons to highlight Brightness adjustment then use to adjust...

Страница 35: ...or Strong NR mode Backlight Press the buttons to highlight Backlight adjustment then use to adjust backlight brightness Dynamic Light Control Press button when you are at the bottom of the Picture me...

Страница 36: ...when Personal sound mode is selected 1 5 kHz Press the buttons to highlight 1 5 kHz then use to adjust the 1 5 kHz upper midrange audio band This adjustment is available only when Personal sound mode...

Страница 37: ...ly if the connected audio system can decode Dolby Digital This function operates only when TV is selected as the source Surround Sound Press the buttons to highlight the Surround Sound adjustment then...

Страница 38: ...Sync adjustment then use to turn auto sync on and off Auto sync automatically sets the time on your TV based on information from TV signals Clock setting and DST adjustments are not available when au...

Страница 39: ...Transparent then use to select to what degree the picture shows through the on screen menus 0 25 50 75 or 100 At 0 none of the underlying picture will show through the menus Restore Default Press the...

Страница 40: ...lor and background color then use to adjust these options Setup Wizard Press the buttons to highlight Setup Wizard then use to start the Setup Wizard You will see the first of four submenus all of whi...

Страница 41: ...to highlight the Blue Screen adjustment then use to activate or deactivate the blue screen that appears when no signal is available at the selected input HDMI Mode Press the buttons to highlight the H...

Страница 42: ...ntil Hotel Mode is deactivated You must enter the system password to access this feature See instructions below Hotel Mode Press the buttons to highlight System Lock then use to enter the Password men...

Страница 43: ...r assistance Adjusting On Screen Displays Lock Menu cont Using System Lock Once you are in System Lock mode press the buttons to highlight the different func tions in the menu then use to activate tho...

Страница 44: ...ing the Hotel Mode menu and or deactivating Hotel Mode Key Lock Press the buttons to highlight Key Lock then use to turn Key Lock on and off Key Lock mode deactivates the sidepanel con trols on the TV...

Страница 45: ...lume and the other settings below by pressing the button when Power On Channel is highlighted This will highlight Power On Volume Use to set the default volume level that will be set every time the TV...

Страница 46: ...button on the remote or on the side control panel of the TV then press buttons to highlight USB Now press to select the USB input The main USB menu seen below left will appear Selecting the Media on t...

Страница 47: ...view that image The image will appear along with a text screen that shows data about the image Note that the image will not fill the screen Listening to Music from the USB Stick Use to highlight the...

Страница 48: ...e sensor is housed in the same place as the power indicator light Make sure there is line of sight from the remote control s first sensor to the remote sensor of the TV Cannot receive sufficient chann...

Страница 49: ...source DVD or Blu ray player digital satellite or digital cable box Standard 480i TV programs will be noticeably inferior to HD quality Some pixels are always displaying the same color SkyVue Outdoor...

Страница 50: ...Vue Outdoor TV When the TV is not in use keep it covered with a Deluxe SkyVue Outdoor TV Cover When the unit is not being used the SkyVue team strongly recommends using the all weather protective cove...

Страница 51: ...D sub male connector USB Input Photo Music Video Mode Audio In Audio in 3 5 mm jack Audio Out Audio Out 3 5 mm jack Audio Output Coaxial SPDIF Audio Out VGA PC In Analog RGB PC In 15 pin mini D sub f...

Страница 52: ...d unchanged in size when a LED TV screen displays a black pattern Dark dots are dots that appear dark and unchanged in size when a LED TV screen displays a pure red green or blue pattern Adjacent dots...

Страница 53: ...AE 51 Power Off A0 F0 55 FF AF 50 Power On Off A0 F0 55 FF 0B F4 Volume A0 F0 55 FF 0A F5 Volume A0 F0 55 FF 40 BF Channel A0 F0 55 FF 55 AA Channel A0 F0 55 FF 5A A5 Sleep A0 F0 55 FF 53 AC AV A0 F0...

Отзывы: