GB 8
5. Configuration and Operation
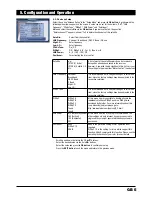
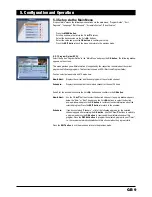
5.2.4 Setup LOCK/PIN
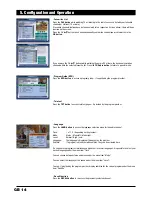
Select the option “Setup Lock/PIN” in the “Setup Menu” and press the OK button. A window with the
following menu items appears on the screen. Subsequently carry out the setting for “Menu Lock”. It is
possible to change your PIN under the menu item “Change Password”. If you wish to change your PIN,
enter a new password under “New Password” and confirm your entry under “Confirm Password”.
Menu Lock:
On / Off
Change Password: Press the OK button if you wish to change your PIN
New Password:
Enter a new four-digit PIN
Confirm Password: Confirm your new four-digit PIN
Important: The PIN »1234« is set ex works.
•
Scroll up and down the list via the CH
왖
/
왔
buttons.
•
Select the desired value via the Vol
왗
/
왘
buttons.
•
Select the value and press the OK button to confirm your setup.
•
Press the EXIT button to exit the menu and return to the previous mode.
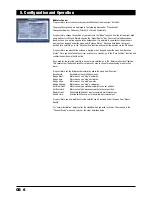
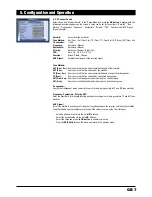
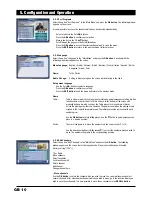
5.2.5 Time Settings
Select the option “Time Settings” in the “Setup Menu” and press the OK button. A window with the
following menu items appears on the screen. A value can be set for these items: “Local Time” (set date
and time), “Sleep Timer” (timer with automatic switch-off function), “Timer” with programming.
Local Time:
Can be entered manually here as: DD;MM;YYYY - Day - hh:mm
Sleep Timer: 0~180 min. Here it is possible to enter after how many minutes the receiver should
automatically switch off. If “0” is displayed the function has not been activated.
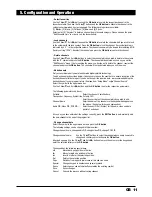
Timer:
Use this function to program the receiver to switch to a desired channel at a certain
time. Up to seven timer functions can be preset.
Switch the “Status” line to “On” and select either TV or radio for the “Channel type”.
Enter the desired channel under “Channel Number”. The name of the selected channel should appear
under “Channel Name”.
Enter at which time the receiver should switch on or off under “Start Time” and the time period under
“Duration”. This function is extremely useful if you wish to record a certain program with your VCR.
•
Scroll up and down the list via the CH
왖
/
왔
buttons.
•
Select the desired value via the Vol
왗
/
왘
buttons.
•
Select the value and press the OK button to confirm your setup.
•
Press the EXIT button to exit the menu and return to the previous mode.
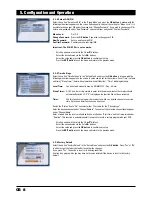
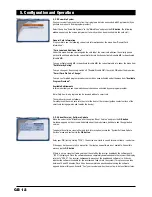
5.2.6 Factory Default
Select the option “Factory Default” in the “Setup Menu” and press the OK button. Press “Yes” or “No”
to either accept the factory default or to confirm the changes.
If you press “Yes”, the device is reset to its delivery condition.
Caution: Any program lists you may have set are also deleted if the device is reset to the factory
default.
Содержание DCX 10
Страница 1: ...Digital Satellite Receiver DCX 10 39730 OPERATING INSTRUCTIONS...
Страница 3: ......
Страница 19: ...GB 17...
Страница 20: ...9903973002 BDA GB 09 2005...


