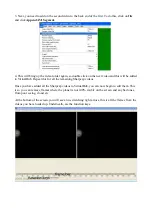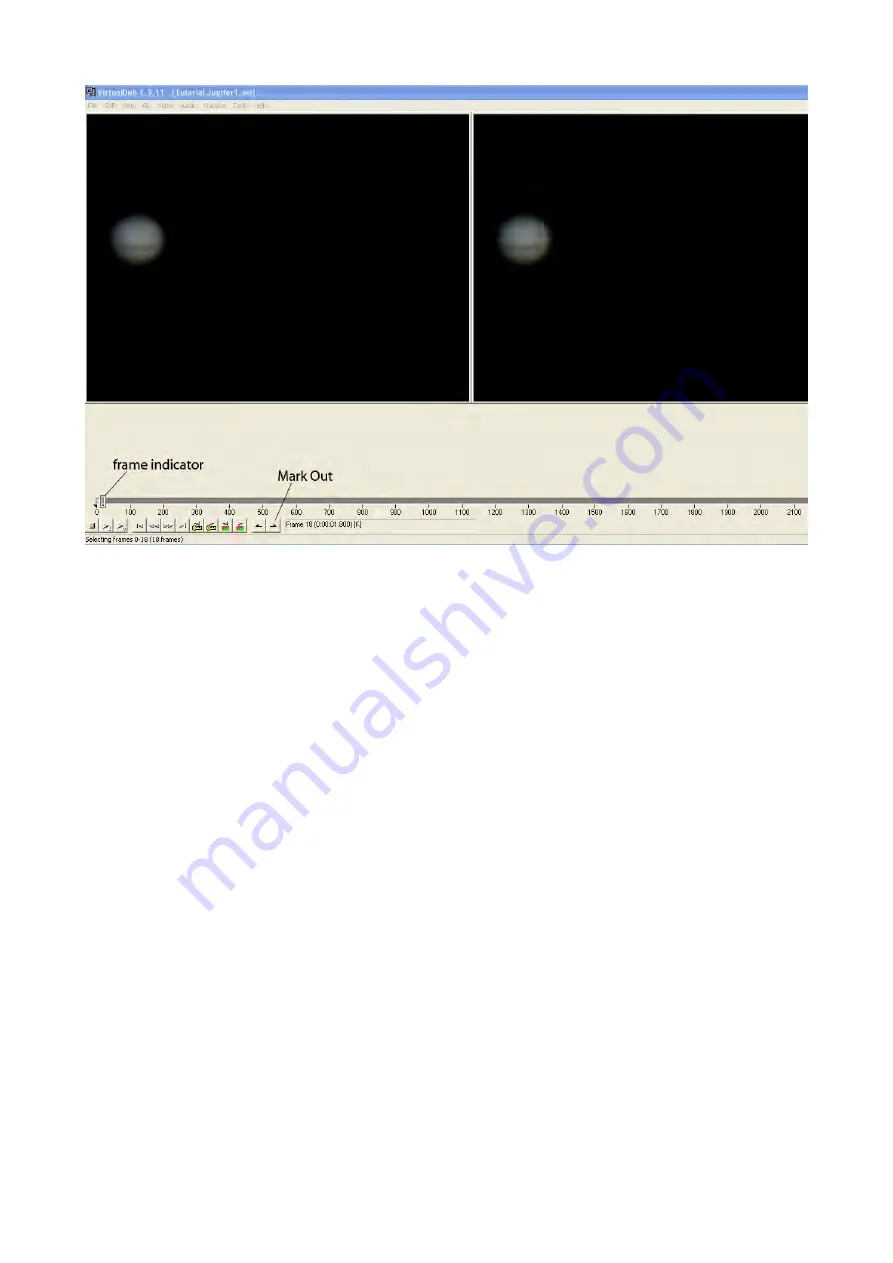
On the frame bar you will now see that this section is in a different colour, we want to delete this
bit.
7. Go to the top of the VirtualDub screen, click
edit
and then click
delete.
That section of the video
is now gone.
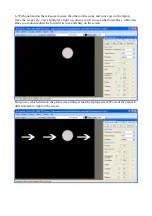
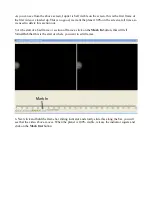
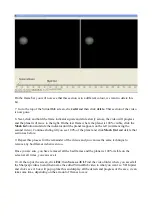
8. Next, click and hold the frame indicator square and slide slowly across, the video will progress
and the planet will move to the right. On the last frame where the planet is 100% visible, click the
Mark In
button and slide the indicator until the planet reappears on the left (commencing the
second video). Continue sliding till you see 100% of the planet and click
Mark Out
and delete that
section as before.
9. Repeat this process for the remainder of the videos and you can use the same technique to
remove any bad frames in-between too.
Once you are sure, you have removed all the bad frames and the planet is 100% visible on the
screen at all times, you can save it.
10. At the top of the screen, click
File
, then
Save as AVI.
Find the video folder where you saved all
the Sharpcap videos to and then name the edited VirtualDub video to what you want i.e. VD Jupiter
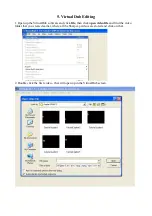
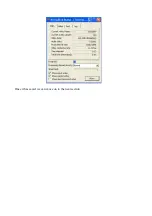
and click save. A box will pop up like this and display all the details and progress of the save, it can
take some time, depending on the amount of frames to save.


