background image

T

RIPOD 

  SET UP

T

ELESCOPE

ASSEMBLY

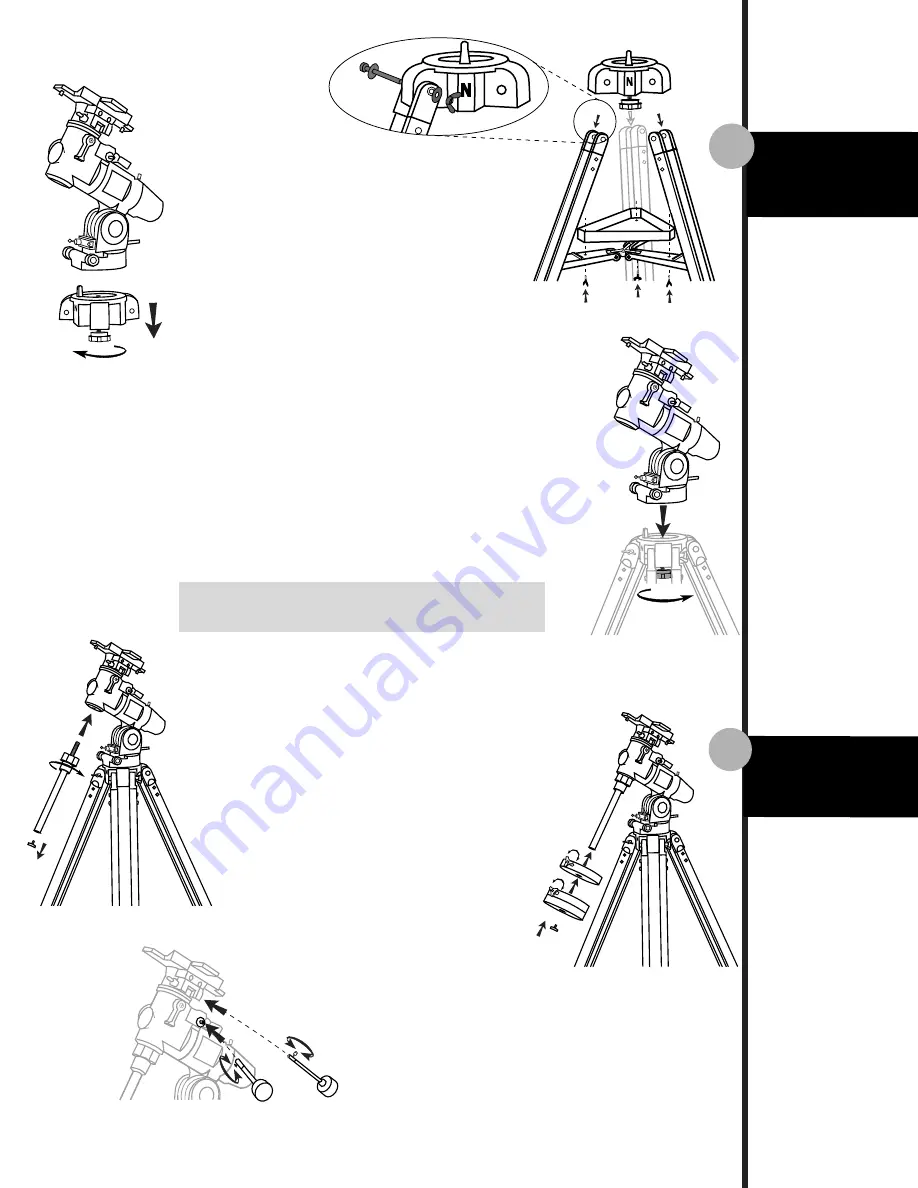
INSTALLING ACCESSORY TRAY (3)

1) Locate tripod leg brace.

2) Use the screws already attached to the 

    hinges to mount the tray platform. 

3) Secure the accessory tray on top of the 

    tray platform using the thumbscrews 

    already attached.

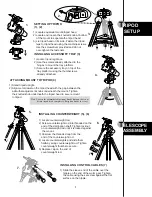
SETTING UP TRIPOD

(1), (2)

1) Locate equatorial mount/tripod head.

2) Locate and loosen the knurled knob at bottom 

    of the mount to seperate the tripod head.

3) Lie tripod head on its side. Fasten the tripod 

    legs to tripod head using the machine screws. 

    Use the screwdriver provided and do not 

    over-tighten the fasteners.

1.

2.

3.

4.

Note: Loosen the azimuthal adjustment knobs if mount does not 

          fit into tripod head completely. Retighten knobs to secure. 

ATTACHING MOUNT TO TRIPOD (4)

1) Stand tripod upright. 

2) Align metal dowel on the tripod head with the gap between the 

    azimuthal adjustment knobs underneath the mount. Tighten

    the knurled knob underneath the tripod head to secure mount 

    to tripod.

INSTALLING COUNTERWEIGHT (5), (6)

1) Locate counterweight rod. 

2) Screw counterweight rod into threaded on the 

    end of the declination shaft. Tighten locknut 

    on counterweight rod until it is locked against 

     the mount. 

3) Unscrew the threaded cap from the 

    end of the counterweight rod.

4) Locate counterweights and slide them 

    halfway along counterweight rod. Tighten 

    counterweight thumbs to secure.

5) Replace cap on the end of 

    counterweight rod. 

6.

5.

INSTALLING CONTROL CABLES (7)

1) Slide the sleeve end of the cable over the 

    nipple on the end of the worm gear. Tighten 

    the cable using the set screw against the flat 

    surface on the nipple. 

7.


Содержание 15012EQ3-2

Страница 1: ...ing Focus Tube Finderscope Finderscope Bracket Finderscope Adjustment Screws Eyepiece Focus Knob Piggyback Bracket Telescope Main Body 1 2 3 4 5 6 7 8 9 10 Dec Control Cable R A Lock Level Polarscope...

Страница 2: ...look directly at the sun Permanent eye damage will result Use a proper solar filter for viewing the sun When observing the sun place a dust cap over your finderscope to protect it from exposure Never...

Страница 3: ...n knobs to secure ATTACHING MOUNT TO TRIPOD 4 1 Stand tripod upright 2 Align metal dowel on the tripod head with the gap between the azimuthal adjustment knobs underneath the mount Tighten the knurled...

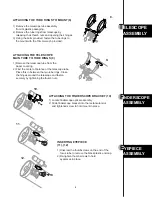
Страница 4: ...e telescope tube assembly from its plastic packaging 2 Remove the tube rings from telescope by releasing their thumb nuts and opening their hinges 3 Using the bolts provided fasten the tube rings to t...

Страница 5: ...tele scope is balanced and remains stationary when released 5 Tighten set screws to hold counterweights in their new position Dec Balancing All accessories should be attached to the telescope before...

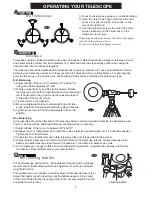
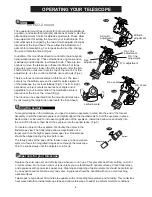
Страница 6: ...apt to ambient moisture conditions P roper care for your telescope Fig h Using the EQ3 2 mount The equatorial mount has controls for both conventional altitude up down and azimuthal left right directi...

Страница 7: ...3rd edition 2000 A Manual Of Advanced Celestial Photography by Brad D Wallis and Robert W Provin Cambridge University Press New York 1984 Astrophotography An Introduction by H J P Arnold Sky Publishi...

Отзывы: