båÖäáëÜ
59 38 399 D3352
D3352.076.01.13.02
07.2008
6 – 37
Tab 6
6.13 Replacing the fixed diaphragm (only XG 3 / 3 PPE)
6.13
6.13
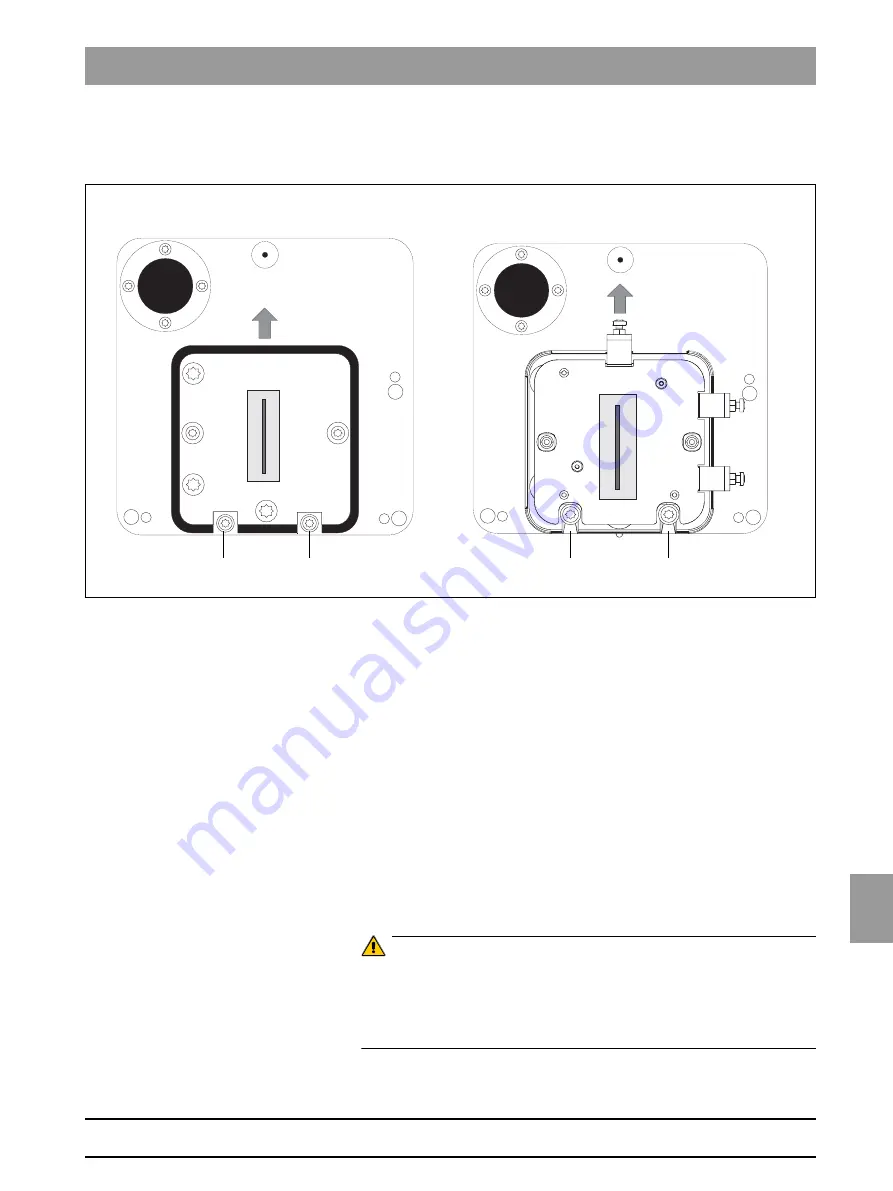
Replacing the fixed diaphragm
(only XG 3 / 3 PPE)
Removing the covers
z
Remove the covers (see also section 1.14):
– Tube assembly, front
– Tube assembly, rear
Removing the defective diaphragm unit
1.
Loosen the two screws
(A)
(approx. 2-3 turns) and push the fixed
diaphragm upward.
Installing the new diaphragm unit
z
Assemble by following the same procedure in reverse order.
Attaching the covers
z
Reattach the covers.
ATTENTION: What to do after replacement?
– Take PAN diaphragm test exposures (see page 7-17)
(e.g. for possible later evaluation by experts).
– Perform the PAN system adjustment (see chapter 4).
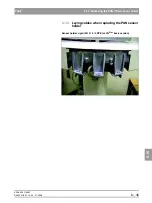
A
A
A
A
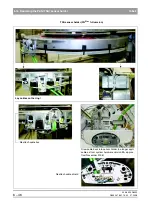
Version delivered until approx. end of 2006
Version delivered after approx. end of 2007
Содержание ORTHOPHOS XG 3 DS
Страница 4: ......
Страница 9: ...ORTHOPHOS XG 1General information...
Страница 12: ...59 38 399 D3352 1 4 D3352 076 01 13 02 07 2008 Tab1...
Страница 59: ...ORTHOPHOS XG 2 Messages...
Страница 124: ...59 38 399 D3352 2 66 D3352 076 01 13 02 07 2008 2 6 List of available service routines Tab 2...
Страница 125: ...ORTHOPHOS XG 3 Troubleshooting...
Страница 152: ...59 38 399 D3352 3 28 D3352 076 01 13 02 07 2008 3 10 Check data paths Generate test images Tab 3...
Страница 153: ...ORTHOPHOS XG 4 Adjustment...
Страница 268: ...59 38 399 D3352 4 116 D3352 076 01 13 02 07 2008 4 6 Resetting the adjustment XGPlus 5 3 3 PPE Tabs 4...
Страница 269: ...ORTHOPHOS XG 5 Service routines...
Страница 433: ...ORTHOPHOS XG 6 Repair...
Страница 436: ...59 38 399 D3352 6 4 D3352 076 01 13 02 07 2008 Tab6...
Страница 530: ...59 38 399 D3352 6 98 D3352 076 01 13 02 07 2008 6 21 Replacing cables Tabs 6...
Страница 531: ...ORTHOPHOS XG 7 Maintenance...
Страница 575: ...b 59 38 399 D3352 D3352 076 01 13 02 07 2008 7 45 Tab 7 7 14 Checking the device leakage current 7 14...
Страница 577: ...b 59 38 399 D3352 D3352 076 01 13 02 07 2008...

