background image

4  


Bind: 

1.  Select the plastic comb most suitable for your document 

size.  Use the plastic comb measuring guide or the fol-
lowing table to assist you in your selection. 

2.  Set the punch depth control to the appropriate setting—

ie:  if you are using a comb that is less than 12mm, slide 
the control to the left and if you are using a comb that is 
greater than 12mm, slide the control to the right.  (See 
Fig. 2.1) 

3.  Insert the plastic comb, with the open side up, behind 

the metal fingers of the comb spreader.  (See Fig. 2.2) 


Diameter  6 8  10 12 14 16 20 22 25 28 32  38 44 50 

Max # of 
Shts 

25 45  65  95  125 145 175 210 240 270 310  375 440 500 

Fig. 1.6 

Punch (continued): 

5.  Slide the punch switch to the left. 
6.  Remove punched documents. 

Note:  If the document is greater than letter size, the fol-
lowing additional steps will need to be taken. 

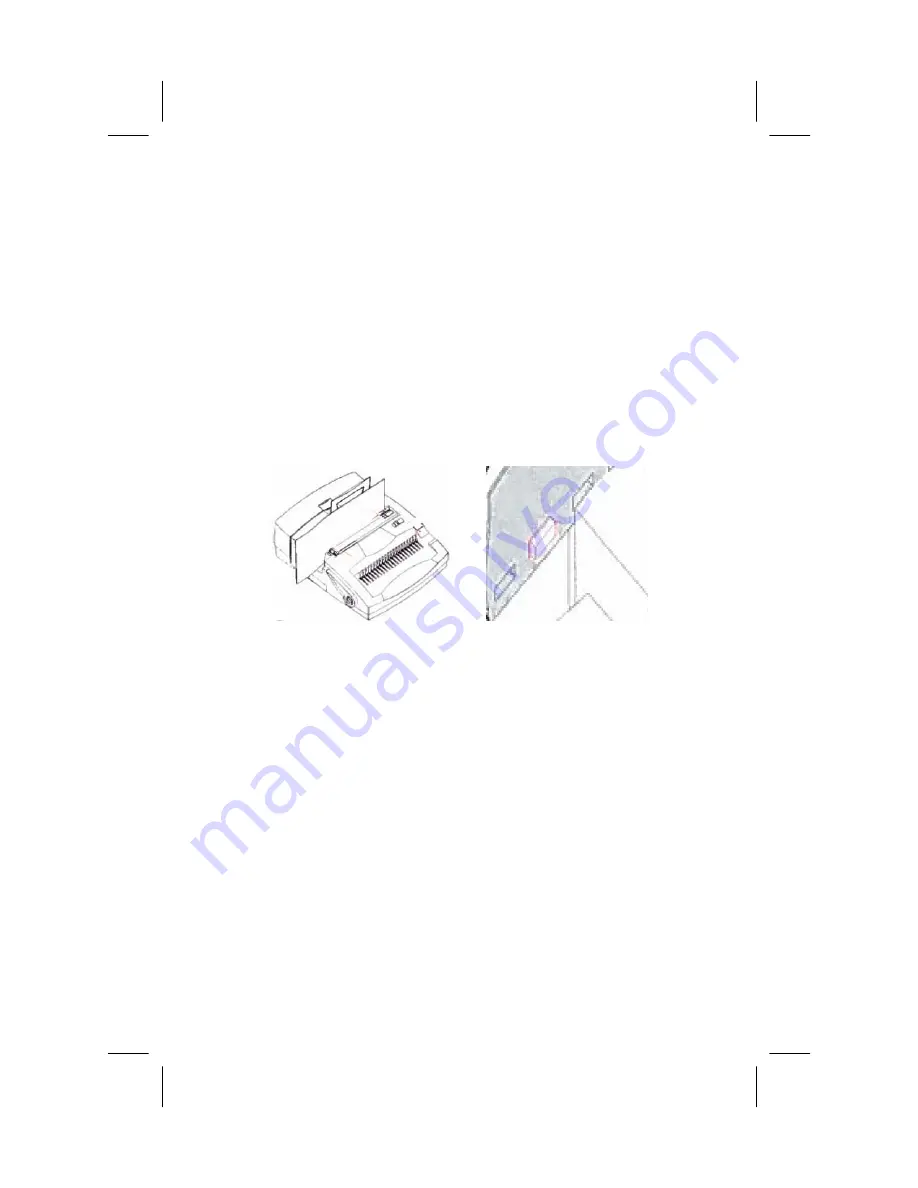
1.  Follow instructions 1-6 for regular sized documents. 
2.  Reverse the punched sheets.  (See Fig. 1.5) 
3.  Make sure you place one punched hole over the metal 

pin.  (See Fig. 1.6) 

4.  Slide the punch switch to the left. 
5.  Remove punched document. 

Fig. 1.5 

Содержание SircleBind CB-3000

Страница 1: ...SircleBind CB 3000 www sirclecorp com ...

Страница 2: ...ts 5 Ensure that the rating plate on the machine is appropri ate for your electricity supply 1 Power Switch 2 Extra Fuse 3 3 Hole Punch Throat 4 Plastic Comb Punch Throat 5 Punch Adjustment Control 6 Margin Guide 7 Metal Pin for punch ing large documents 8 Waste tray 9 Opening Lever 10 Comb Selector Guide 11 Metal Hooks of Comb Spreader 12 Metal Fingers of Comb Spreader 13 Paper Support Tray 14 Pu...

Страница 3: ...1 2 3 Lift up the paper support tray Fig 1 1 Diameter 6 8 10 12 14 16 20 22 25 28 32 38 44 50 Max of Shts 25 45 65 95 125 145 175 210 240 270 310 375 440 500 Fig 1 2 Fig 1 3 4 Use the paper margin guide to properly align papers Tip To ensure proper alignment use a piece of scrap paper to test the punch and adjust if necessary See Fig 1 3 5 Insert sheets into the appropriate punching throat Max 25 ...

Страница 4: ...mb with the open side up behind the metal fingers of the comb spreader See Fig 2 2 Diameter 6 8 10 12 14 16 20 22 25 28 32 38 44 50 Max of Shts 25 45 65 95 125 145 175 210 240 270 310 375 440 500 Fig 1 6 Punch continued 5 Slide the punch switch to the left 6 Remove punched documents Note If the document is greater than letter size the fol lowing additional steps will need to be taken 1 Follow inst...

Страница 5: ...ing handle down towards the front to the machine to close the comb 7 Remove the bound document Bind continued Emptying Waste Tray 1 If you hear an alarm it is necessary to empty the ma chine Note The machine will not function unless the bin is emptied 2 Slide the waste tray out of the unit 3 Empty the waste tray 4 Slide the waste tray back into the machine ...

Страница 6: ...h Electric Bind Manual Punch Depth Control Yes Max Page Size Letter w Open Throat Bind Capacity 2 51 mm Sheet Capacity 500 Margin Guide Yes Edge Guide Adjustable Paper Load Vertical Disengageables No Machine Dimensions 17 x 21 x 8 Box Dimensions 24 x 19 5 x 9 5 MC Dimensions 25 x 21 x 10 5 Net Weight 36 4 lbs Gross Weight 44 lbs Technical Specifications ...

Отзывы: