background image

Safety

2

READ AND FOLLOW 

SAFETY INSTRUCTIONS!

This is the safety alert symbol. 

When you see this

symbol on your pump or in this manual, look for

one of the following signal words and be alert to the
potential for personal injury:

warns about hazards that 

will 

cause serious

personal injury, death or major property damage if
ignored.

warns about hazards that 

can

cause serious

personal injury, death or major property damage if
ignored.

warns about hazards that 

will

or 

can

cause

minor personal injury or property damage if ignored.

The label 

NOTICE

indicates special instructions which

are important but not related to hazards.

Carefully read and follow all safety instructions in this
manual and on pump.

Keep safety labels in good condition. 
Replace missing or damaged safety labels.

ELECTRICAL SAFETY

Hazardous voltage. Can shock, burn, or

kill. 

Capacitor voltage may be hazardous. To discharge

motor capacitor, hold insulated handle screwdriver 

BY

THE HANDLE

and short capacitor terminals together. Do

not touch metal screwdriver blade or capacitor terminals.
If in doubt, consult a qualified electrician. 

GENERAL SAFETY

Burn hazard. Do not touch an operating

motor.

Modern motors can operate at high temperatures.

To avoid burns when servicing pump, allow it to cool for
20 minutes after shut-down before handling.

Do not allow pump or any system component to freeze.
To do so will void warranty.

Pump water only with this pump.

Periodically inspect pump and system components.

Wear safety glasses at all times when working on pumps.

Keep work area clean, uncluttered and properly lighted;
store properly all unused tools and equipment.

Keep visitors at a safe distance from the work areas.

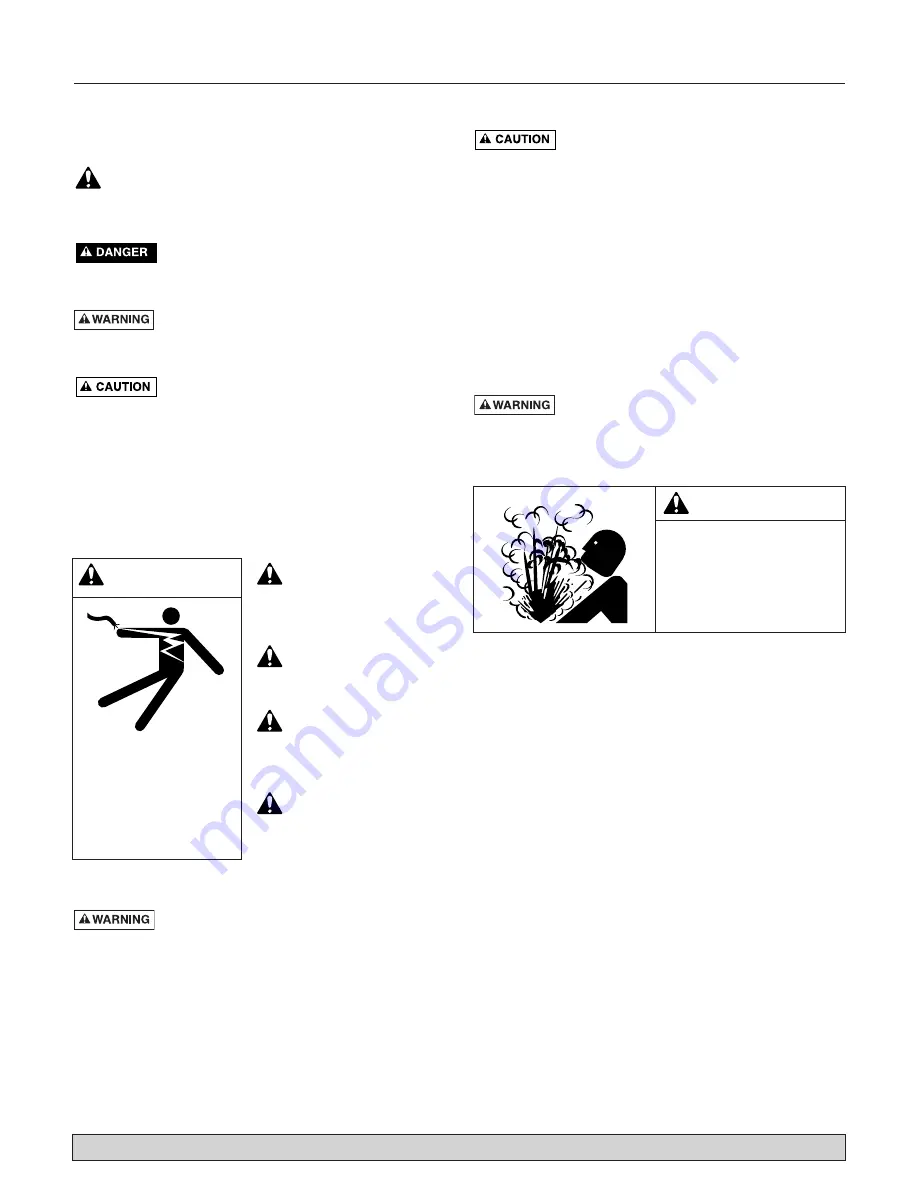
Hazardous pressure. Risk of explosion.

Pump body may explode if used as a booster pump
unless relief valve capable of passing the full pump flow
at 75 psi is installed.

BASIC TOOLS AND 
MATERIALS NEEDED

Plastic Pipe Installation

Tools

Pipe Wrenches
Screwdriver
Knife or Saw to Cut Plastic Pipe
Tire Pressure Gauge

Materials

Plastic Pipe and Fittings (as required to complete job).
Teflon Tape (DO NOT use joint compound on plastic 

fittings).

Galvanized Steel Pipe Installation

Tools

Pipe Wrenches
Screwdriver
Pipe Cutting and Threading Tools
Tire Pressure Gauge

Materials

Galvanized Pipe and Fittings (as required to 

complete job).

Pipe Joint Compound or Teflon Tape

WARNING

Hazardous pressure! 
Install pressure relief 
valve in discharge pipe.

Release all pressure on 
system before working on 
any component.

WARNING

Hazardous voltage.
Can shock, burn, or
cause death.

Ground pump before 
connecting to power 
supply. Disconnect power
before working on pump,
motor or tank.

Wire motor for correct

voltage. See “Electrical”

section of this manual and
motor nameplate.

Ground motor before

connecting to power 

supply.

Meet National Electri-

cal Code, Canadian

Electrical Code, and local
codes for all wiring.

Follow wiring instruc-

tions in this manual

when connecting motor to
power lines.

For parts or assistance, call Simer Customer Service at 

1-800-468-7867 / 1-800-546-7867

Содержание 2806E-02

Страница 1: ...67 Fax 1 800 390 5351 Web Site http www simerpump com Installation Operation Parts For further operating installation or maintenance assistance Call 1 800 468 7867 English Pages 2 12 Installation Fonc...

Страница 2: ...pump Periodically inspect pump and system components Wear safety glasses at all times when working on pumps Keep work area clean uncluttered and properly lighted store properly all unused tools and e...

Страница 3: ...nstallation operation maintenance or storage nor to other than normal application use or service including but not limited to operational failures caused by corrosion rust or other foreign materials i...

Страница 4: ...on 1 1 1 4 1 1 2 Up to 25 Ft 25 to 100 Ft 100 to 600 Ft Tank Tank is pre charged with 40 pounds per square inch PSI air pressure at the factory Your tank requires an air charge of 28 PSI for proper op...

Страница 5: ...pump include a check valve see Figure 1 Support the pipe so that there are no dips or sags in the pipe so it doesn t strain the pump body and so that it slopes slightly upward from the well to the pu...

Страница 6: ...The suction pipe should be at least as large as the suction port on the pump Use teflon tape or a teflon based pipe joint compound on threaded pipe joints Support the pipe so that there are no dips o...

Страница 7: ...in the pump will not harm it if it freezes Discharge Pipe and Pressure Tank Connections 7 For parts or assistance call Simer Customer Service at 1 800 468 7867 1 800 546 7867 Sealing Pipe Joints Use o...

Страница 8: ...in the switch to the green ground screw under the motor end cover Use a solid copper wire at least as large as the power sup ply wires 3 Connect the ground wire to a grounded lead in a ser vice panel...

Страница 9: ...ll plugs Refill the pump and piping You may have to repeat this several times in order to get all the trapped air out of the piping A pump lifting water 25 may take as long as 15 minutes to prime 4 Af...

Страница 10: ...es Water slinger seal plate gasket shaft seal and diffuser gasket Includes Pump body nozzle and venturi Includes Seal and Gasket Kit impeller and diffuser Key Part 2805E 02 No Description 1 2HP 1 Moto...

Страница 11: ...er 1 U31 380P 2 Air Valve and Cap 1 U212 160 3 Replacement Tank 1 HT7 01 4 Inlet Flange 1 U31 442P 5 Nut 5 16 18 Hex 6 U36 202BT 6 Elbow 3 4 MPT x 1 Insert 1 U78 770P 7 Clamp 2 U19 55SS 8 Hose 1 x 29...

Страница 12: ...ttom of water source buried in sand or mud Clean foot valve and strainer Water level is too low for shallow well A deep well jet package may be needed over 25 ft to water setup to deliver water to del...

Страница 13: ...t me Toujours porter des lunettes de s curit pour intervenir sur la pompe et les composants du syst me Garder la zone de travail propre non encombr e et bien clair e tous les outils et tout l quipemen...

Страница 14: ...qui n ont pas t utilis s ou entretenus normalement y compris mais sans s y limiter aux produits ayant des pannes de fonctionnement caus es par la corrosion la rouille ou autre corps tranger dans le s...

Страница 15: ...servoir requiert une charge d air de 28 lb po2 pour fonctionner correctement V rifier la pression du r servoir l aide d un manom tre pour pneus et r gler la charge d air La pr charge du r servoir doit...

Страница 16: ...de fa on qu il ne fl chisse pas et qu il n exerce pas de contrainte sur le corps de la pompe L incliner aussi l g rement en montant vers la pompe les points hauts risquent de causer des poches d air l...

Страница 17: ...cords filet s au t flon sur les raccords filet s Supporter le tuyau de fa on qu il ne fl chisse pas et qu il n exerce pas de contrainte sur le corps de la pompe De plus il doit tre l g rement inclin e...

Страница 18: ...u n endommagera pas la pompe en cas de gel Tuyau de refoulement et connexions du r servoir sous pression 18 Pour les services des pi ces ou d assistance appeler le service la client le Simer en compos...

Страница 19: ...la terre qui se trouve sous le couvercle d extr mit du moteur Utiliser un fil de cuivre massif dont le diam tre sera au moins aussi gros que les fils de l alimentation lectrique 3 Connecter le fil de...

Страница 20: ...l faudra peut tre r p ter cette op ration plusieurs fois jusqu ce que tout l air emprisonn dans les tuyaux soit chass Si la pompe aspire l eau d une hauteur de 7 60 m tres 25 pieds il lui faudra peut...

Страница 21: ...tanch it impulseur et diffuseur 2805E 02 R f D signation des pi ces 1 2 CV 1 Moteur J218 577PKG 2 Plaque d tanch it N3 9 3 Trousse de joints d tanch it FPP1550 P2 4 Corps de la pompe N176 38 5 Trousse...

Страница 22: ...31 380P 2 Valve d air et bouchon 1 U212 160 3 R servoir de rechange 1 HT7 01 4 Bride d admission 1 U31 442P 5 crou six pans de 5 16 18 6 U36 202BT 6 Coude de 3 4 de po MPT x garniture de 1 po 1 U78 77...

Страница 23: ...air dans le r servoir soit de 2 lb po2 inf rieures au r glage de d clenchement du pressostat S assurer que la valve ne fuit pas utiliser une solution savonneuse pour cela Au besoin remplacer l obus d...

Страница 24: ...El rea de trabajo se debe mantener limpia ordenada y con iluminaci n adecuada guarde las herramientas y el equipo que no utilice en un lugar apropiado Mantenga a los visitantes a una distancia segura...

Страница 25: ...ntenimiento o almacenaje incorrectos ni a ninguna otra cosa que no sea su aplicaci n uso o servicio normales incluyendo pero no limitado a fallas operacionales causadas por corrosi n oxidaci n u otros...

Страница 26: ...a carga de aire de 28 PSI para un fun cionamiento correcto verifique la presi n del tanque con un man metro para neum ticos y ajuste la carga de aire seg n sea necesario Es importante chequear la pre...

Страница 27: ...a de manera que no tenga incli naciones ni combaduras para no ejercer presi n sobre el cuerpo de la bomba y hacer que se incline ligeramente hacia arriba desde el pozo a la bomba los puntos elevados p...

Страница 28: ...menos del mismo tama o que la toma de aspiraci n en la bomba Utilice cinta de tefl n o un compuesto a base de tefl n en las juntas fileteadas de la tuber a Apoye la tuber a de manera que no tenga incl...

Страница 29: ...e congela Tuber a de Descarga y Conexiones del Tanque de Presi n 29 Para repuestos o asistencia llame al Servicio al Cliente de Simer 1 800 468 7867 1 800 546 7867 Sellado de las Juntas de Tuber a Use...

Страница 30: ...lo menos del tama o de los hilos de suministro de energ a 3 Conecte el hilo de toma de tierra a un conductor a tierra del tablero de servicio a un tubo met lico de agua subterr nea a un entubamiento m...

Страница 31: ...para sacar todo el aire atrapado dentro de la tuber a La cebadura de una bomba que deba extraer agua a una altura de 25 pies puede demorar hasta 15 minutos 4 Despu s de que la bomba haya acumulado pre...

Страница 32: ...usor Incluye Cuerpo de la bomba boquilla y venturi Incluye Juego de junta y empaquetadura impulsor y difusor Clave 2805E 02 No Descripci n de la pieza 1 2HP 1 Motor J218 577PKG 2 Unidad de la placa de...

Страница 33: ...80P 2 V lvula de aire y casquete 1 U212 160 3 Tanque de repuesto 1 HT7 01 4 Brida de admisi n 1 U31 442P 5 Tuerca hexagonal de 5 16 18 6 U36 202BT 6 Codo de inserci n de 3 4 MPT x 1 1 U78 770P 7 Abraz...

Страница 34: ...resi n del aire sea 2 PSI menos que la presi n de activaci n del man stato Verifique que no haya fugas en la v lvula de aire utilice una soluci n jabonosa y reemplace el n cleo si es necesario El nive...

Страница 35: ...35...

Страница 36: ......

Отзывы: