


2902686 (0)
Manuel d’entretien
Installatie-, gebruiks- en onderhoudsvoorschriften
Installation, use and maintenance instructions
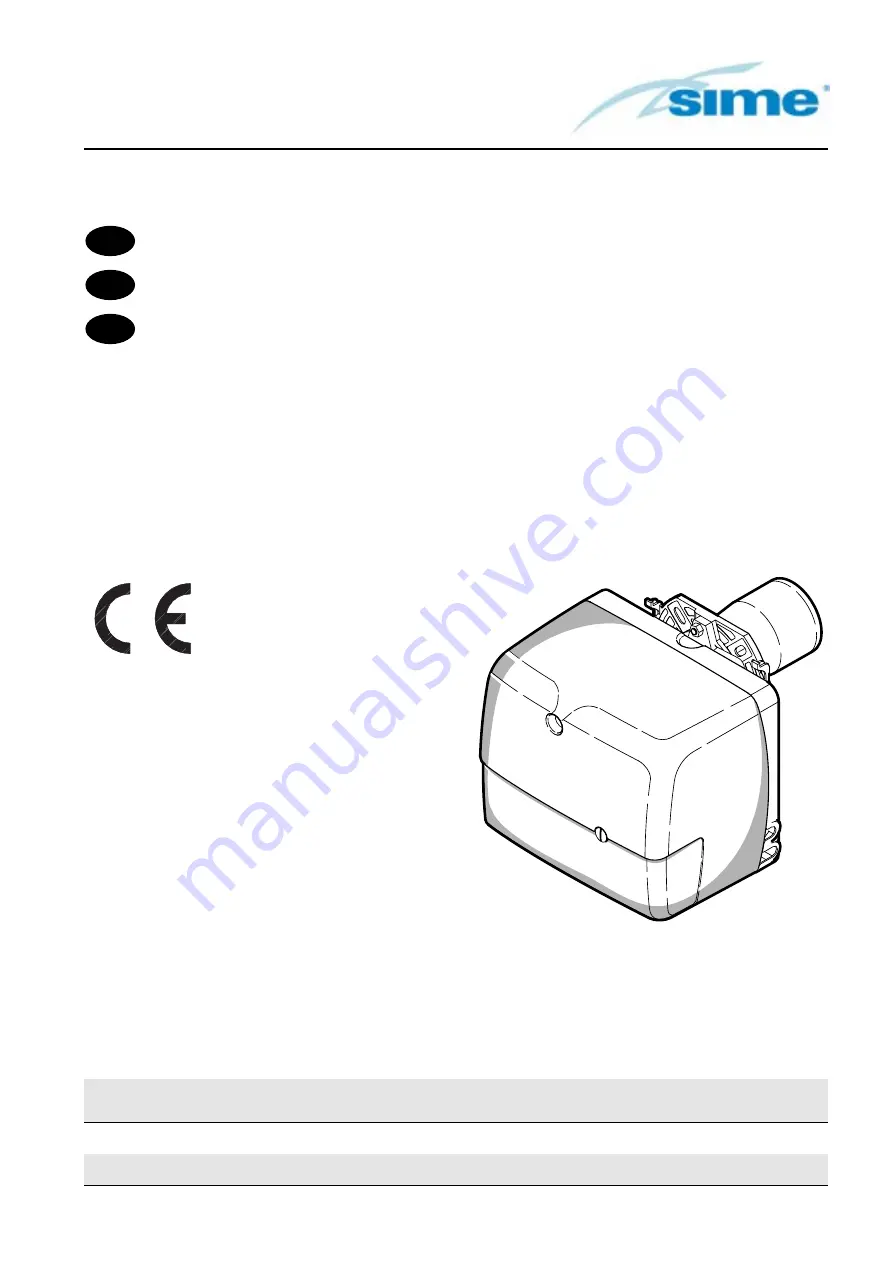
Oil burners
Brûleurs fioul
Stookoliebranders
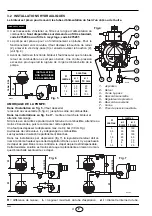
CODE
MODEL - MODELE
TYPE
8099020
SIME MACK 4SP
515 T3
8099040
SIME MACK 5SP
515 T5
GB
F
NL
One stage operation
Fonctionnement à 1 allure
Eentrapsbranders


