


1-2
6
Getting Started
Automatically Adjusting the Size
and Centering of the Picture
By pressing the
button, the size and centering of the
picture are automatically adjusted to fit the screen.
1
Turn on the monitor and computer.
2
Press the
button.
The picture is adjusted to fit the center of the screen.
Notes
• This function is intended for use with a computer running
graphic user interface software that provides a full-screen
picture. It may not work properly if the background color is
dark or if the input picture does not fill the screen to the edges.
• The screen may go blank for a few seconds while performing the
auto-sizing function. This is not a malfunction.
• Although the signals for picture aspect ratio 5:4 (resolution: 1280
×
1024) do not fill the screen to the edges, the picture is
accurately displayed.
Using the LANG (Language) On-
screen Display
English, French, German, Spanish, Italian and Japanese
versions of the OSDs are available.
1
Press the
button.
The MENU OSD appears.
to a power outlet
to AC IN
Power cord
Setup
This monitor works with platforms running at horizontal
frequencies between 30 and 107 kHz.
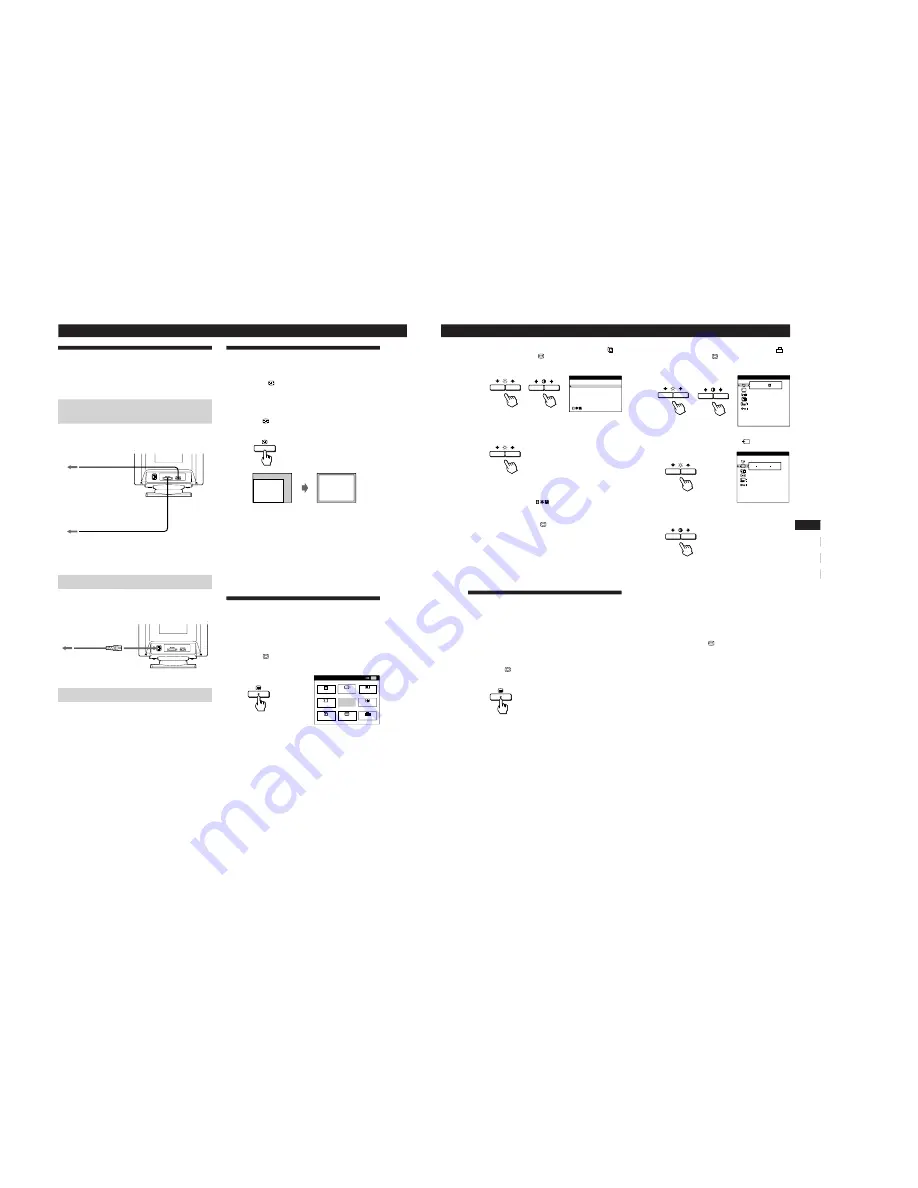
Step 1: Connect the monitor to the
computer
With the computer switched off, connect the video signal
cable to the video output of the computer.
Note
Do not short the pins of the video signal cable.
Step 2: Connect the power cord
With the monitor switched off, connect one end of the
proper power cord for your local supply to the monitor and
the other end to a power outlet.
Step 3: Turn on the monitor and computer
The installation of your monitor is complete.
Note
If “OUT OF SCAN RANGE” or “NO INPUT SIGNAL” appears on
the screen, see “Warning Messages” on page 18.
To a computer with
an HD15 video output
To a computer with
a 13W3 video output
MENU
EXIT
CENTER
SIZE
GEOM
COLOR
LANG
ZOOM
SCREEN
OPTION
OK
MENU
7
Getting Started
Getting Started
F
GB
ES
C
2
Press the
¨
.
/
>
and
>
?
/
/
buttons to select “
LANG,” and press the
button again.
The LANGUAGE OSD appears.
3
Press the
¨
.
/
>
buttons to select the desired
language.
ENGLISH: English, FRANÇAIS: French,
DEUTSCH: German, ESPAÑOL: Spanish,
ITALIANO: Italian, or
: Japanese.
The OSD automatically disappears after about 30 seconds.
To close the OSD, press the
button again.
For more information on using the OSD, see “Introducing
the On-screen Display System” on page 8.
To reset to English, press the
?
(reset) button while the
OSD is on.
Selecting the Input Signal
This monitor has two signal input connectors (HD15 and
13W3) and can be connected to two computers. When the
power of both computers is on, select the input signal you
want to view as follows.
1
Turn on the monitor and both computers.
2
Press the
button.
The MENU OSD appears.
ENGLISH
FRANÇAIS
DEUTSCH
ESPAÑOL
I TA LIANO
LANGUAGE
3
Press the
¨
.
/
>
and
>
?
/
/
buttons to select “
OPTION,” and press the
button again.
The OPTION OSD appears.
4
Press the
¨
.
/
>
buttons to select “
(INPUT).”
5
Press the
>
?
/
/
buttons to select “1” or “2.”
When “1” is selected
The signal from the computer connected to the HD15
connector is input to the monitor.
When “2” is selected
The signal from the computer connected to the 13W3
connector is input to the monitor.
The OPTION OSD automatically disappears after about 30
seconds.
To close the OSD, press the
button again.
When you connect computers to both connectors
If you restart the computer you want to view, or that
computer is in power saving mode, the monitor may
automatically select the other connector‘s signal. This is
because the monitor switches from the interrupted signal to
the constant signal. If this happens, manually select the
desired signal.
ON
MANUAL DEGAUSS
UNLOCK
1 MIN
OPTION
ZZ...
1
ZZ...
INPUT
1 MIN
OPTION
UNLOCK
2
Содержание GDM-5011P
Страница 37: ...GDM 5011P 6 4 MEMO ...


