3
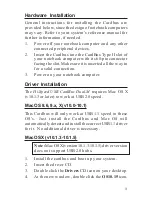
Hardware Installation
General instructions for installing the Cardbus are
provided below, since the design of notebook computers
may vary. Refer to your system’s reference manual for
further information, if needed.
1.
Power off your notebook computer and any other
connected peripheral devices.
2.
Insert the Cardbus into the CardBus Type II slot of
your notebook computer with its 68-pin connector
facing the slot. Make sure it is inserted all the way in
for a solid connection.
3.
Power on your notebook computer.
Driver Installation
The Hi-Speed USB CardBus Dual-M requires Mac OS X
(v10.1.3 or later) to work at USB 2.0 speed.
Mac OS 8.6, 9.x, X (v10.0-10.1)
This Cardbus will only work at USB 1.1 speed in these
OS's. Just install the Cardbus and Mac OS will
automatically detect and install the correct USB 1.1 driver
for it. No additional driver is necessary.
Mac OS X (v10.1.3-10.1.5)
Note: Mac OS X (version 10.1.3-10.1.5) driver version
does not support USB 2.0 hubs.
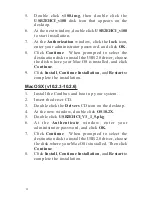
1.
Install the cardbus and boot up your system.
2.
Insert the driver CD.
3.
Double click the Drivers CD icon on your desktop.
4.
At the new window, double click the OS10.15 icon.


