7
Siemens
A6V11739247_en--_a
Smart Infrastructure
2020-10-08
Mounting
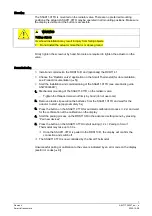
The SSA911.01TH is mounted on the radiator valve. There are no preferred mounting
positions; the actuator SSA911.01TH may be operated in all mounting positions. Make sure
the display is visible and the button is accessible.
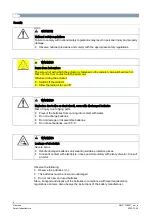
WARNING
Falling objects
Overhead installation may result in injury from falling objects.
● Do not install the actuator more than 2 m above ground.
Firmly tighten the screw nut by hand. No tools are required to tighten the actuator on the
valve.
Commissioning
w
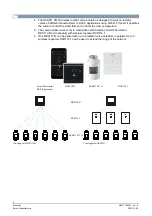
Install and commission the RDS110.R and (optionally) the RCR114.1
w
Choose the “Radiator valve” application on the Smart Thermostat (for documentation,
see Product documentation [➙ 5])
w
Start the installation and commissioning of the SSA911.01TH (see also Quick guide
A5W00046617)
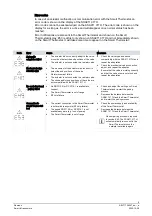
1. Mechanical mounting of the SSA911.01TH on the radiator valve
– Tighten the threaded screw nut firmly by hand (do not use tools)
2. Remove plastic slip securing the batteries from the SSA911.01TH and wait for the
actuator to start up (approximately 5 s)
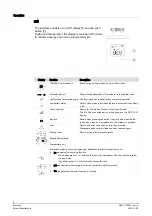
3. Press the button on the SSA911.01TH for automatic calibration process (> 2 s) and wait
for the confirmation of the calibration on the display
4. Start the pairing process on the RDS110.R in the advanced setting menu by pressing
“Pair new devices”
5. Press the button on the SSA911.01TH to start pairing (> 2 s). Pairing to Smart
Thermostat may take up to 30 s.
a
Once the SSA911.01TH is paired to the RDS110.R, the display will confirm the
connection and switch off.
a
The SSA911.01TH is now controlled by the Smart Thermostat
Unsuccessful pairing or calibration to the valve is indicated by an error code on the display
(see Error codes [➙ 9]).

