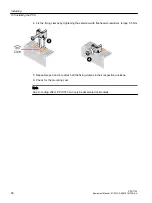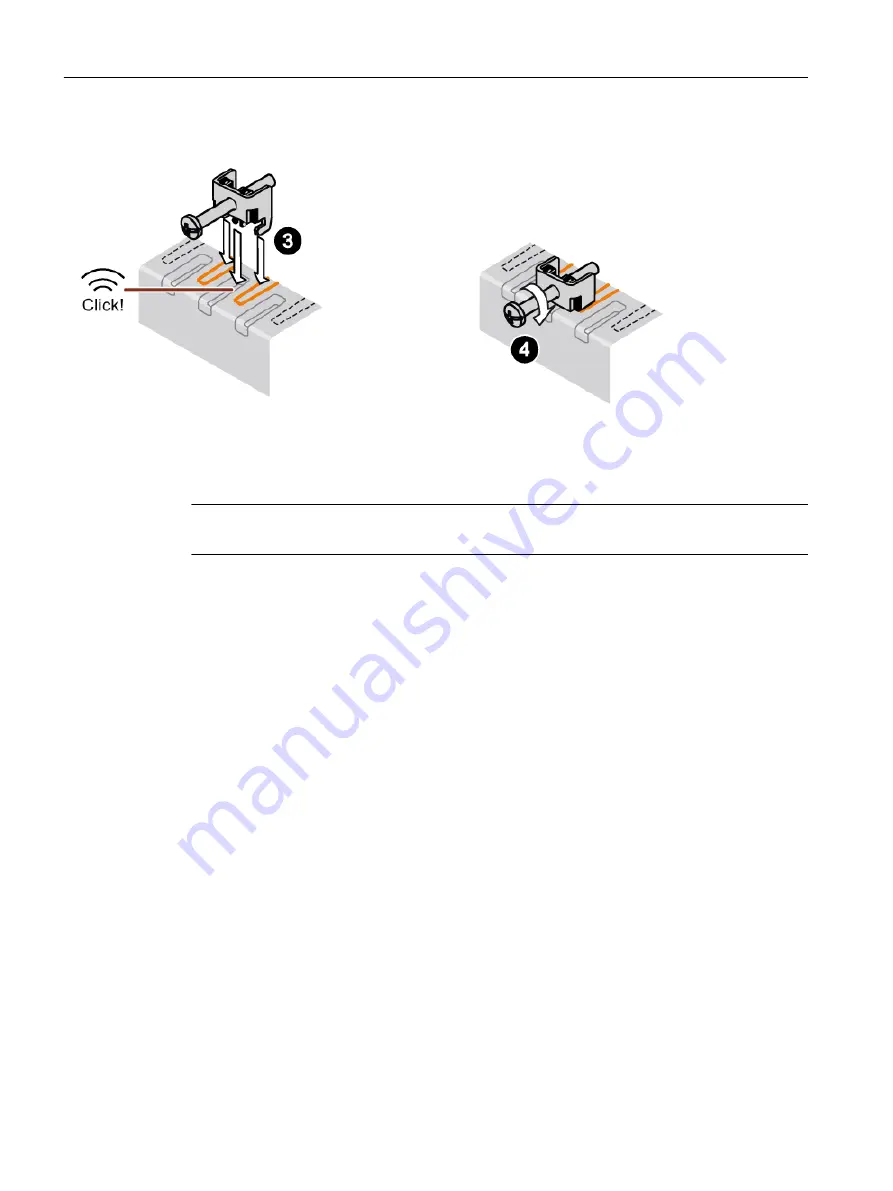
4. Fix the fixing clamps by tightening the setscrew with flat-head screwdriver, torque 0.5 Nm.
5. Repeat steps 3 and 4 to attach all the fixing clamps in their respective positions.
6. Check for the mounting seal.
Note
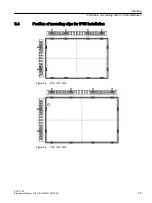
Due to cooling effect, PPU1740 can only be assembled horizontally.
Installing
5.3 Installing the PPU
PPU 1740
58
Equipment Manual, 01/2019, A5E47615272B AA
Содержание SINUMERIK ONE PPU 1740 Series
Страница 22: ...System overview 2 2 System configuration PPU 1740 22 Equipment Manual 01 2019 A5E47615272B AA ...
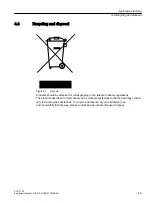
Страница 50: ...Application planning 4 4 Recycling and disposal PPU 1740 50 Equipment Manual 01 2019 A5E47615272B AA ...
Страница 82: ...Interface description 7 7 USB PPU 1740 82 Equipment Manual 01 2019 A5E47615272B AA ...
Страница 92: ...Connectable components 8 1 NX10 3 NX15 3 PPU 1740 92 Equipment Manual 01 2019 A5E47615272B AA ...
Страница 98: ...Technical data 9 1 Relevant directives and standards PPU 1740 98 Equipment Manual 01 2019 A5E47615272B AA ...
Страница 100: ...Spare parts and accessories PPU 1740 100 Equipment Manual 01 2019 A5E47615272B AA ...
Страница 104: ...Appendix 11 2 Documentation overview ONE PPU 1740 104 Equipment Manual 01 2019 A5E47615272B AA ...


