Chapter 2
Installing the Device
RUGGEDCOM MX5000RE
Installation Guide
22
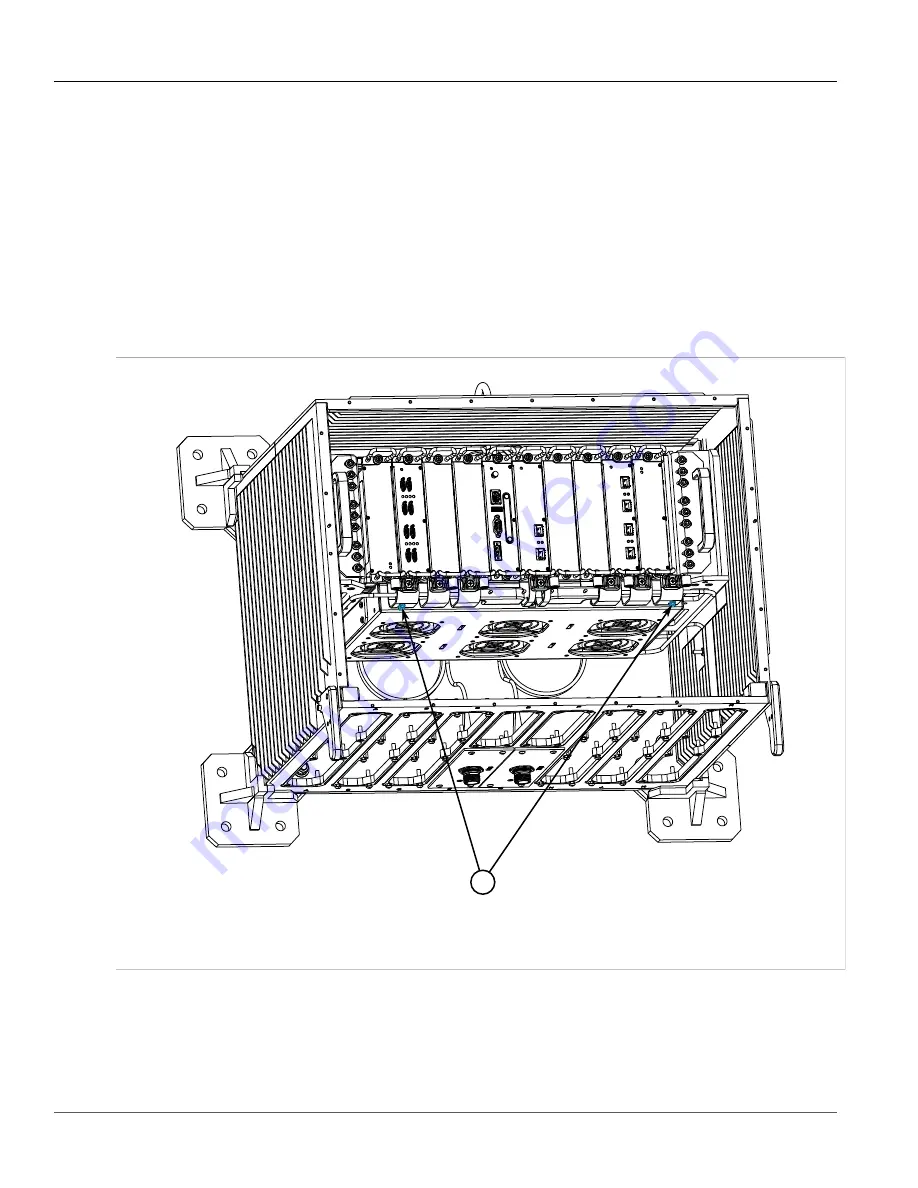
Installing the Fan Tray
2. Align the fan tray with the pins on the bottom of the internal mounting brackets inside the RUGGEDCOM
MX5000RE.
3. Slide the fan tray onto the locating pins until the fan tray mount brackets touch the RUGGEDCOM MX5000RE
inner mount brackets.
4. Secure the fan tray using six (6) screws. Use Loctite® 242 on all screws.
5. Take the free ends of the fan control cables and straighten the cables side by side.
6. Take the right side fan control cable and thread it through the three (3) loops on the left side of the fan tray.
7. Connect the fan control cable to the left side DB25 connector.
8. Repeat
and
using the left side fan control cable.
9. Apply Loctite® 222 on the DB25 plug screws. Tighten the DB25 connector screws moderately.
1
Figure 17: Fan Tray Cable Clips
1.
Cable Clip
10. Secure the cables using two (2) cable ties through the slots on the outermost cable clips on the fan tray. Make
sure the cables are held snug and are unable to slide freely.
11. After tightening the cable ties, trim and remove any excess length.
Содержание RUGGEDCOM MX5000RE
Страница 4: ...RUGGEDCOM MX5000RE Installation Guide iv ...
Страница 10: ...Preface RUGGEDCOM MX5000RE Installation Guide x Customer Support ...
Страница 18: ...Chapter 1 Introduction RUGGEDCOM MX5000RE Installation Guide 8 Decommissioning and Disposal ...
Страница 38: ...Chapter 2 Installing the Device RUGGEDCOM MX5000RE Installation Guide 28 Connecting Power to the Enclosure ...
Страница 52: ...Chapter 4 Modules RUGGEDCOM MX5000RE Installation Guide 42 Installing Removing Power Supply Modules ...
Страница 56: ...Chapter 5 Technical Specifications RUGGEDCOM MX5000RE Installation Guide 46 Dimension Drawings ...


