

Powering up the System
1. To power on the system, open the LCD lid.
2. There is a short delay from opening the lid until
the system is ready to image.
3. Power off the system by closing the LCD lid or
pressing
MENU
and selecting
Shutdown
.
Note:
The system clears the current study or patient data when powering
off. To save the information press
STORE
.
Beginning an Exam
To register a patient:
1. Press the
NEW PATIENT
button to enter patient
name and ID. Use the QWERTY keypad to
enter information.
2. The
ENTER
or
SELECT
keys move between fields.
3. Press the
RETURN
or
SELECT
keys to save the new
patient information.
a. Press
ESC
or
NEW PATIENT
keys to exit the new
patient screen without saving the data.
4. Select
EXAM TYPE.
Bypass of patient registration:
1. Begin exam.
2. Press
STORE
to store images and loops.
3. System stores images and loops to “Unknown”
patient identifier.
Image Screen Display:
Active exam type, depth, gain, frames per second,
grayscale map and compression curve display in upper
left of the image screen.
If TGO™ tissue grayscale optimization technology
is enabled, TGO gain is displayed.
Emergency Workflow
1. Open lid to power up.
2. Do not register patient, unfreeze to begin scanning.
3. Press Store to save images and loops.
4. Patient registered as “Unknown”.
Note:
To change system screen brightness (different ambient lighting
situations) press
MENU
and scroll down to
SCREEN BRIGHTNESS
.
Acquiring an Image
1. The P10 system powers up in
FREEZE
mode to
conserve battery life.
2D Imaging:
1. Press
FREEZE
to enter 2D-mode.
2. Use the Navigation ring buttons to make
adjustments to depth and gain.
a. Up and down to adjust depth.
b. Left and right to adjust gain.
3. Press
SELECT
to activate the imaging pop-up
menu and access other imaging controls (buttons
move up and down menu.
4. Press
SELECT
again to activate the menu item
and make selection.
To...
…do this:
Icon
Change image
Select
Gain +/-
or
gain/brightness
press up/down buttons
on navigation ring
Adjust depth
Select
Depth +/-
or
press up/down buttons
on navigation ring
Activate/deactivate TGO
Select
TGO On/Off
(2D Menu)
Display annotations
Select
Annotations
(2D Menu)
2D Imaging Pop-up Menu:
TGO –
Tissue Gain Optimization, or automatic
gain/brightness uniformity and contrast resolution
adjustment.
Zoom –
magnifies image.
RGB Map –
selects different grey scale (RGB)
display maps.
Depth –
changes depth setting.
Gain –
changes overall gain setting.
Comp Map –
displays compression curves (changes
dynamic range of image).
Note:
TGO technology affects the whole image including artifacts and
defects. For optimal TGO performance, ensure full transducer contact,
minimize depth, and avoid bright reflectors (gas).
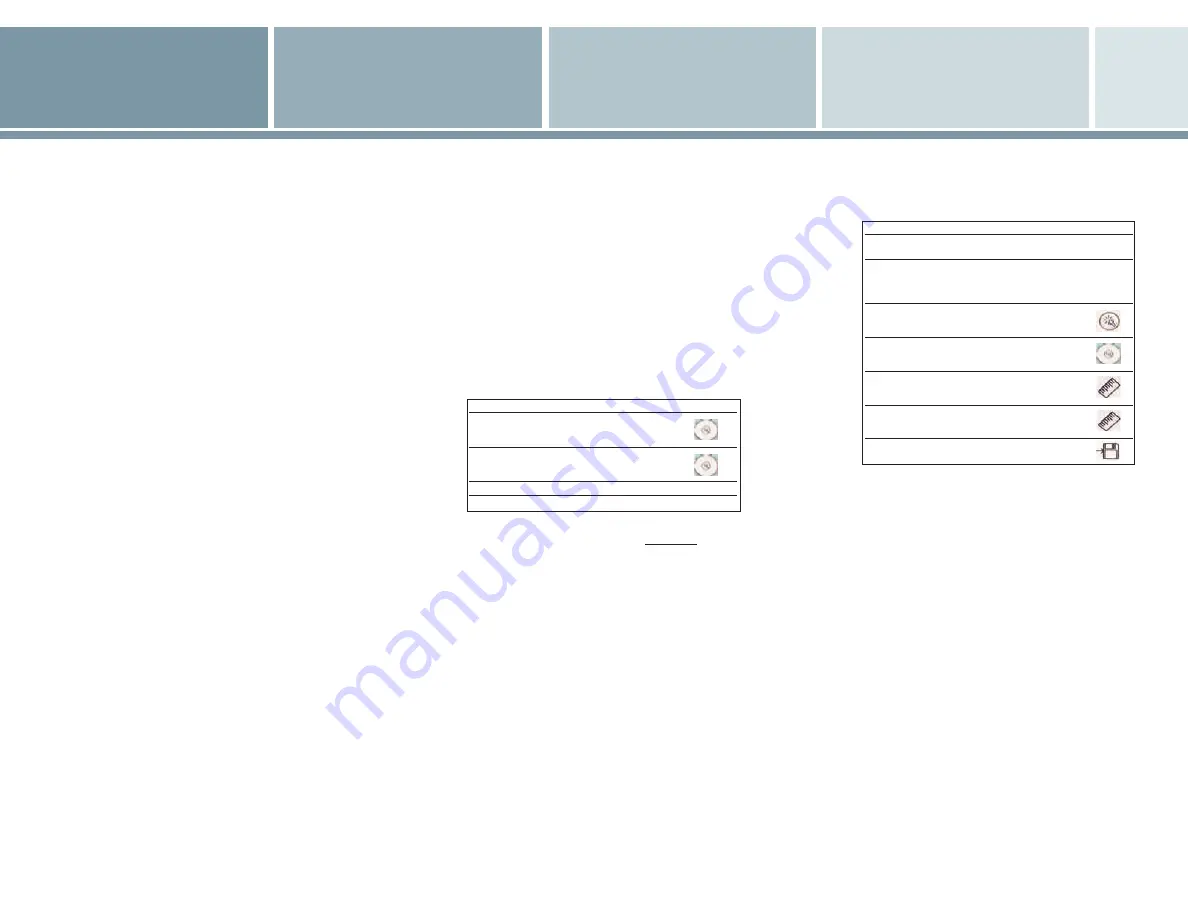
Performing Measurements
Press the
MEAS
key to the right of the Nav ring to
display the measurement window.
To...
…do this:
Icon
Select the desired
Select
Caliper1
,
Caliper2
measurement
or
Ellipse
from menu
Use calipers
Move highlighted endpoint
with the navigation ring,
use
SELECT
to highlight
second caliper
Ellipse
Press
SELECT
to toggle
between ellipse functions;
size, pan or rotate
Change Ellipse functions
Use navigation ring buttons
to change size, rotate ellipse,
or pan
Clear/Delete
Press
Measurement
and select
Clear
. Removes currently
displayed measurements
Lock Measurements
Press
MEASUREMENT
. Locks value
and location and re-displays
measurement menu.
Store
Press
STORE
Annotations
1. In 2D, freeze, or when recalling an image,
press
SELECT
.
2. Select
Annotations
from menu, and then
select an annotation from the list.
System displays a highlighted box.
3. Press
SELECT
to position the annotation
on the screen where the highlighted
box displays.
4. To delete annotations, select
Clear All
from
annotations menu.
Storing an Image
The P10 system stores still frames or loops to a
removable SD Memory Card.
1. Press
STORE
key of frozen image to store a
single frame.
2. Press
STORE
while live imaging or playing a
loop to store a loop.