

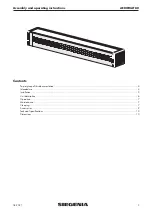


Assembly and operating instructions
AEROMAT 80
9
08.2021
Accessories
Rod operating device (optional)
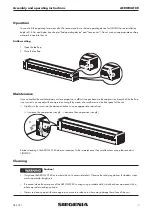
The ventilator/fan/blower can be operated using a sliding button on the rod. Push the sliding button up or down to do this.
The sliding button’s "Open" and "Close" positions (or intermediate positions) correspond to the positions of the operating
lever on the unit.
The rodding is mounted on the same door or window element in which the ventilator/fan/blower is mounted. If the ventila-
tor/fan/blower is mounted in a moveable window sash, for example, it is essential to also attach the rodding to the same
sash profile.
Depending on the assembly situation, the pin and the clip must be shortened.
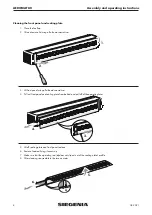
1. Open the fan flap (
1.
) and plug the pin into the opening of the operating lever (
2.
).
1.
2.
2. Push the sliding button of the rodding upwards (
1.
) and plug the top clip over the pin (
2.
).
1.
1.
2.
3. Push the rodding against the existing profile and hold in place. The upper edge of the rodding must be located 10 mm
above the top edge of the AEROMAT 80.
10 mm
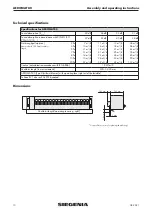
4. Fix the rodding with timber or self-tapping countersunk screws (provided on-site).
The screw holes have the following dimensions:
Ø screw hole = 3.7 mm
Ø counterbore = 7.2 mm


