7
DMX Operation
The RGB Studio Beam Driver will automatically detect the presence of a DMX signal.
In order to receive a DMX signal, the driver must be attached to a DMX controller by a 3-pin DMX cable
and the DMX controller must be turned on.
Addressing the Fixture
1)
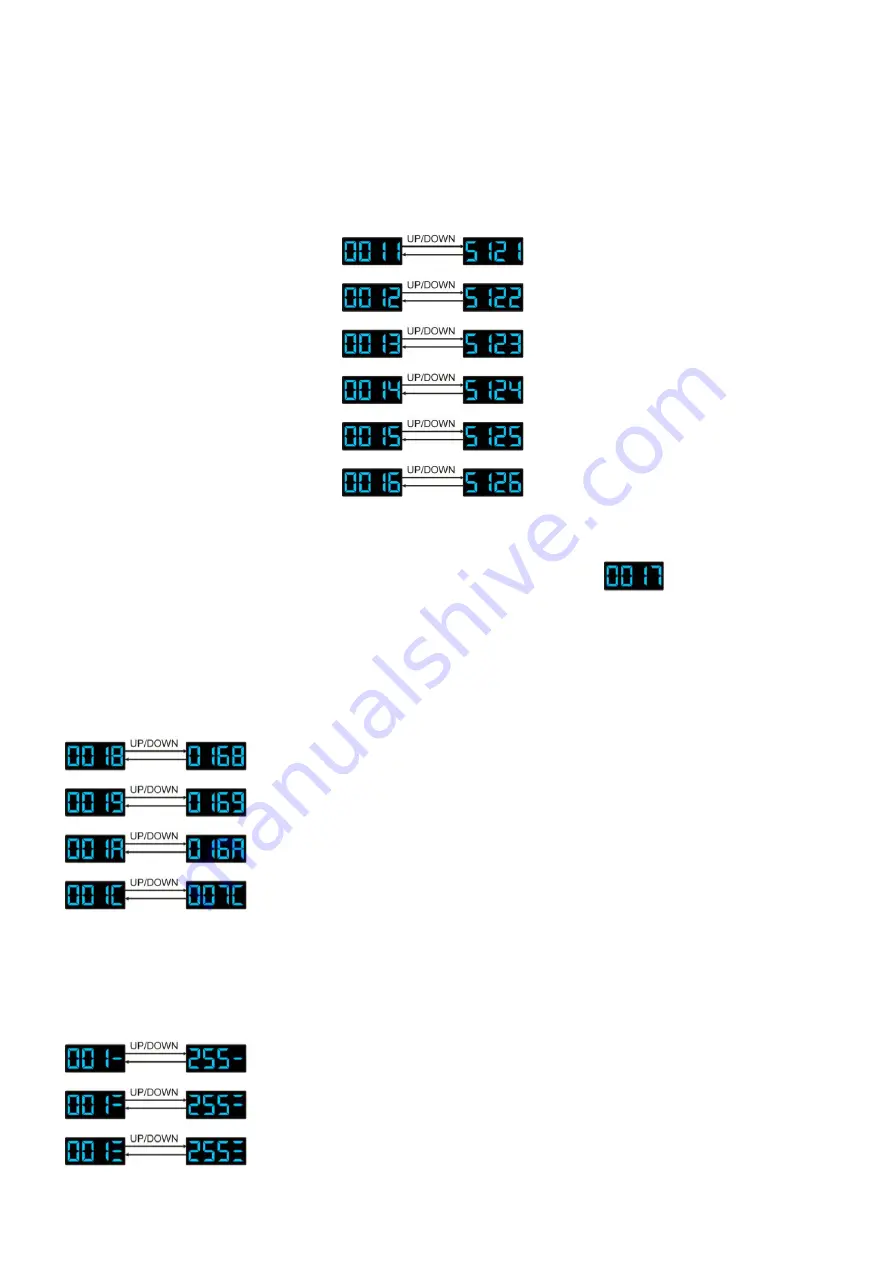
Press the MODE button to scroll though the menu. You can change the DMX address, when you are in
DMX Mode. You can choose 6 different DMX Modes.
2)
Use the UP/ DOWN buttons to change the settings. Press the Save button to store your settings.
3)
You can change the address from
DMX Mode
- 3 DMX Channels
DMX Mode
- 5 DMX Channels
DMX Mode
- 6 DMX Channels
DMX Mode
- 6 DMX Channels
DMX Mode
- 15 DMX Channels
DMX Mode
- 30 DMX Channels
Master/Slave Mode
Only one fixture can be set as master device and the rest are slave devices.
1)
Press the MODE button to scroll though the menu until the display shows
Note:
The master and slaves devices must all have the same address in order to function the same.
Stand-alone Operation
Auto Mode
1)
Press the MODE button to scroll though the menu until the display shows
Program 1
- 1-16 control the running speed.
Program 2
- 1-16 control the running speed.
Program 3
- Fade program. 1-16 control the running speed.
Preset Mode
- Select one of the 7 preset color settings.
2)
Press the MODE button to scroll through submenus and use the UP/ DOWN buttons to change the
settings.
Press the Save button to store your settings.
Manual Mode
1)
Press the MODE button to scroll though the menu until the display shows
Red Dimmer
- Adjust the dimmer value by using the Up/Down buttons.
Green Dimmer
- Adjust the dimmer value by using the Up/Down buttons.
Blue Dimmer
- Adjust the dimmer value by using the Up/Down buttons.
Содержание RGB Studio Beam Driver
Страница 16: ......


