EditaPreset
M
12%
R
0%
G
0%
B
0%
W
0%
OFF
AllPixel
Edit
a Preset
To edit and
save a DMX
address
:
EditaChase
UserChase:2
MasterIntensity
39%
TotalSteps
3
EditUserChase
Fade
100%
Speed
1S
Edit a
Chase
Address
Step 1. Press Edit a Preset button. Current preset will be shown.
Step 2. Use LEFT and RIGHT arrow buttons to scroll through all presets.
Step 3. Once at desired preset, use UP and DOWN arrows to access (highlight) preset parameters. Once in
desired parameter, use LEFT and RIGHT arrow buttons to adjust parameter value as desired.
Step 4. Once all values are adjusted as desired, press OK (Check Mark) button.
Step 5. Save preset menu option will appear. Use LEFT and RIGHT arrow buttons to select preset number.
Step 6. If saving preset, press OK (Check Mark) button. Confirm choice.
Step 7. Preset is now saved.
Step 3. Once at desired Chase, use UP and DOWN arrows to access (highlight) Chase parameters. Once in
desired parameter, use LEFT and RIGHT arrow buttons to adjust parameter value as desired.
Step 4. Once all values are adjusted as desired, press OK (Check Mark) button.
Step 5. Save Chase menu option will appear. Use LEFT and RIGHT arrow buttons to select Chase number.
Step 6. If saving Chase, press OK (Check Mark) button. Confirm choice.
Step 7. Chase is now saved.
Step 1. Press Edit a Chase button. Current chase will be shown.
Step 2. Use LEFT and RIGHT arrow buttons to scroll through all chases (Built In and User Chases).
Step 1. Press DMX Address button. Current DMX Address will be shown.
Step 2. Press OK (Check Mark) button to highlight a digit in the DMX address.
Step 3. Use LEFT and RIGHT arrow buttons to scroll through all digits.
Step 4. Once at desired dight, use UP and DOWN arrows to change highlighted digit. Once digit is set, use
LEFT and RIGHT arrow buttons to set other digits in DMX address.
Step 5. Once all digits are set in DMX address, press OK (Check Mark) button.
Step 6. DMX will display and is saved.
6
The LCD Display Menu system consists of several categories. Use the Menu Buttons to access and make changes to the menu items. When the
desired menuitems is reached, press the desired Menu Button to display the menu options and to navigate and configure the menu options as required.
LCD Display and Menu System Operation
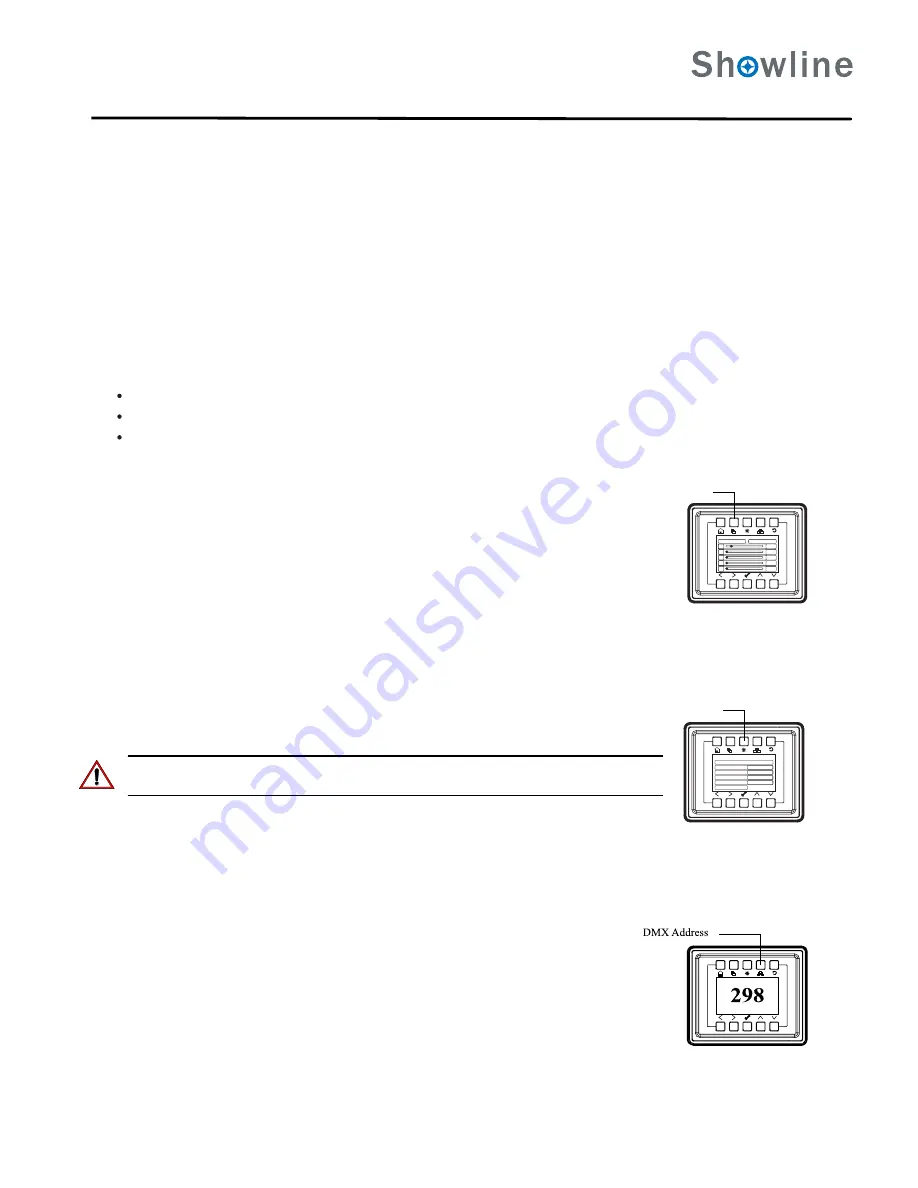
Quick Selection Buttons
Edit a Preset Button
Edit a Chase Button
DMX Address Button
To navigate and access menu settings/selections:
Step 1. Make sure unit is powered on.
Step 2. Press the desired button ( as shown in
) to access menu categories.
Figure 4
Step 3. Use UP/DOWN/LEFT/RIGHT buttons to navigate through the various options and settings.
Step 4. Make changes as desired.
Step 5. Press CHECK MARK (OK) button to accept changes.
When in Manual Mode, the SL BEAM 300 FX features can be accessed via the on-board LCD menu system or via three quick select buttons:
Edit a Preset Button
Edit a Chase Button
DMX Address Button
To edit and save a preset:
To edit and save a Chase:
Note: for Built In Chases, only the Speed and Fade farameters may be changed and saved. For User Chases, Chase
Number, Total Steps, Speed, and Fade Parameters may be changed and saved.
SL BEAM 300 FX
Q
UICK
S
TART
G
UIDE
SL BEAM 300 FX
QuickStart Guide
Содержание SL BEAM 300 FX
Страница 1: ...SL BEAM 300 FX ...


