860 91 001
Issue 11
20
th
December 2017
ECN 3146
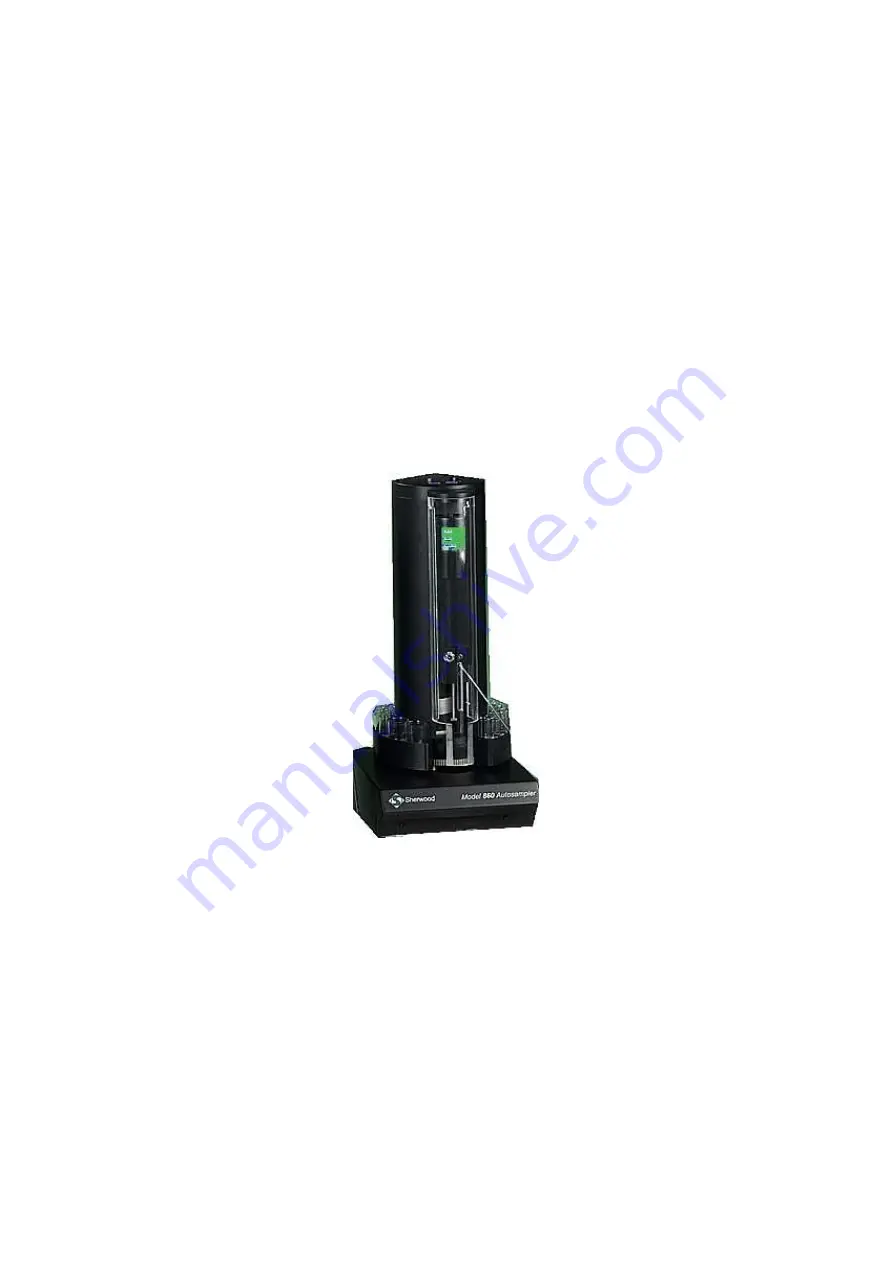
Model 860 Autosampler
Operating Manual
Copyright ©2017 Sherwood Scientific Ltd
Страница 1: ...860 91 001 Issue 11 20th December 2017 ECN 3146 Model 860 Autosampler Operating Manual Copyright 2017 Sherwood Scientific Ltd...
Страница 2: ...with M410 and BlueNotes for 410 13 4 0 Technical Specification 14 4 1 Sampling Tray 14 4 2 Vial Volumes 14 4 3 Sample Volumes 14 4 4 Sampling Dwell Time 14 4 5 Power Requirements 14 4 6 Size with Dil...
Страница 3: ...ember 2017 ECN 3146 3 Table of Contents 7 0 Replacement Procedures 24 7 1 Autosampler Probe Replacement 24 8 0 Appendix A 1 50 Dilution 25 8 1 Operating the Model 860 with 86009001 tube 25 9 0 Appendi...
Страница 4: ...taining or repairing the instrument and or its accessories 1 2 Safety Precautions 1 2 1 The safety statements in this manual comply with the requirements of the UK Health and Safety at Work Act of 197...
Страница 5: ...res correct procedures or practices to prevent personal injury 1 4 Impaired Safety Protection Whenever it is likely that safety protection has been impaired the instrument and or accessory must be mad...
Страница 6: ...also be sufficient to accommodate any ancillary equipment in addition to the main instrument and allow for working space Ensure that the power supply has a protective ground earth connection WARNING...
Страница 7: ...o be installable by the end user 2 3 1 Layout of Autosampler System The main components of the Model 860 system are shown in the diagram below The positions of the Diluter and adapter plate which is n...
Страница 8: ...Diluter if required Ensure that the unit is powered off and that the Diluter is positioned on a level surface Locate the fixing lug of the Adapter Plate into the hole at the top left corner at the ba...
Страница 9: ...Adapter Plate 2 3 3 Connecting the Sample Tubing from the Autosampler to the Flame Photometer The Sampling Tube part number 800 09 006 is connected to the Nebuliser of the Flame Photometer with the o...
Страница 10: ...on Refer to Appendix A 2 3 5 Connecting the Communication Cable M420 upto serial number 16445 Connect cable 420 09 860 to the 6 pin Mini Din socket marked I O on the back panel of the Autosampler near...
Страница 11: ...ne terminal L and blue lead is connected to the Neutral terminal N The mains power cable 471 71 900 constructed to British Standard 1363 should be connected to the IEC socket on the External Power Sup...
Страница 12: ...eries Flame Photometer and moves automatically to the appropriate vial Once the Measure button has been pressed the Model 860 automatically moves from sample to sample sending the signal to the Flame...
Страница 13: ...immediately the Autosampler Probe descends into the sample to start the countdown of the instrument s set delay time prior to initiating signal processing to make the measurement 3 4 Use with M410 an...
Страница 14: ...d Vial 14ml 4 3 Sample Volumes Without Diluter Minimum 1 5ml With Diluter Minimum 200 l 4 4 Sampling Dwell Time 30 seconds per sample 20 seconds set via DIP switches see figure 5 1 1 4 5 Power Require...
Страница 15: ...ation 5 1 1 Rear of main module Connectors and DIP switches Figure 5 1 1 a Rear view of connectors and dip switches 5 1 2 Top View Run Stop keys Figure 5 1 2 Run Stop control keys Not Used Power socke...
Страница 16: ...ion continued 5 1 3 Front View Status LEDs Figure 5 1 3 Status LEDs 5 1 4 Front View Autosampler Probe Figure 5 1 4 Autosampler Probe and Safety Cover Indicates Fault when flashing Indicates Ready or...
Страница 17: ...l All Switches in Upper Off Position Sampling dwell Time 30 seconds Autosampler working with M805 Dilutor and without a post sample post standard rinse 1 Upper Off Position Invokes time added to 30 se...
Страница 18: ...half fill the Standard Vial with the Calibration Standard solution If you are not using a Diluter and want to use the Flame Photometer in Internal Reference mode remember that the Blank the Standard...
Страница 19: ...Diluter and wait for the Lithium Blank Carmine Red to be seen steadily in the flame inspection port Press the BLANK control on the Flame Photometer and the Sample Tray will rotate to present the Blan...
Страница 20: ...ter DIP switch 7 Off upper position Once the second SET button is pushed on the Flame Photometer signifying acceptance of the calibration value the Autosampler Probe enters the Standard Vial After 30...
Страница 21: ...mple number is limited to 15 samples and you fill the blank vial nearly to the brim 6 5 Running the samples 6 5 1 Using the Diluter DIP switch 7 Off upper position Samples are measured in sequence fol...
Страница 22: ...you fill the blank vial nearly to the brim These actions are repeated automatically for each sample in turn until the M860 Sample Detection Probe senses that there are no more samples This could be a...
Страница 23: ...ED will light according to the fault condition as follows If an error occurs then either press the STOP CLEAR key on the top of the instrument which will attempt a re initialisation or switch the inst...
Страница 24: ...Sherwood M860 Autosampler 860 91 001 Issue 11 20th December 2017 ECN 3146 24 7 0 Replacement Procedures 7 1 Autosampler Probe Replacement...
Страница 25: ...del 860 Autosampler with the Model 805 Dilutor It cannot be used to connect the Autosampler directly to the Nebuliser on the Flame Photometer The vast majority of users will not need want to use the l...
Страница 26: ...beaker of water offered up to the Autosampler Probe a constant stream of bubbles observed in the tubing means the tubing should be pushed further over the thicker outer sheath of the Autosampler Probe...
Страница 27: ...a free download Download Atmel Flip 2 4 6 or later and start the application Connect the M860 to the RS232 port of your computer using the Null Modem Cable 001 09 003 supplied with the M860 Move the t...
Страница 28: ...of product to end user premises 2 Free of all charges statement applies only in areas recognised by Sherwood as being serviced either directly by its own personnel or indirectly through personnel of a...
Страница 29: ...ties purporting to be on behalf of Sherwood made by any person including distributors and representatives of Sherwood which are inconsistent or in conflict with the terms of this warranty including bu...