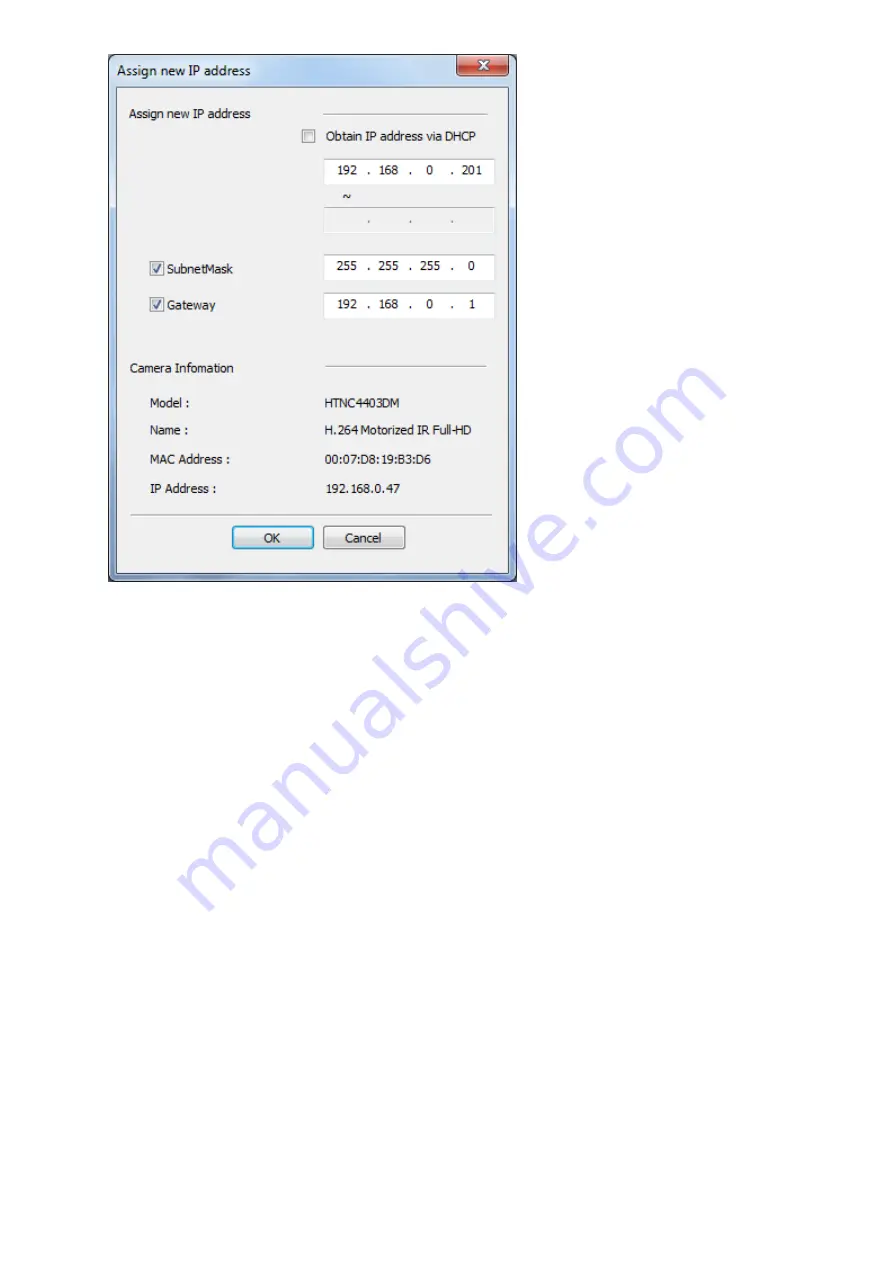
Note: if you wish to set the camera to DHCP to get an automatically assigned IP address, then you would
proceed in 2 steps:
1)
Set the camera to a fixed IP within your router’s subnet (i.e. sharing the first 3 sets of digits) and
click OK, and wait a few seconds for SmartManager to recognize the camera’s new IP
2)
Open this menu again, this time check the checkbox for “obtain IP address via DHCP” and click OK
For example, the camera’s default IP is 192.168.30.220. If your router uses 192.168.0.xxx for its subnet,
you would first set the camera to 192.168.0.220, then enable DHCP as a second step, and the camera
would then be able to obtain an automatically assigned IP that starts with 192.168.0 from your router.
Once you have a valid IP, you can proceed to use the camera with Internet Explorer or with the software of
your choice.
Please note that browsers other than Internet Explorer cannot show the full clarity of this camera. So if you
are using a Mac or do not wish to use Internet Explorer, you could use the free 32 bit or 64 bit Titanium V2
software for PC or the 64 bit Mac OS version of the Titanium V2 which are all available for free download
with no licensing hassles from the Sharx Security web site.
Should you prefer other software, the camera is fully ONVIF S compatible and typically does not need a
dedicated driver.
We also have setup guides for Titanium V2 and some of the most popular third party software packages
including Milestone VMS, Blueiris for PC, and SecuritySpy for Mac, as well as IPTimelapse.


