- 5 -
Adjust the amount of compensation of the selected items, then press the OK Button to confirm
your adjustment.
You may press the OK button again to capture the image you adjusted.
Selecting the Reset icon will reset all your adjustments. NOTE:
All your settings for scanning
film of your last scanning will be reset when the power of the scanner is turned off by the Power
Button or unplugged from the USB cable.
CONNECTING TO A COMPUTER
1. Connect the Type-C USB cable to the scanner and terminal of your computer USB port.
2. Turn on the power of both your computer and scanner.
3. From the Home Page of the scanner (preset), select the USB Upload icon
4. By pressing the or button, and then press the OK button to activate the
connection.
5. You can now use the device as a mass storage device or card reader and transfer files to your
computer.
NOTE:
If the connection fails, please check the loading of the SD Card, make sure that it is
properly loaded in the Card Slot. Reload the SD Card and try again.
THE DATE AND TIME SETTING (CALENDAR)
You may set the Date and Time in the image file before scanning image. The Date and Time set
will not be printed on the picture of the scanned image, it is only stored in the electronic file of
the image.
From the Home Page of the scanner, select the Calendar icon
by pressing the or buttons, then OK to confirm your selection. You will see a date
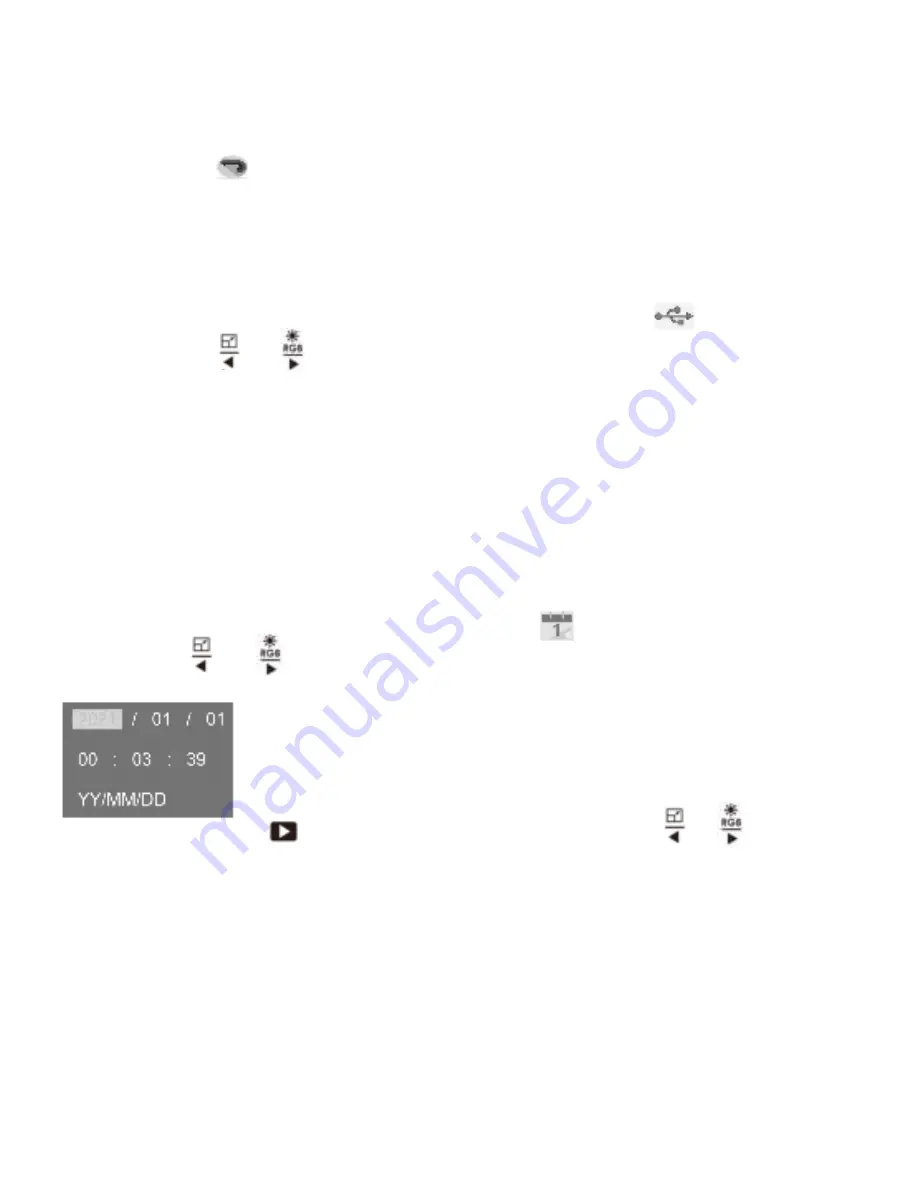
adjustment table as shown below:
Press the Playback button to select the item you want to adjust. Use the. or
buttons to increase or reduce the number you are going to set, then press the OK button to
confirm your selection.
NOTE:
The range of the year for date adjustment is limited to 1980 to 2050.
PREVIEWING AND REVIEWING IMAGES ON A TV SCREEN
1. Connect your Scanner and TV set by the HDMI Cable. Set your TV to the proper HDMI terminal
that you are connecting, turn on the power of the Scanner and press the Galley Icon from the
Home Page then press the OK button to review your scanned images on the TV screen.
2. You may also connect the Scanner to TV set via USB setting, to review the captured images
up to a 4K/2K image quality, depending on the maximum resolution of your TV set.
3. For proper USB connection of your TV set please refer to the instruction manual of your TV set
and treat your USB and Scanner connection as a Card Reader.


