- 2 -
INTRODUCTION
The Sharper Image Wireless Charging Notebook is the executive-style organizer that keeps you
charged and ready for work, school or travel. It features wireless and wired charging for your
phone or tablet, a built-in stand and storage for your personal belongings.
IDENTIFICATION OF PARTS
A. Wireless charging pad
B. Pop-up phone / tablet stand
C. Utility pocket (for phone, business cards, ID, etc.)
D. Cable storage
E. Pop-up USB charging port
F. Pen storage
G. Charging cable
H. 64-page notebook
CHARGING THE WIRELESS CHARGING NOTEBOOK
• To charge your device, use the included charging cable. Plug one end into a computer USB port
or an AC outlet (AC adapter not included). Plug the other end into the Pop-up USB charging
port on the device.
• Allow the device to charge for 2 to 4 hours.
• While the device is charging, the LED will be blinking. When it is fully charged, the LED will stay
ON.
CHARGING YOUR PHONE WIRELESSLY
• Be sure the Wireless Charging Notebook is fully charged.
• Place your phone or tablet on top of the notebook, on the wireless charging pad.
• Press the Power button to turn it ON. The LED will be on.
• Wireless charging is for Qi-enabled devices, including those made by Apple, Samsung, Huawei,
Google and LG. If your device is not Qi enabled, you can still charge it with the included USB
cable (see below).
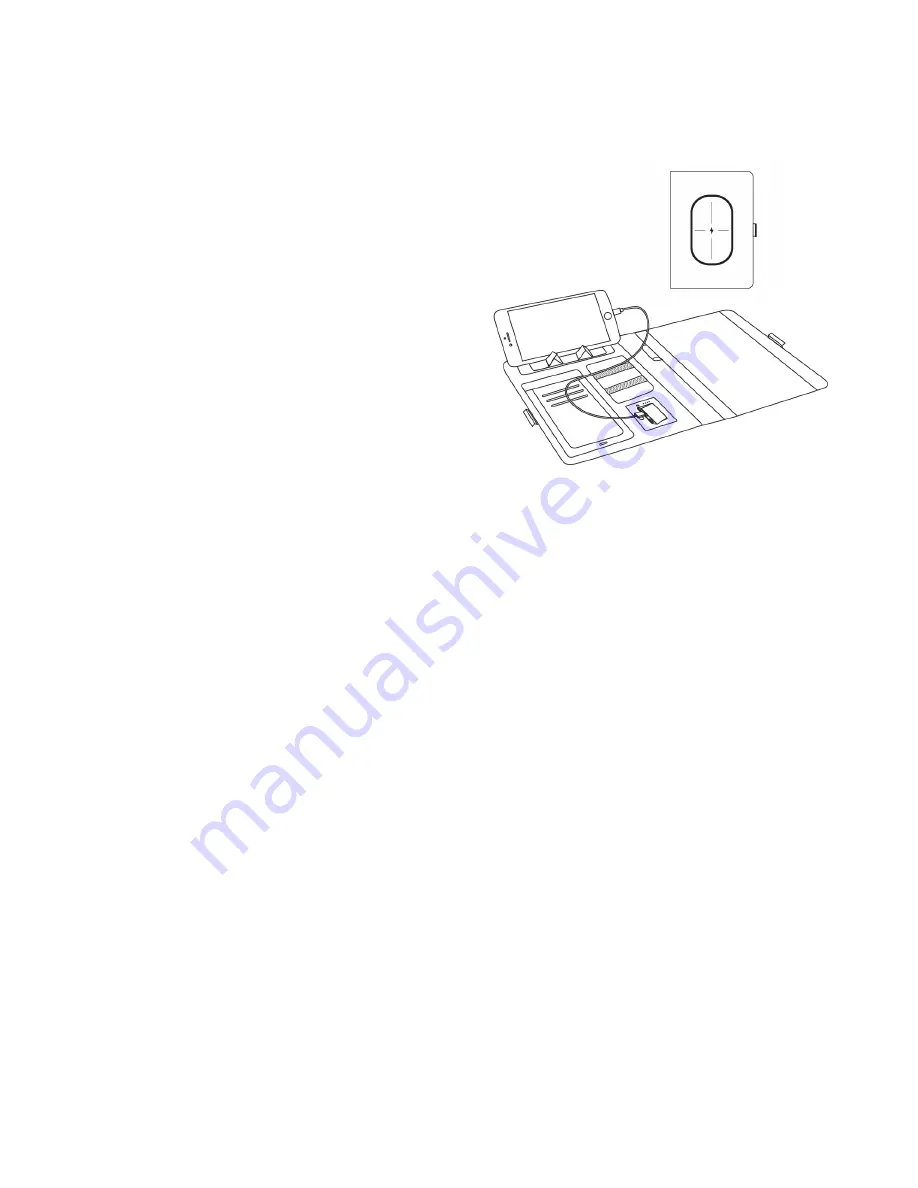
CHARGING YOUR PHONE OR TABLET VIA USB CABLE
• Be sure the Wireless Charging Notebook is fully charged.
• Place your phone or tablet in the pop-up stand.
• Plug one end of the included charging cable into your phone or tablet. Plug the other end into
the Pop-up USB charging port on the device.
NOTE:
You do not need to press any buttons to
begin charging with USB cable.
A
B
C
D
E
F H
G


