


Useful Featur
es
-35
Picture
Picture Mode
Standard
High Brightness
On
Off
Contrast
Bright
Color
Tint
Sharp
Red
Blue
CLR Temp
IRIS1 (Manual)
IRIS2 (Auto)
Eco+Quiet
Advanced
Reset
SEL./ADJ.
RETURN
ENTER
END
SIG-ADJ
SCR-ADJ
PRJ-ADJ
0
0
0
0
0
0
0
0
3
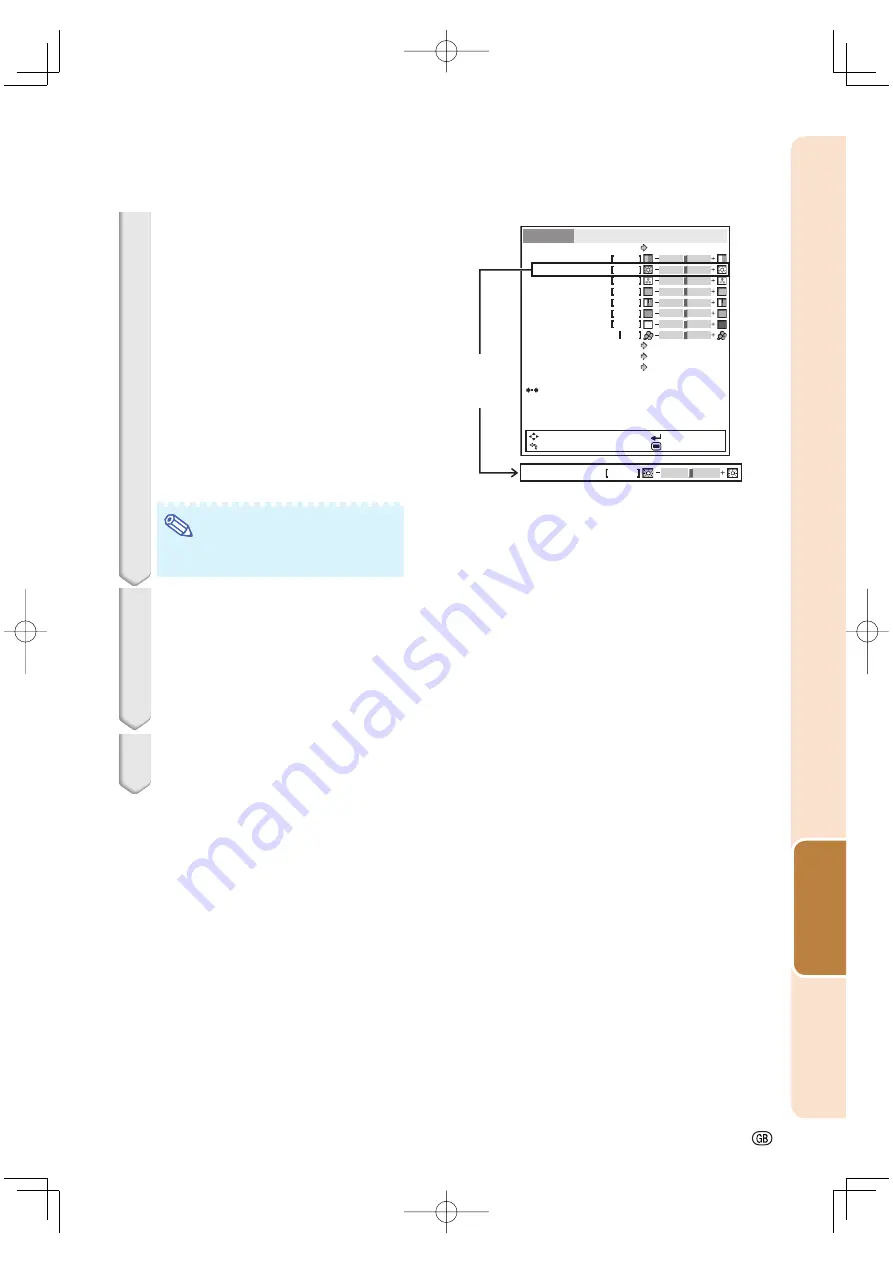
Press
'
or
"
to select the item
you want to adjust.
(
Example: Selecting “Bright”)
To adjust the projected
image while viewing it
Press
ENTER
.
•
The selected adjustment item (e.g.
“Bright”) will be displayed at the bottom
of the screen.
•
When
'
or
"
is pressed, the next
item will be displayed. (e.g. “Bright” is
replaced with “Color” by pressing
"
.)
Note
•
Press
RETURN
to return to the previ-
ous screen.
4
Press
|
or
\
to adjust the item
selected.
•
The adjustment is stored.
•
For some menu items, press
|
to dis-
play its submenu and press
'
or
"
to select an adjustment item, and then
press
ENTER
.
5
Press
MENU
.
•
The menu screen will disappear.
Single-
adjustment
item
Bright
0
XV-Z15000̲E̲US.indb 35
XV-Z15000̲E̲US.indb 35
2008/12/25 14:25:34
2008/12/25 14:25:34


