


20
Preparation
Preparation
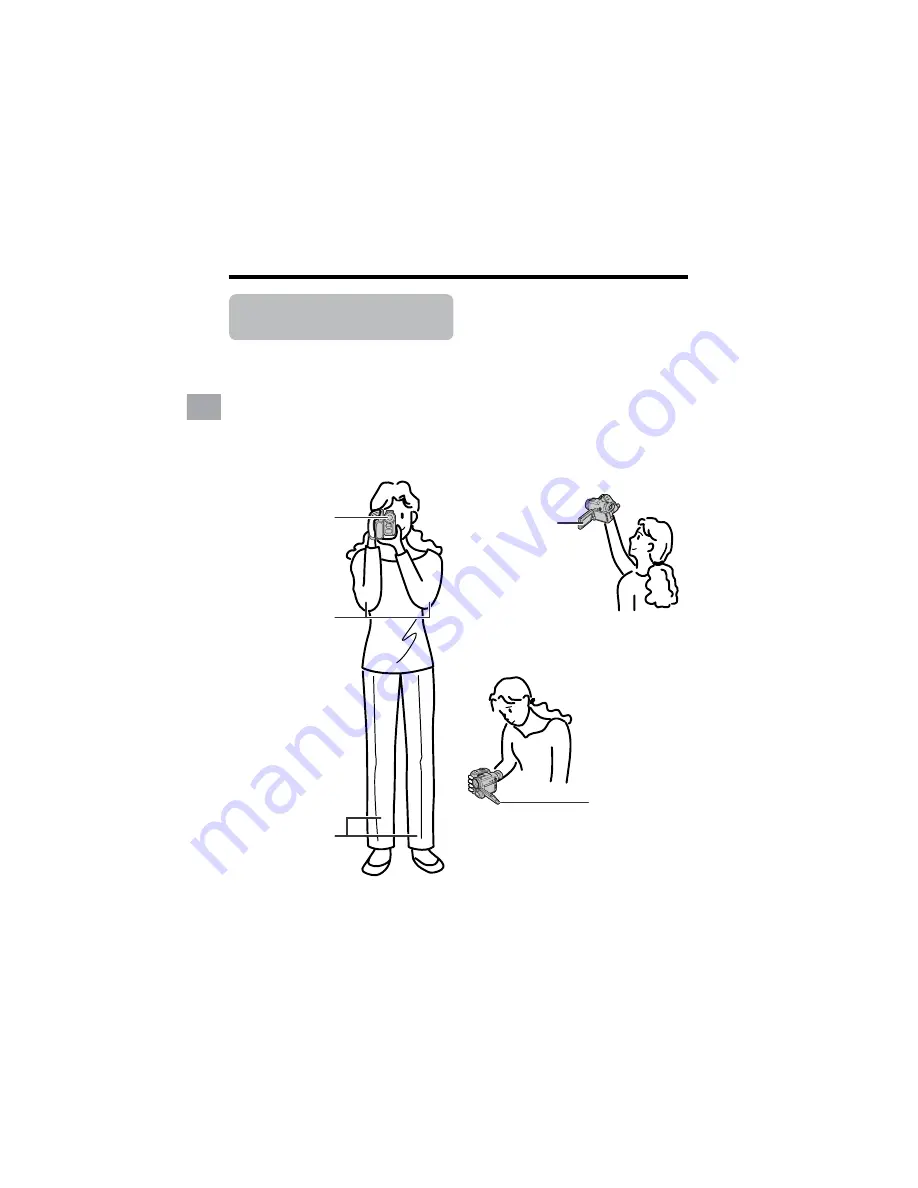
Tips on Recording
Positions
Turn the LCD
monitor so that the
screen faces
upward.
Balance your
weight on both
legs.
Turn the LCD
monitor so that the
screen faces
downward.
Place your elbows
against your sides.
To create images that are easy to watch during playback, try to record with an upright
posture and steady hands to prevent a shaky image.
Holding the camcorder
Put your right hand through the hand strap, and place your left hand under the camcorder
for support.
Basic posture
Place the viewfinder
eyecup firmly against
your eye.
Shooting from a low angle
Shooting from a high angle
Note:
• Take care not to touch the microphone with your fingers during recording. It will cause noise on
the audio track. Also, take care not to touch the flash or flash sensor with your fingers during
Card Recording.


