30
www.sharp.co.uk/support
CUSTOMISED INSTALLATION
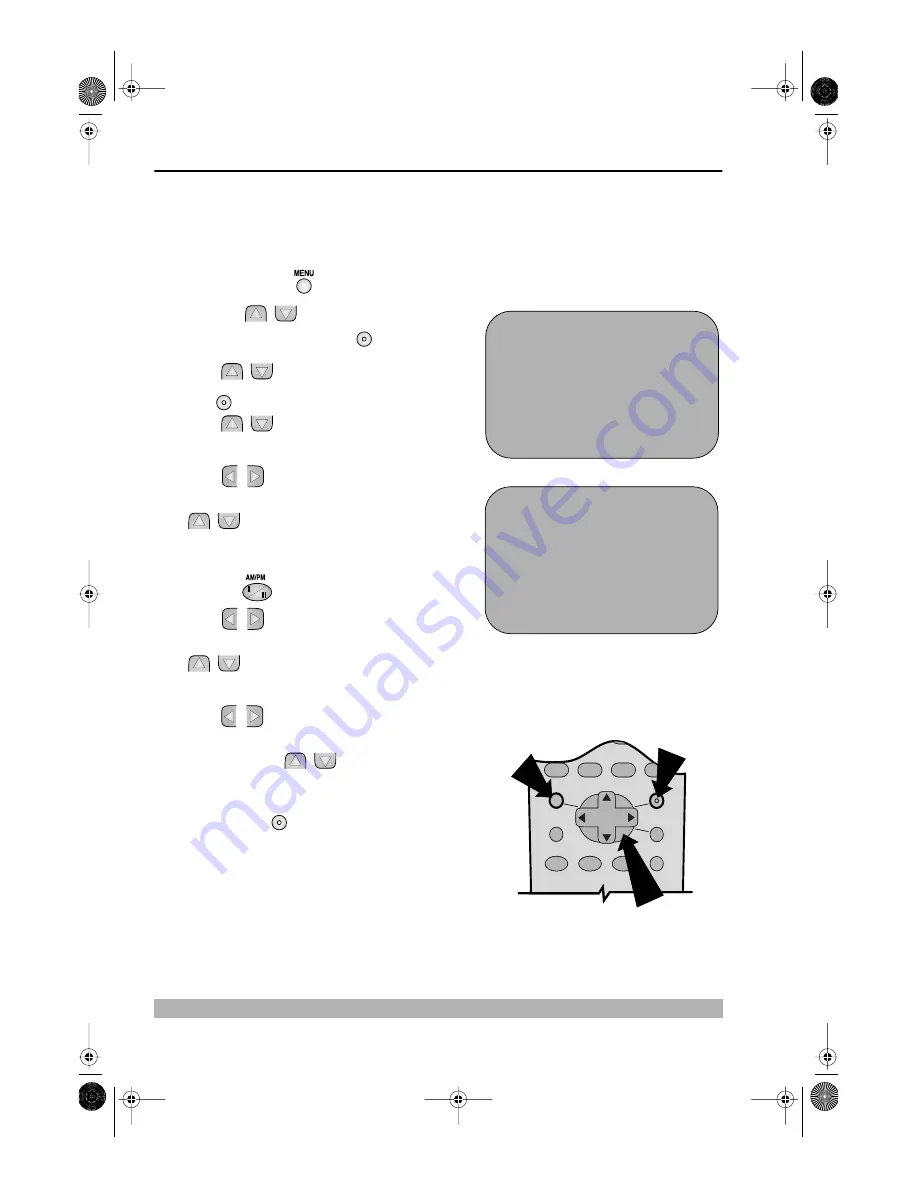
MANUALLY SETTING THE CLOCK
This procedure will allow you to set the clock manually.
1.
Press the
MENU
button.
2.
Press the [
/
] menu select buttons to
select SET UP. Press the
SET
button to
confirm.
3.
Press [
/
] to select CLOCK. Press the
SET
button to confirm.
4.
Press [
/
] to select either 12 or 24 hour
clock.
5.
Press
[
/
]
to select TIME. Enter the time
using the
NUMBER BUTTONS
or the
[
/
] buttons. If the minutes or hours are
less than 10, enter the leading 0. If using the 12
hour clock enter AM or PM by pressing the
AM/PM
button on the remote control.
6.
Press
[
/
]
to select DATE. Enter the date
using the
NUMBER BUTTONS
or the
[
/
] buttons. For example, for 1st April
enter
01 04
.
7.
Press
[
/
]
to select YEAR. Enter the last two
digits of the year using the
NUMBER
BUTTONS
or [
/
]. For example, for
2001 enter
01
. For the year 2002 enter
02
.
8.
Press the
SET
button to confirm.
NOTE:
•
You will need to update the clock for Summer/Winter daylight saving.
S E T U P
CHANN E L P R E S E T
CHANN E L SOR T
C L OCK
: S E L E C T
: CHANGE
S E T
: E N T E R ME NU : E X I T
C L OCK
MOD E
T I ME
DA T E
Y E AR
2 4 H
0 : 0 0
0 1 / 0 4
0 1
*
MOD E : 2 4 H / 1 2 H
: S E L E C T
: CHANGE
S E T
: E N T E R ME NU : E X I T
Remote Control
MENU SELECT
BUTTONS
MENU
SET
3.
4.
SET
SET
SET
TINS-3992UMZZ English.book Page 30 Wednesday, May 9, 2001 12:25 PM


