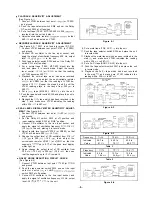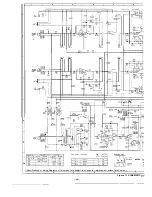
(Photographs of RT-31H)
Prior to the disassembly, be sure to remove the AC supply
cord from a wall outlet and the input/output plugs from the
rear of the set. Take out a cassette tape, if loaded in the
cassette compartment,
REMOVAL OF CABINET
(See Figures
and
From the cabinet, remove four screws two each at its
right and left sides, and one screw at its rear surface.
Then take the cabinet off.
Figure 2-l
n
REMOVAL OF BOTTOM PLATE
(See Figure 2-3)
Turn the set upside down, remove two screws from the
bottom plate, and take the bottom plate off by shifting
it in the arrow direction.
n
REMOVAL OF FRONT PANEL
(See Figures 2-4 and 2-5)
Remove four screws from the front panel.
2 Push down three stoppers at the upper surface of the
front panel, See that the front panel is now free from
the stoppers.
Pull the front panel frontwards.
Figure 2-4
n
REMOVAL OF MECHANISM BLOCK
(See Figures 2-6 and
Note:
Be sure to open the cassette compartment lid before
disassembling the mechanism block,
1
Remove two screws from the bottom of the set.
2 Remove two screws from the rear of the mechanism
block.
Detach the tape counter belt from the tape counter.
4 Remove the record/playback selector switch rod.
5 Remove four sockets from the mechanism block P.W.
board. Then separate the mechanism block from the set.
Figure 2-2
Figure 2-3
Figure
Figure
Содержание RT-31
Страница 10: ...1 2 3 I 4 5 6 r E F G H rLiNE 1 _ r 1 2 3 4 I 5 6 I Figure 11 WIRING SIDE OF PRINT ll ...
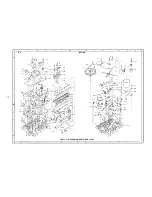
Страница 16: ...I TOP G n m 0 0 m D 1 BOTTOM Figure 17 MECHANISM EXPLODED VIEW ll In 0 0 m D ...
Страница 20: ...1 2 I 3 4 5 6 _ b _ 2 i F G H 1 I 2 3 4 5 6 Figure 19 CABINET EXPLODED VIEW Use of RT 31 19 A B C D E ...


