


3-22 PC Cards and Devices
3
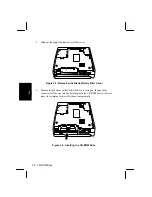
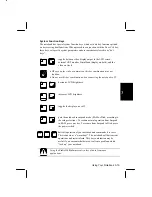
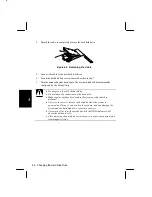
Inserting and Ejecting PC Cards
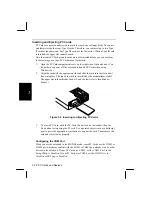
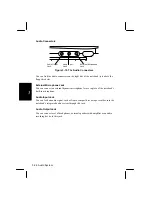
PC Cards are inserted and ejected in much the same way as floppy disks. The upper
and lower slots both accept Type II cards. Therefore, you can insert up to two Type
II cards at the same time. For Type III card, use the lower slot. When a Type III card
is inserted, the upper slot cannot be used.
Note that some PC Card memory cards must be formatted before you can use them
for data storage; see your PC Card manual for details.
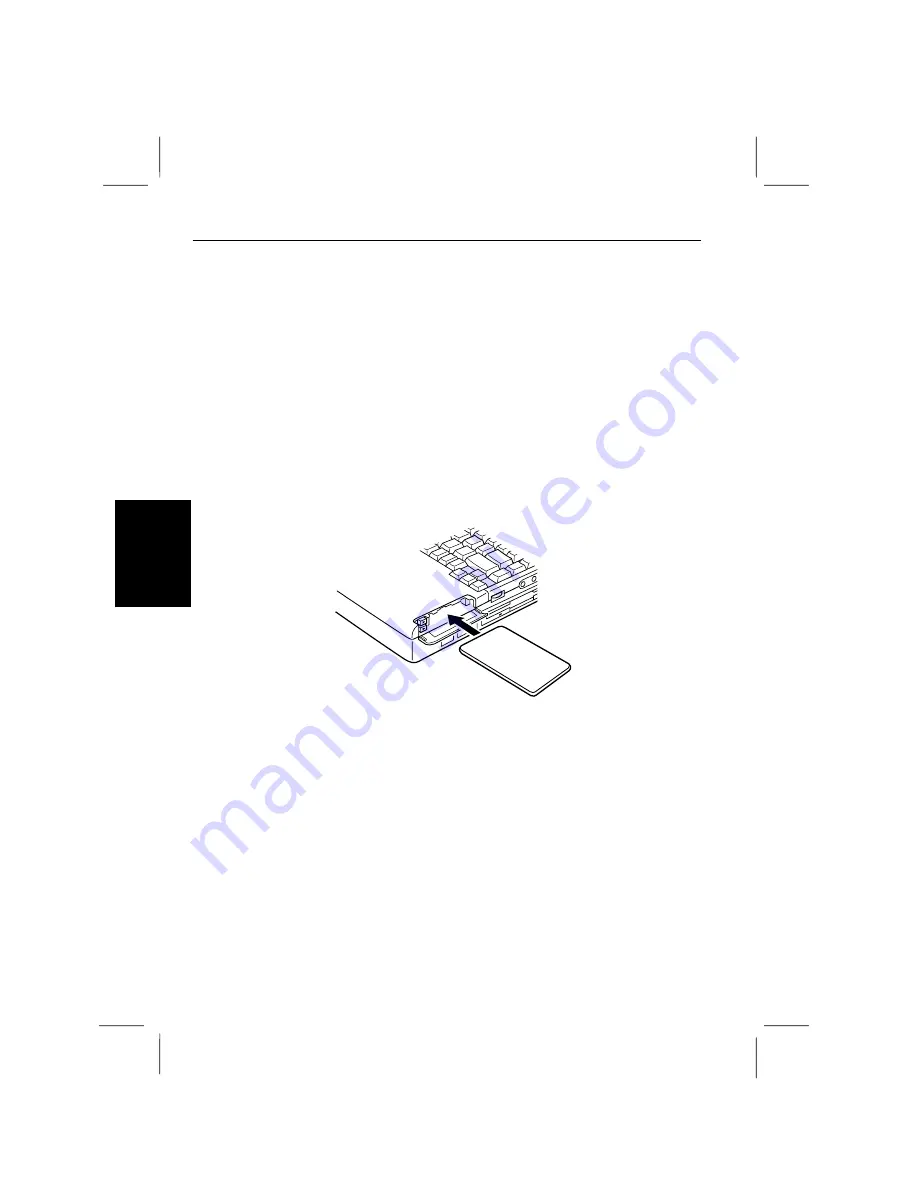
1.
Open the PC Card compartment cover on the right side of the notebook. (You
do not have to power off the notebook to handle PC Cards when using
Windows 95.)
2.
Align the card with the appropriate slot and slide the card into the slot until it
locks into place. The top of the card is identified by the manufacturer’s label.
The upper slot is identified as Socket 2, and the lower slot is identified as
Socket 1.
Figure 3-9. Inserting and Ejecting PC Cards
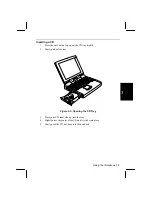
3.
To eject a PC Card, click the PC Card Control icon on the taskbar, then the
Stop
button to stop using the PC card. Use a pointed object (such as a ballpoint
pen) to press the appropriate eject button to pop out the card. Then remove the
card and store it away properly.
Configuring the COM Port
When you use the notebook in the MS-DOS mode, some PC Cards use the COM3 or
COM4 port which may conflict with the COM1 or COM2 port already used by other
devices in the notebook. If your PC Card uses COM3, set the
COM1 Port
: in the
Setup Utility to
Disabled
. If your PC Card uses COM4, set the
COM2 Port
: to
Disabled
or IR Type: to
Disabled
.