E-11
7
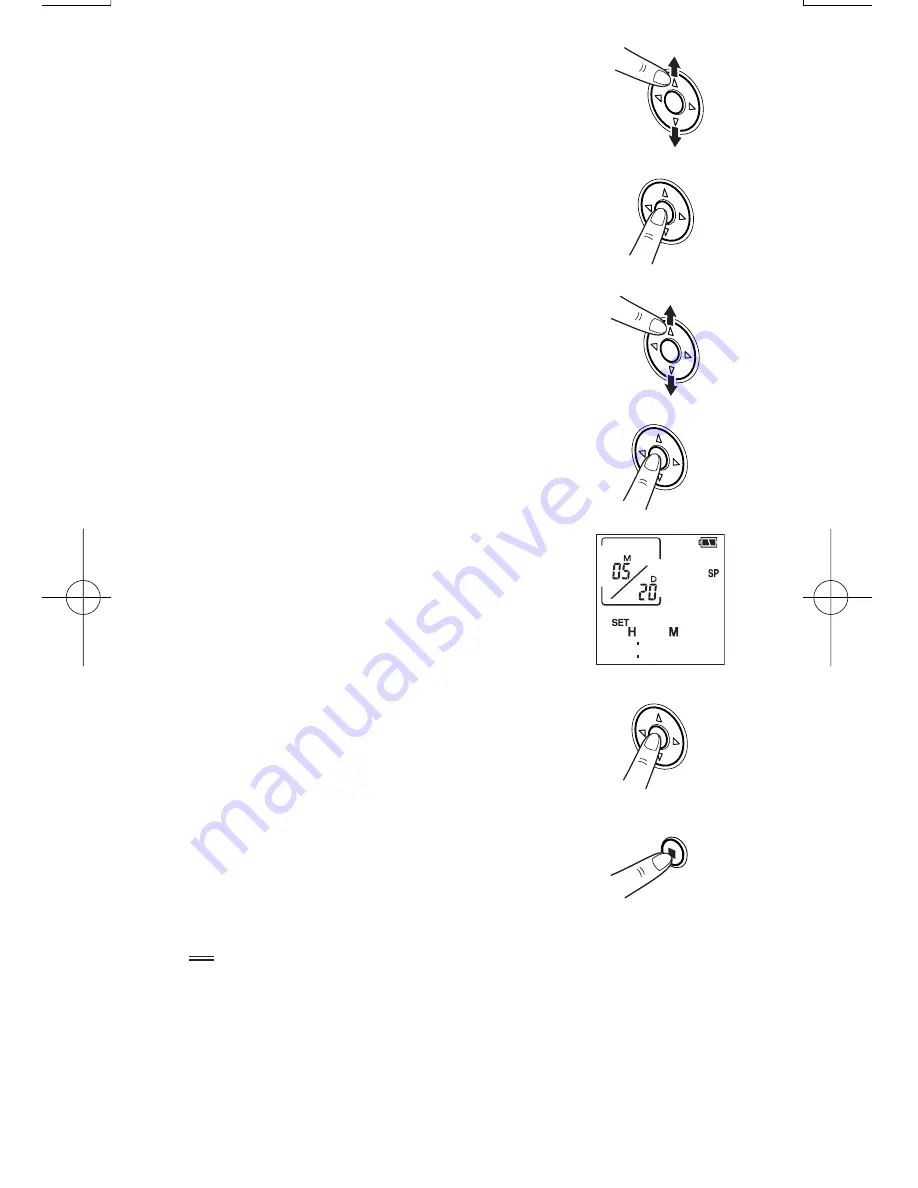
Press the
▲
(+) or
▼
(-) cursor button to
select the month.
8
Press the OK button to confirm the
selected month setting.
Next, the “day” display flashes.
9
Press the
▲
(+) or
▼
(-) cursor button to
select the day.
10
Press the OK button to confirm the
selected day setting.
Then use the same procedure to set the
“hour” and “minute” settings.
11
After you have confirmed the “minute”
setting by referring to an accurate
clock, press the OK button.
This completes the date and time setting
procedure and returns you to the menu
screen.
12
Press the STOP/MENU button.
Tip
•
Press the
1
(
5
) cursor button to go to the preceding item.
•
The screen will return to the clock mode if you do not press any
buttons for 30 seconds or more. In order to set the seconds
accurately against a radio time signal, press the
▲
(+) and
▼
(–)
cursor buttons alternately until just before the time signal you
are waiting for to ensure that 30 seconds does not elapse with
no button presses.
1 25
0
PA-VR10E PC(En)
05.8.22, 4:22 PM
Page 11
Adobe PageMaker 6.5J/PPC
Содержание PA-VR10E
Страница 38: ...必 ず お 読 み く だ さ い E 36 ...
Страница 78: ...必 ず お 読 み く だ さ い F 40 ...
Страница 154: ...必 ず お 読 み く だ さ い I 38 ...
Страница 160: ...DIGI ENR GRA REG PRINTED IN CHINA IMPRIMÉ EN CHINE IMPRESO EN CHINA 05LT TINSZ0857EHZZ SHARP CORPORATION ...


