7-61
Ener
g
y Save
The Energy Save settings help to reduce power costs. From an environmental perspective, these settings also help
reduce pollution and conserve natural resources. Touch the [Energy Save] key to configure the settings.
Eco Scan Settin
g
Eco Scan Setting is used to execute a non-print operation such as
image sending and scan to HDD while the fusing unit is turned Off.
Set "Eco Scan Setting" to
, and select a mode or
screen in which to enable Eco Scan Setting.
The following modes and screens can be set.
• Home Screen
• Copy
• Image Send
• Document Filing
• System Settings
• SharpOSA
Power Mana
g
ement Settin
g
Users are able to change the transition time of The Auto
Power Shut-Off and The Preheat Mode.
This function reduces your power costs, and at the same
time helps conserve natural resources and reduce pollution.
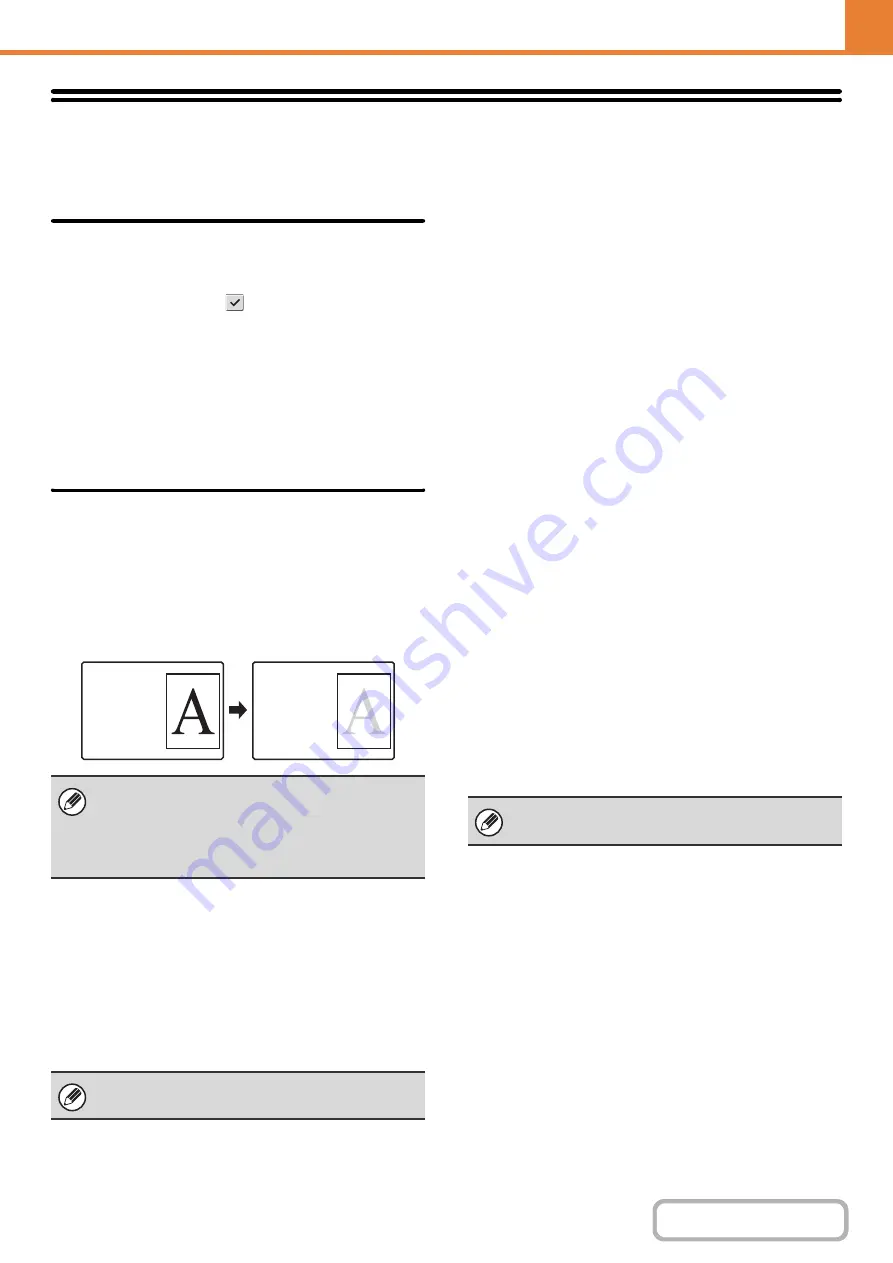
Toner Save Mode
You can reduce the amount of toner used for printing.
Preheat Mode Settin
g
The time until Preheat Mode activates can be set to any
number of minutes from 1 to 60.
Preheat Mode will activate when the set duration of time elapses
after printing ends and no further operations are performed. This
function reduces your power costs, and at the same time helps
conserve natural resources and reduce pollution.
Select the time that best suits the needs of your workplace.
The panel display can be turned Off in the Preheat mode.
Auto Power Shut-Off
This setting enables or disables Auto Power Shut-Off.
Remove the checkmark if you prefer that Auto Power
Shut-Off does not operate.
When the set duration of time elapses after printing ends,
Auto Power Shut-Off activates and causes to machine to
go on standby at a minimal level of power consumption.
This function reduces your power costs, and at the same
time helps conserve natural resources and reduce pollution.
It is recommended that you understand the objective behind
the energy save functions and instead of using the machine in
the state where the Auto Power Shut-Off function is disabled,
adjust the settings such that the time till Auto Power Shut-Off
is enabled is a little longer or set a time zone for Auto Power
Shut-Off. (Settings that depend on the usage conditions, such
as the time till Auto Power Shut-Off is enabled can be
configured in the following "
".)
As soon as the remote job is finished, enter
Auto power shut off mode.
This function works in Auto Power Shut-Off mode. When
the machine completes a print job received from the PC
or outputs received fax data, the machine immediately
returns to the Auto Power Shut-Off mode.
Fix transition time.
The Auto Power-Off transition time is fixed.
When this setting is enabled, the [Change transition time
by time of day.] option is disabled.
Auto Power Shut-Off Timer
Settings that depend on the usage conditions, such as
the time till Auto Power Shut-Off is enabled or the time
zone for Auto Power Shut-Off can be configured. In case
of "Fix transition time", it can be set to "Earliest" or within
a range of 1 to 60 minutes.
When "As soon as the remote job is finished, enter Auto power
shut off mode" is enabled, Auto Power Shut-Off happens in a
short while after the print job or fax reception is complete.
In case of settings that depend on the usage conditions,
select "Change transition time by time of day".
As per the default settings, the time zone is set
automatically depending on the application conditions of
the machine. When it is to be selected manually, you can
select from the following.
[Print] in Toner Save Mode is only effective when the
machine's printer driver is not used. When the printer driver
is used, the printer driver setting takes precedence.
This function may not operate in some applications
and operating systems.
Preheat mode cannot be disabled.
Print
data
Print
example
when
"Toner
Save Mode"
If the Auto Power-Off is disabled, the time you have
set here is disabled.
Содержание MX-M266N
Страница 6: ...Make a copy on this type of paper Envelopes and other special media Tab Paper Transparency film ...
Страница 8: ...Assemble output into a pamphlet Create a stapled pamphlet Staple output Create a blank margin ...
Страница 11: ...Conserve Print on both sides of the paper Print multiple pages on one side of the paper ...
Страница 12: ...Print without a computer Print a file in a USB memory device Print a file stored in the machine ...
Страница 34: ...Search for a file abc Search for a file using a keyword Search by checking the contents of files ...
Страница 35: ...Organize my files Delete a file Delete all files Periodically delete files Change the folder ...
Страница 259: ...3 19 PRINTER Contents 4 Click the Print button Printing begins ...
Страница 267: ...3 27 PRINTER Contents 1 Select Layout 2 Select Long edged binding or Short edged binding Macintosh 1 2 ...


