7
LC-15A2M
<<Disassembly of LCD Panel>>
1. Remove the six LCD unit fixing screws.
2. Remove the shield case.
3. Remove the light guide panel holder.
4. Remove the reflection panel.
5. Remove the lamp unit.
6. Remove the light guide plate.
7. Remove the fixing angle.
8. Remove the ITO sheet, diffusion sheet and the
reflection polarizing sheet.
»
Caution for handling the LCD panel
1. Work in a clean room. (Humidity: 50% or more)
2. A worker must wear arm bands.
3. Work on a conductive mat.
4. Do not expose the unit to shock such as fall or vibration.
1
7
8
6
5
4
3
2
1
Shield Case
Light Guide Plate Holder
Lamp Unit
(KLMP-0098CEZZ)
Fixing Angle
Reflection Polarizing Sheet
LCD Display Unit
Condenser Sheet
ITO Sheet
Diffusion Sheet
Reflection Sheet
Light Guide Plate
Reflection Panel
Содержание LC-15A2M
Страница 14: ...6 5 4 3 2 1 A B C D E F G H 14 LC 15A2M CHASSIS LAYOUT MAIN Unit Side A MAIN Unit Side B ...
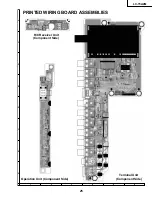
Страница 15: ...6 5 4 3 2 1 A B C D E F G H 15 LC 15A2M TERMINAL Unit OPERATION Unit R C RECEIVER Unit ...
Страница 16: ...17 LC 15A2M 16 12 11 10 9 8 7 6 5 4 3 2 1 A B C D E F G H BLOCK DIAGRAM ...
Страница 17: ...19 LC 15A2M 18 12 11 10 9 8 7 6 5 4 3 2 1 A B C D E F G H Ë MAIN Unit 1 2 ...
Страница 18: ...21 LC 15A2M 20 12 11 10 9 8 7 6 5 4 3 2 1 A B C D E F G H Ë MAIN Unit 2 2 ...
Страница 19: ...23 LC 15A2M 22 12 11 10 9 8 7 6 5 4 3 2 1 A B C D E F G H Ë TERMINAL Unit ...
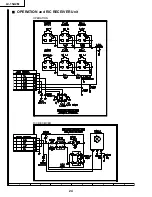
Страница 20: ...6 5 4 3 2 1 A B C D E F G H 24 LC 15A2M Ë OPERATION and R C RECEIVER Unit R C RECEIVER OPERATION ...
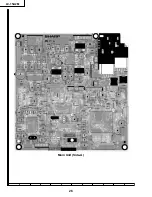
Страница 23: ...17 16 19 18 15 14 13 12 11 10 27 LC 15A2M 6 5 4 3 2 1 A B C D E F G H Main Unit Side B ...


