04/1/28
CX-GD5100V_EN2.fm
21
GX-CD5100W
Tape Recording
■
To fast wind (TAPE 1 or TAPE 2)
Caution:
●
To remove the cassette, press the button, and then open the
compartment.
●
Before changing from one tape operation to another, press the
button.
●
If a power failure occurs during tape operation, the tape head will
remain engaged with the tape and the cassette door will not open.
In this case, wait until the power is restored.
■
Mixing from a microphone and TAPE
To listen to mixed signals from an external microphone and
TAPE.
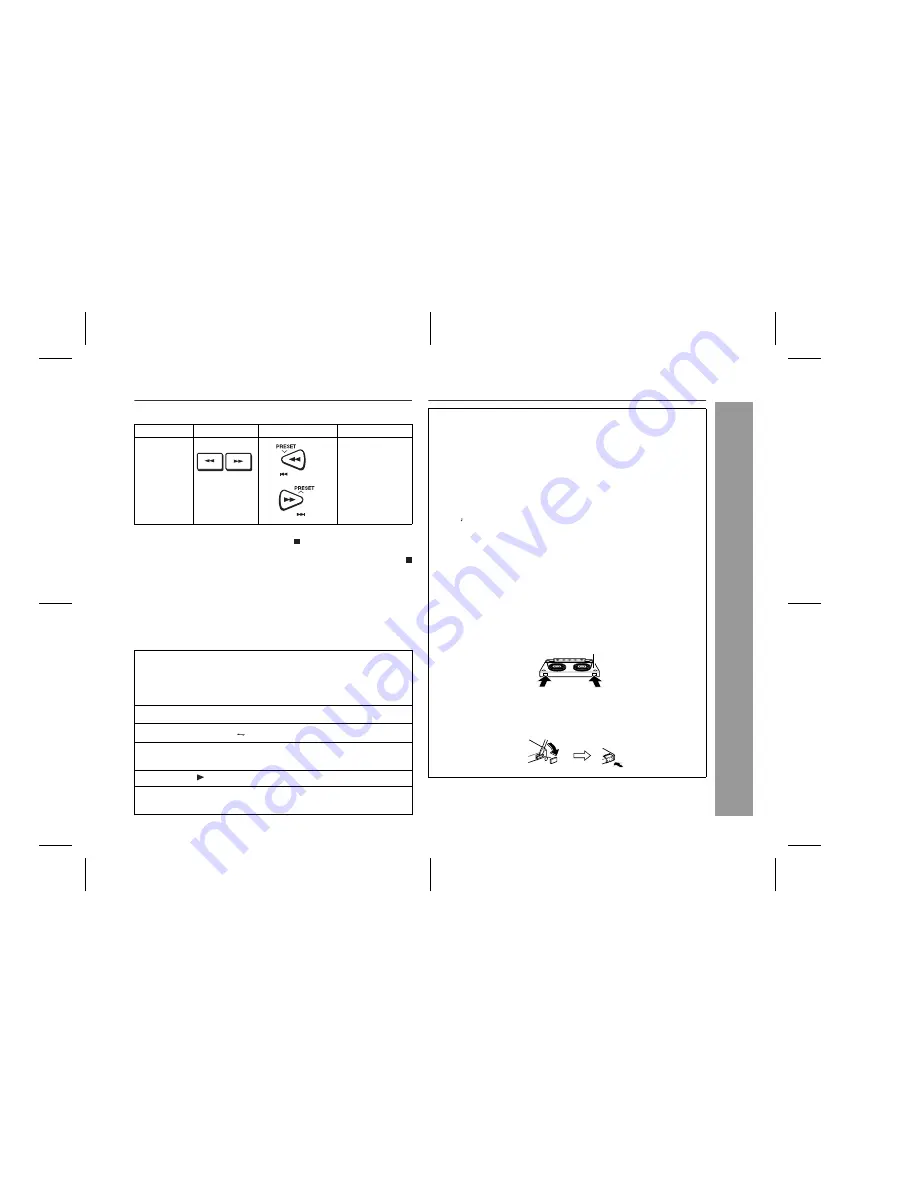
Recording to a cassette tape
Function
Main unit
Remote control
Operation
Fast
forward/
rewind
Press in the
playback or stop
mode.
1
To protect the speakers from shock noise and to avoid dis-
turbing noises, set the VOLUME control to minimum.
Be sure that the microphone has a 3.5mm (1/8") diameter plug,
and is of 600 ohms impedance: if not, use an appropriate adap-
tor.
2
Connect the microphone plug to the Mixing Mic socket.
3
Press the TAPE (1
2) button.
4
Load a cassette into the TAPE 1 or TAPE 2 cassette com-
partment.
5
Press the button of the TAPE 1 or TAPE 2.
6
Adjust the volume of the audio source and the microphone
using the VOLUME control.
Before recording:
●
When recording important selections, make a preliminary test to
ensure that the desired material is properly recorded.
●
SHARP is not liable for damage or loss of your recording arising
from malfunction of this unit.
●
The volume and sound controls can be adjusted with no effect
on the recorded signal (Variable Sound Monitor).
●
For recording, use only normal tapes. Do not use metal or
CrO tapes.
Erase-prevention tab of cassette tapes:
●
When recording on a cassette tape, make sure that the erase-
prevention tabs are not removed. Cassettes have removable
tabs that prevent accidental recording or erasing.
●
To protect the recorded sound, remove the tab after recording.
Cover the tab hole with adhesive tape to record on the tape
without the tab.
Side A
Tab for side B
Tab for side A


