Colour Calibration
13
Document Solutions After Sales Service
Automatic Colour Calibration
-
FACTORY MODE
When adjusting colour balance before or after routine maintenance, always use the
recommended paper (Mondi 90gsm or equivalent) for optimum image quality.
1.
Always ensure the latest firmware is installed on the copier, this can be visually checked using
SIM22-05 or printing the data sheet using SIM22-06.
2.
Check that A/E settings and manual colour calibration settings are set to default (page 2 of SIM22-
06 data sheet)
3.
Ensure all maintenance work is carried out, checking maintenance counters in SIM22
4.
Ensure optics cavity is clean, clean main charge unit using special tool and clean laser slit glass
5.
Perform colour image density sensor adjustment in SIM44-13 using special tool (UKOG-0318FCZZ)
refer to ADJ 3 in service manual
6.
Next perform black image density sensor adjustment in SIM44-02, refer to ADJ 3B in service
manual
7.
Perform image skew adjustment and registration adjustment using SIM50-22. When performing
skew adjustment follow procedure in ADJ 5 in service manual
8.
Execute SIM44-27, halftone process control correction data clear
9.
Execute SIM44-06, Process control correction (force)
10.
Execute SIM44-26, halftone process control correction execution
11.
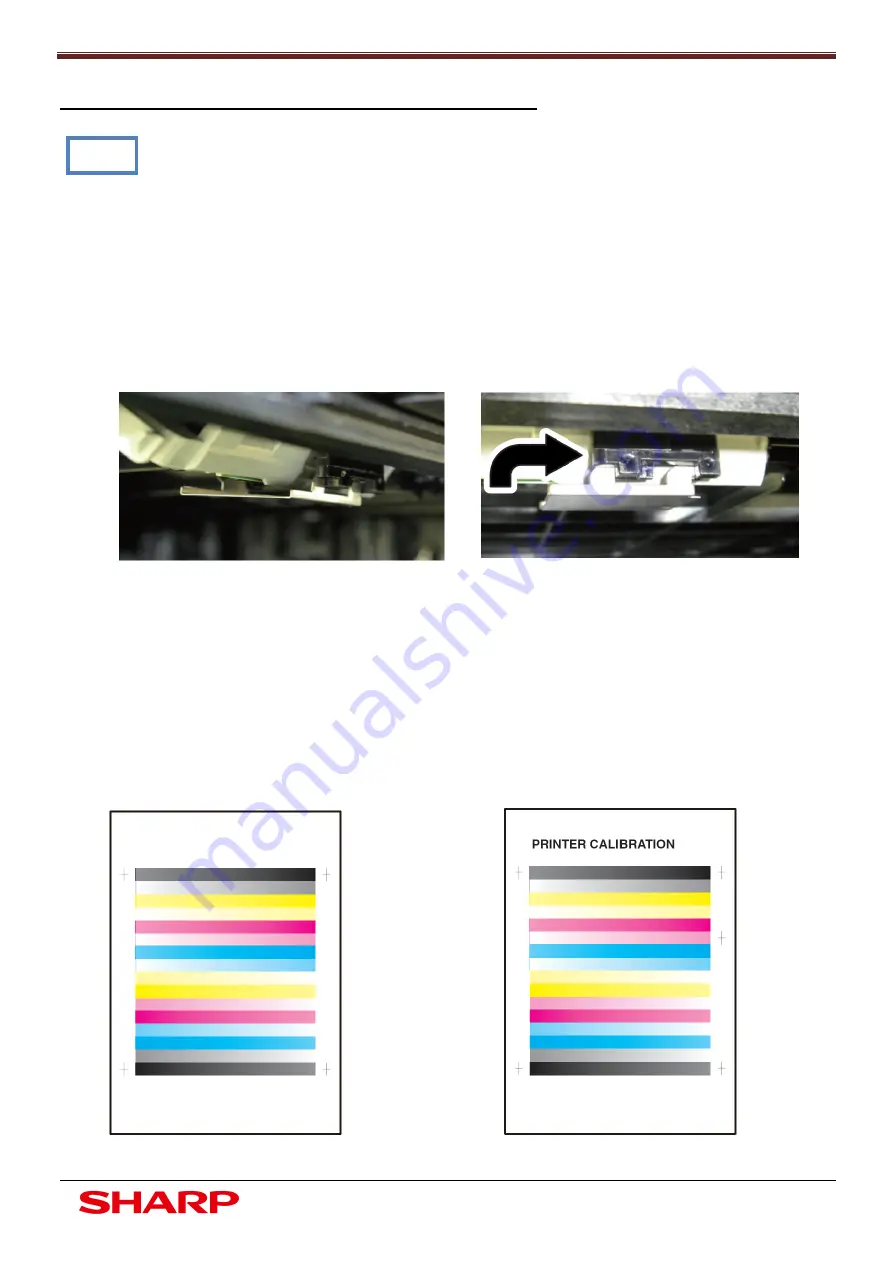
Perform colour balance adjustment SIM46-74, place printed pattern on to glass for both engine
and printer modes
Engine Calibration Pattern Printer Calibration Pattern
Note


