


Setting 6: TRANSACTION REPORT PRINT SELECT
This sets the condition for printing out a Transaction Report. Enter a number
from 1 to 4 as follows:
1 (ALWAYS PRINT):
A report will be printed after each transmission,
reception, or error.
2 (ERR/TMR/MEM.
PRINT):
A report will be printed after an error or a timer
operation.
3 (SEND ONLY):
A report will be printed only after a transmission.
4 (NEVER PRINT):
A report will never be printed.
•
Initial setting: 2
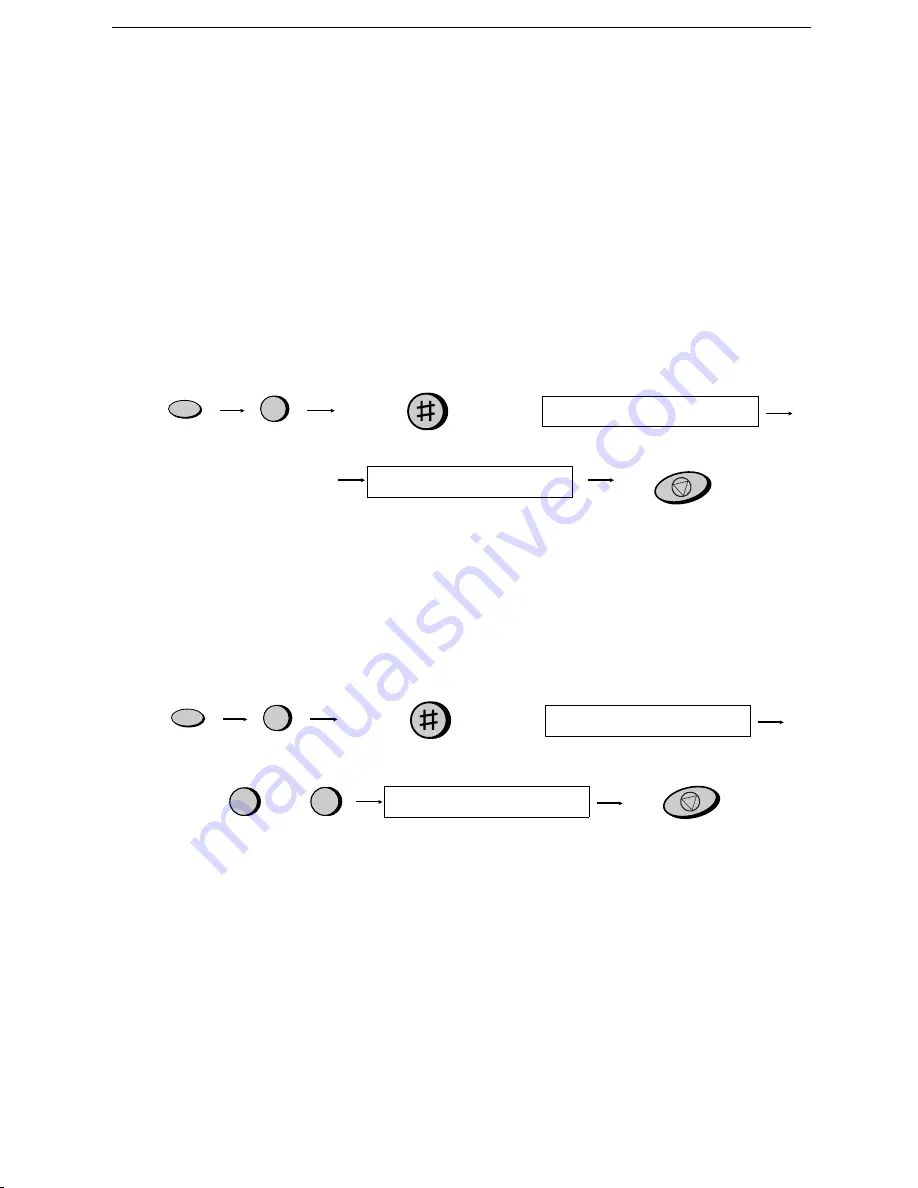
STOP
FUNCTION
4
Press
until
display
shows:
TRANSACTION PRINT
Enter a number
from
1
to
4
DIAL MODE
Setting 7: DIAL MODE
This sets the mode of dialling. Press 1 if you are on a tone dial line, or 2 if you
are on a pulse dial line.
•
Initial setting: 1
FUNCTION
4
Press
until
display
shows:
DIAL MODE
STOP
2
1
TONE
PULSE
or
PSEUDO RING DUR.
Note: For all units installed in New Zealand, select "1" for tone dialling. The
pulse setting "2" will not operate correctly and must not be used.
Option Settings
94


