background image

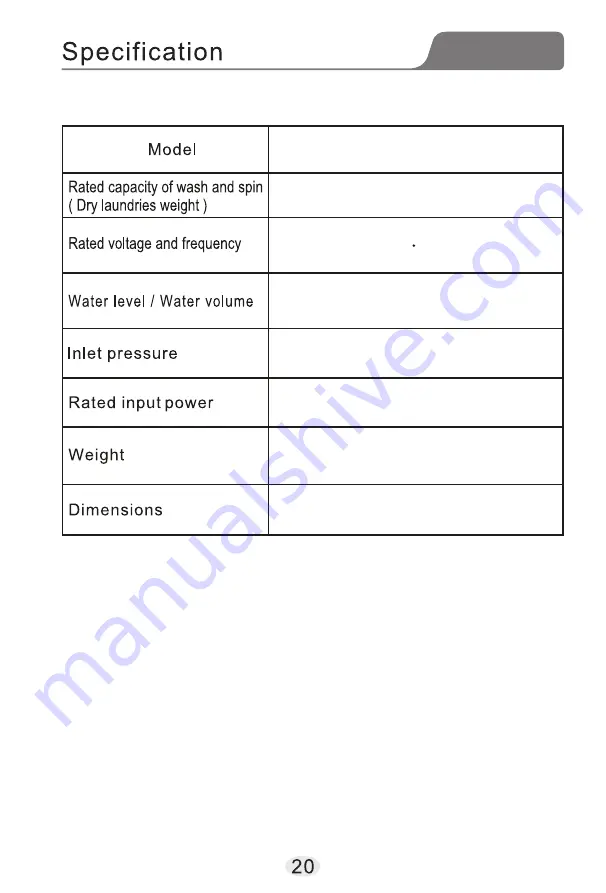
7.0kg

ES-HK700G

Wash:420W

About 31kg

10/56L 9/52L  8/48L 7/44L 

  6/40L 5/36L  4/32L 3/28L

  2/25L 1/21L

W547mm     D563mm    H920mm

0.03MPa~0.85MPa

220V~  50Hz

Spin  :335W

Содержание ES-HK700G

Страница 1: ... if you moved house and leaving the appliance always ensure the manual is supplied with the appliance in order for the new owner can get to know its functions and its relevant warnings These warnings have been provided for your safety You MUST read them carefully before installing or using the appliance ...

Страница 2: ...o use drainpipe 5 Water inlet installation 6 Operation Preparation before operation 7 Load laundries 8 Use of detergent 9 Control panel instructions 10 Operation steps 12 Maintenance 16 Common non fault phenomenon 17 Specification 20 Contents Additional functions 15 Others ...

Страница 3: ...ashing machine if not followed The contents of this symbol are prohibited It may damage the appliance and can lead to injury Prohibited symbol Warning symbols Drainpipe The end connect to the appliance Bottom cover 1pc Water inlet hose 1pc Outfall stopper 1pcs The end connect to water inlet hose connector ...

Страница 4: ...220V ...

Страница 5: ...ical sensory or mental capabilities or lack of experience and knowledge unless they have been given supervision or instruction concerning use of the appliance by a person responsible for their safety Children should be supervised to ensure that they do not play with the appliance Notice ...

Страница 6: ... bottom cover 1 Adjustable nut Adjustable foot 1 Lift up the adjustable foot gently loose the adjustable nut Fixing clamp Scissors Bottom cover The base The distance between the washing machine and the wall should be more than 50mm and the maximum allowable angle of the shank base of the machine is 1 The slanting or rough ground may cause operating stopped or unstable please adjust it with the fol...

Страница 7: ...e than 1 2m to avoid leakage or stop if drain a long time the machine will stop running 2 You can adjust the situation of the elbow bend pipe to change the height of the drainpipe 3 Do not extrude the drainpipe to ensue drain smoothly Drainpipe Elbow Less than 1 2m ...

Страница 8: ...e connection between inlet hose connector and the tap Make sure they are firmly fitted to prevent dropping from improper installation position 1 Do not take off the water absorption cushion Please check if the cushion is dropped or damaged before each usage If it is contact the seller immediately 2 Put the inlet hose nut on the inlet valve connector 3 Fasten the inlet hose nut and swing it gently ...

Страница 9: ......

Страница 10: ...7 ...

Страница 11: ...Put the needed washing powder in the detergent box and softener in the softener box evenly ...

Страница 12: ...e Wash clothing with the HAND WASH mark Air Dry Program for reducing the time to dry After spinning blow air to clothing in the tub to reduce the time to dry in the shade greatly Tub Clean washing spin drying tub See Tub clean Plug the machine in and then press this key the machine will turn on Press this key again it will turn off Press this key after turning on the selected program will start Pr...

Страница 13: ...min 7 min blank 5 min 3 min Soft spin Default setting depends on each program When selecting Air Dry program you can also change the time to dry by pressing this key 30 min 60 min 90 min Default setting 30 min Press to select the rinse times 4 times 3 times 2 times blank 1 time Default setting depends on each program Press to select the washing time 20 min 15 min blank 12 min 9 min Default setting...

Страница 14: ......

Страница 15: ......

Страница 16: ......

Страница 17: ...START PAUSE key again Before start You can set child lock by pressing and holding WATER LEVEL key and PRESET TIME key at the same time for 3 seconds CHILD LOCK is displayed on the operation panel Press START PAUSE and the machine is locked Press and hold these keys for 3 seconds again to unlock this function After start You can set this function with the same way as the machine is locked directly ...

Страница 18: ...g steps 1 Pull out the lint filter 2 Turn the filter net inside out and wash it 3 Reverse back the filter net and remount it 1 pull out magic filter 2 open the box and clean it 3 close it and reinstall it 4 check if the lint block part is in good condition Magic filter cleaning press this part and pull out to take out the magic filter lint block part black rubber Groove ...

Страница 19: ...ation testing system will supervise the running Once vibration is beyond certain level the adjustment system will start automatically to adjust the imbalance 2 Imbalance adjustment 1 Press the power supply button and did not start the program in 10 minutes the power supply will be cut off automatically 2 After the washing is finished buzzer will activate The power supply will be cut off automatica...

Страница 20: ......

Страница 21: ......

Страница 22: ...7 0kg ES HK700G Wash 420W About 31kg 10 56L 9 52L 8 48L 7 44L 6 40L 5 36L 4 32L 3 28L 2 25L 1 21L W547mm D563mm H920mm 0 03MPa 0 85MPa 220V 50Hz Spin 335W ...

Страница 23: ......

Отзывы: