5
INSTALLING THE SOFTWARE
CUSTOM INSTALLATION
The procedure for a custom installation of the software is explained below. Use the custom installation
procedure when the machine is connected by a parallel cable, when the machine is used as a shared
printer on a network, or when installing the PC-Fax driver.
Installation in Windows XP (USB/Parallel cable)
1
The USB or parallel cable must not be
connected to the machine. Make sure
that the cable is not connected before
proceeding.
If the cable is connected, a Plug and Play
window will appear. If this happens, click the
"Cancel" button to close the window and
disconnect the cable.
2
Insert the "Software CD-ROM" into your
computer's CD-ROM drive.
3
Click the "start" button, click "My
Computer" (
), and then double-click
the [CD-ROM] icon (
).
4
Double-click the "Setup" icon (
).
5
The "SOFTWARE LICENSE" window
will appear. Make sure that you
understand the contents of the license
agreement, and then click the "Yes"
button.
6
Read the message in the "Welcome"
window and then click the "Next" button.
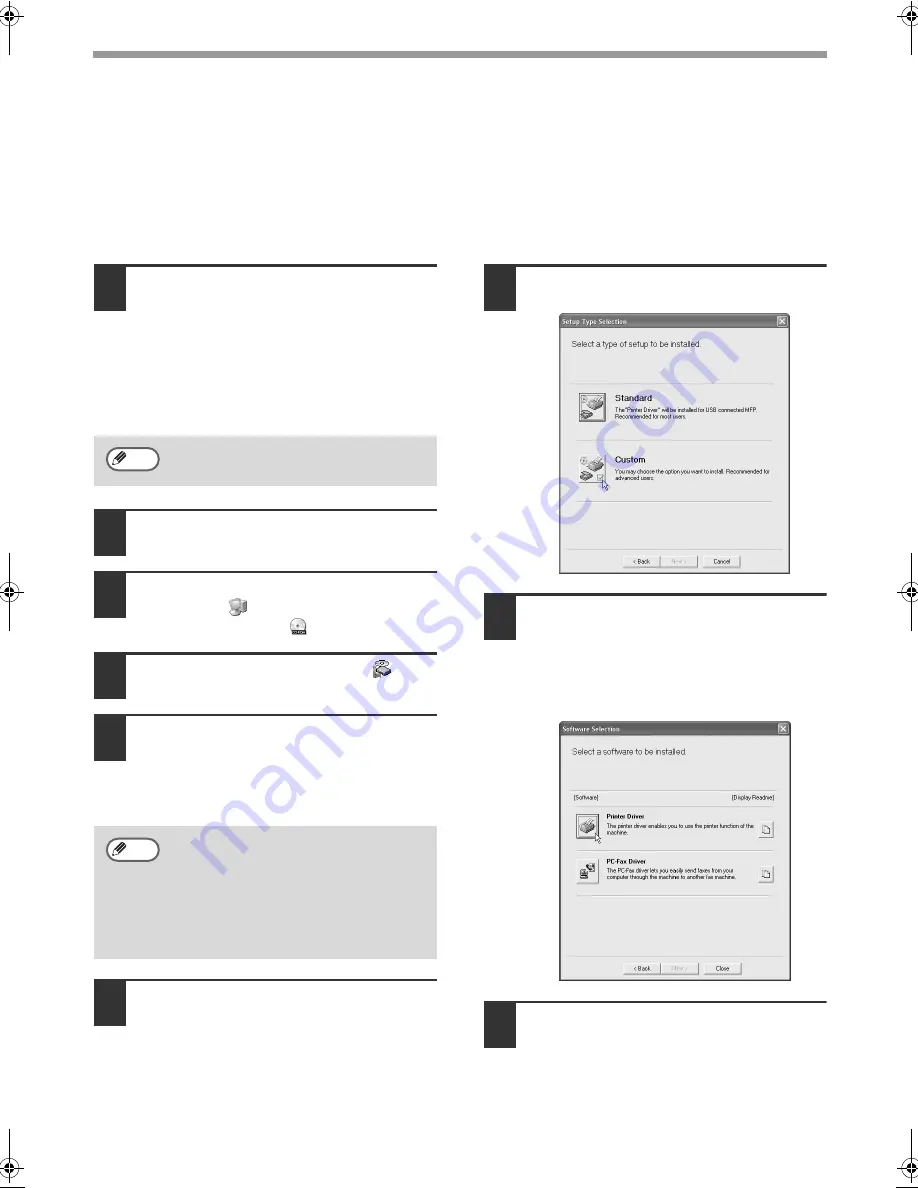
7
Click the "Custom" button.
8
Click the "Printer Driver" button.
Before installing the software, be sure to
click the [Display Readme] button and
view the detailed information on the
software.
T
9
Click the "Next" button.
The cable will be connected in step
15.
You can show the "SOFTWARE
LICENSE" in a different language by
selecting the desired language from
the language menu. To install the
software in the selected language,
continue the installation with that
language selected.
Note
Note
!!install_ar230270.book 5 ページ 2006年12月25日 月曜日 午後2時38分


