


1
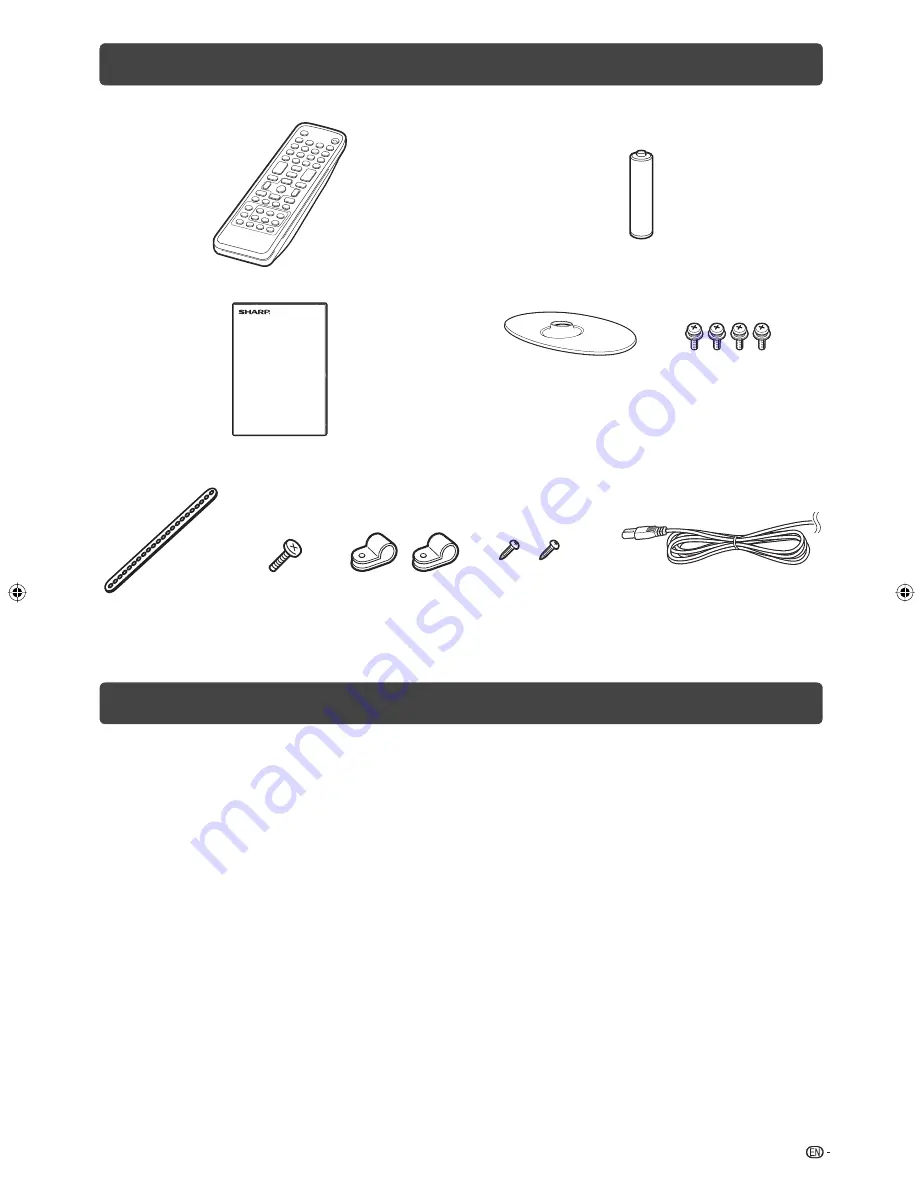
Supplied accessories
Remote control unit
“AA” size battery (
g
1)
Operation manual
Stand unit
Stand base
Screws (
g
4)
Restraining
band
Screw for
band
Screws for
clamps
Clamps
Contents
Page
Supplied accessories ..............................................1
Dear SHARP customer ............................................2
Important Safety Precautions ................................2
Important information .............................................2
Trademarks ..............................................................2
Attaching the stand .................................................3
Setting the TV ..........................................................3
Connecting external devices ..................................4
Remote control unit ................................................5
Part names ...............................................................6
Turning the TV on/off ..............................................7
Supplying electric power to the antenna ..............7
Initial auto installation .............................................7
Checking Signal information ..................................7
Auto installation .......................................................8
Programme setup ...................................................8
Selecting a preset AV mode .................................10
Menu operation .....................................................10
Picture menu ..........................................................11
Audio menu ............................................................11
Page
ECO menu ............................................................. 12
Setup menu ........................................................... 12
Option menu ......................................................... 14
Digital setup menu ............................................... 16
Programme Guide ................................................ 17
Info ......................................................................... 17
ATV (Analogue/DTV/RADIO buttons) .................. 18
Switching the analogue audio format ................ 18
EPG ........................................................................ 20
Picture and still image ......................................... 21
Wide Mode ............................................................ 21
Teletext function ................................................... 22
PC Control of the TV ............................................ 22
PC compatibility chart ......................................... 23
RS-232C commands list ...................................... 23
Appendix ............................................................... 24
Specifi cations ....................................................... 25
Protection against overturning ........................... 26
Dimensional drawings.......................................... 26
CLEARING THE PASSWORD ............................... 27
Safety restrains
AC cord
LC40L500X_EN.indb 1
LC40L500X_EN.indb 1
06/08/10 08:40:25 AM
06/08/10 08:40:25 AM
Содержание Aquos LC-40L500X
Страница 1: ...MODEL LC 40L500X LCD COLOUR TELEVISION OPERATION MANUAL ...
Страница 2: ......
Страница 30: ...Memo ...
Страница 31: ......
Страница 32: ...Printed in Malaysia TINS E711WJZZ 10P09 MA NF ...


