PAGE 8
PAGE 9
ASSEMBLY
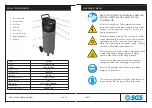
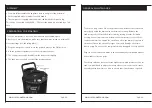
1. Set the compressor on a clean, flat surface in a ventilated space.
2. Before you use the machine, make sure that the mains voltage is within ±5%
of rated voltage (see the rating plate).
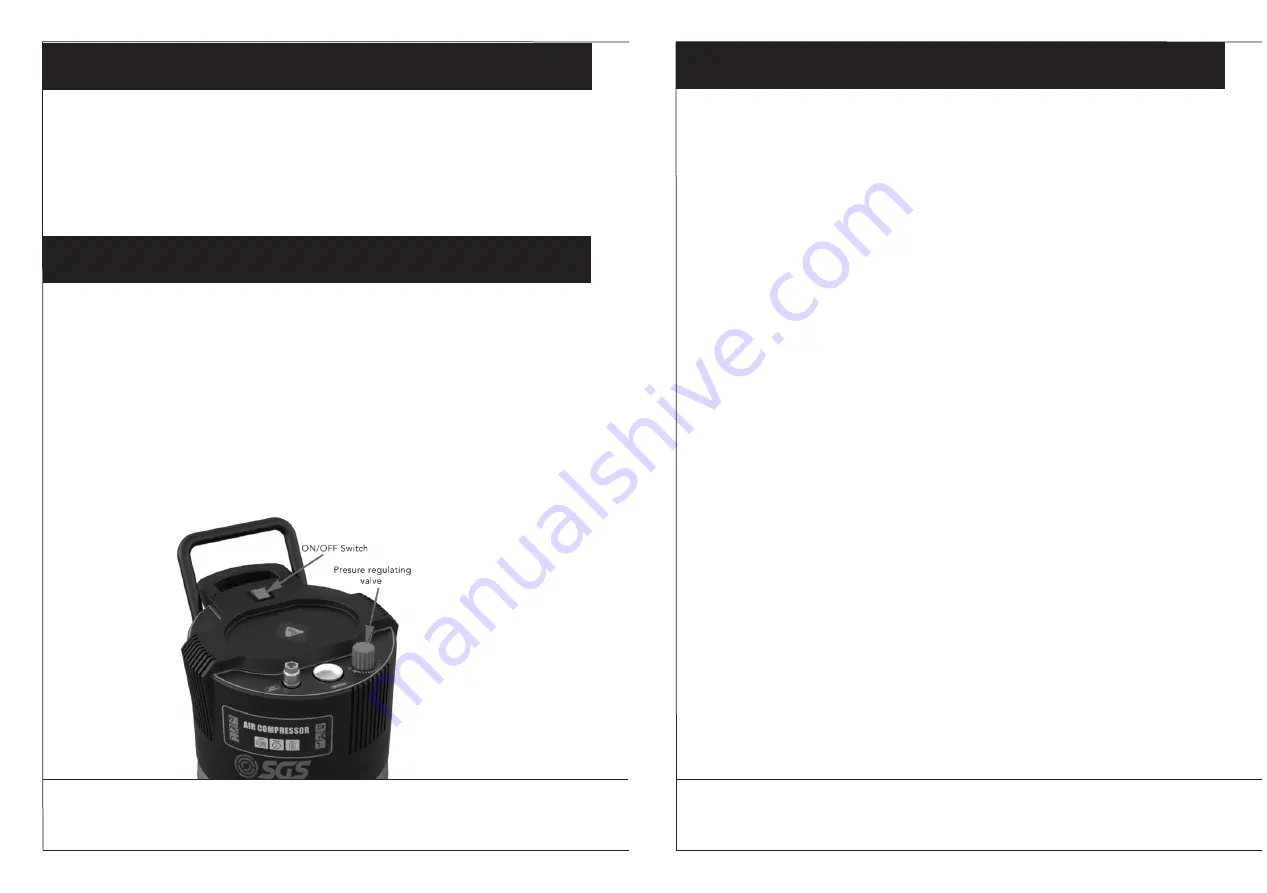
3. Plug the compressor in and press the power button to the ON position.
4. Use the pressure regulator to set the air pressure output.
5. The set pressure can be drawn from the quicklock coupling.
6. The tank pressure can be read off the pressure gauge.
• You must fully assemble the appliance before using it for the first time!
• Fit the supplied wheels, rubber feet and handle.
• The compressor is equipped with a mains cable with shock-proof plug.
This can be connected to any 230V ~ 50 Hz socket which is protected by a 16 A
fuse.
PREPARATION FOR STARTING
GENERAL MAINTENANCE
To ensure a long service life of the pressure tank, drain off the condensed
water by opening the drain valve each time after using. Release the
tank pressure first. Open the drain screw by turning counter-clockwise
(looking at the screw from the bottom of the compressor) so that all the
condensed water can escape the tank. Then close the drain screw (turn it
clockwise). Check the air tank for signs of rust and damage each time
before using. Do not use the compressor with a damaged or rusty air tank.
Dispose of the condensed water in an environmentally compatible manner
at a suitable collection point.
The safety valve has been set for the highest permitted pressure of the air
tank. It is prohibited to adjust the safety valve or remove its seal. Actuate
the safety valve from time to time to ensure that it works when required.
WWW.SGS-ENGINEERING.COM
WWW.SGS-ENGINEERING.COM

