


Tools and Preferences
77
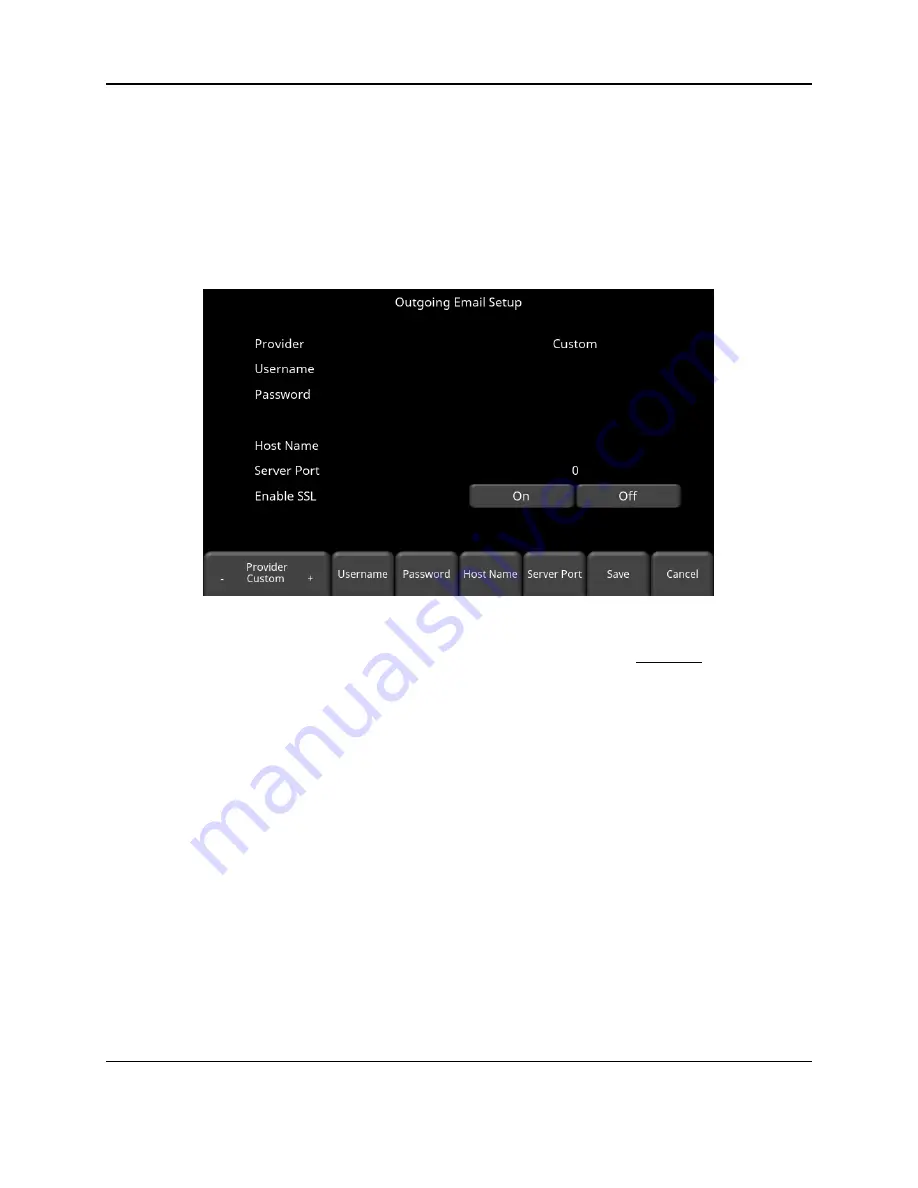
Using Another Email Provider
Note: It is highly recommended to use a GMAIL account as the system is pre-configured
for this. If you choose to use another provider, you will have to contact that provider if
you have any issues with the settings.
To use another email provider, press the
+
and
–
buttons under
Provider
to access
Custom.
This will display the screen shown in Figure 5-12 allowing you to setup and configure a different
email provider:
Figure 5-12: Setting up a custom email provider
•
Press
Username
to display a keyboard where you can enter the complete email
address, then press OK when done.
•
Press
Password
to display a keyboard where you can enter the password, then press
OK when done.
•
Press
Host Name
to display a keyboard where you can enter the name of the server
handling the outgoing mail. See chart below for some common email providers. If your
provider is not listed, it can usually be found by searching online for “SMTP host name
<provider>”, where provider is the host name e.g. Yahoo or AOL. Press OK when done.
•
Press
Server Port
to display a keyboard where you can enter the port number used by
the email server. Searching online for host name will usually provide the port number for
that email provider.
In most cases, it’s usually 465 (if SSL is enabled, see next bullet
point), or 587. See chart below for some examples. Press OK when done.
•
Enable SSL
– you can select
On
or
Off
on the display. SSL provides encryption
security. Some email providers require this set to ON. This will usually be indicated on
the same online search page that was used above. See the chart below for examples.
•
Press
Save
when all the information is entered and correct.
Содержание pulseEKKO
Страница 1: ...2005 00040 09 ...
Страница 2: ...ii ...
Страница 4: ...Warranty Confirmation iv ...
Страница 10: ...x ...
Страница 14: ...Introduction 2 ...
Страница 72: ...Assembling Full Configurations 60 ...
Страница 80: ...Getting Started 68 ...
Страница 116: ...Tools and Preferences 104 ...
Страница 180: ...Collecting Data 168 ...
Страница 185: ...Slice View 173 Figure 8 4 Varying the Grid Lines from top to bottom ON PARTIAL and OFF settings ...
Страница 190: ...Map View 178 ...
Страница 198: ...Managing Data 186 ...
Страница 221: ...Care Maintenance 209 ...
Страница 222: ...Care Maintenance 210 ...
Страница 226: ...Technical Specifications 214 ...
Страница 228: ...Appendix A 216 ...
Страница 234: ...Appendix B 222 ...
Страница 236: ...Appendix C 224 ...
Страница 238: ...Appendix D 226 ...
Страница 246: ...Appendix E 234 ...
Страница 248: ...Appendix F 236 ...
Страница 250: ...Appendix G 238 ...


