. . . . . . . . . . . . . . . . . . . . . . . . . . . . . . . . . . . . . . . . . . . . . . . . . . . . . . . . . . . . . . . . . . . . . . . . . . . . . . . .
Assembling / Mounting the UC4-B
Assembling the UC4-B
The mic stand’s feet should extend out toward the front of the
microphone. To save space on your desktop, the microphone can
be mounted with the feet pointing toward the back.
1.
Place the washers on either side of the microphone.
The metal side should face out.
2.
Place the microphone and washers into the desktop
stand, and align the attachment holes.
3.
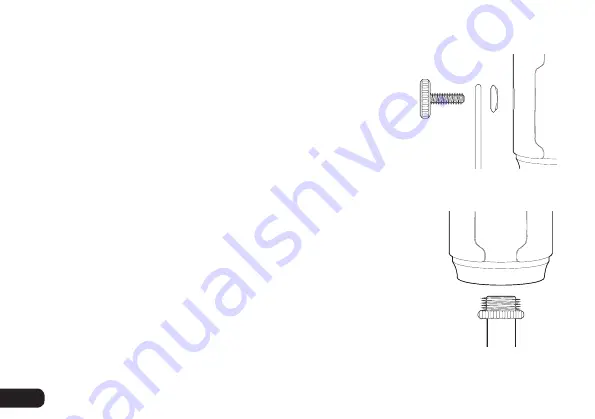
Screw in the thumbscrews on both sides, and tighten until secure.
Mounting the UC4-B on a Microphone Stand
1.
Remove the microphone from the desktop stand
by unscrewing the thumbscrews.
2.
If the microphone stand’s threaded mount includes a locking
washer, turn it clockwise until it’s at the bottom of the threads.
3.
Screw the UC4-B onto the mic stand.
4.
Tighten the connection by rotating the locking washer counterclockwise until secure.
6


