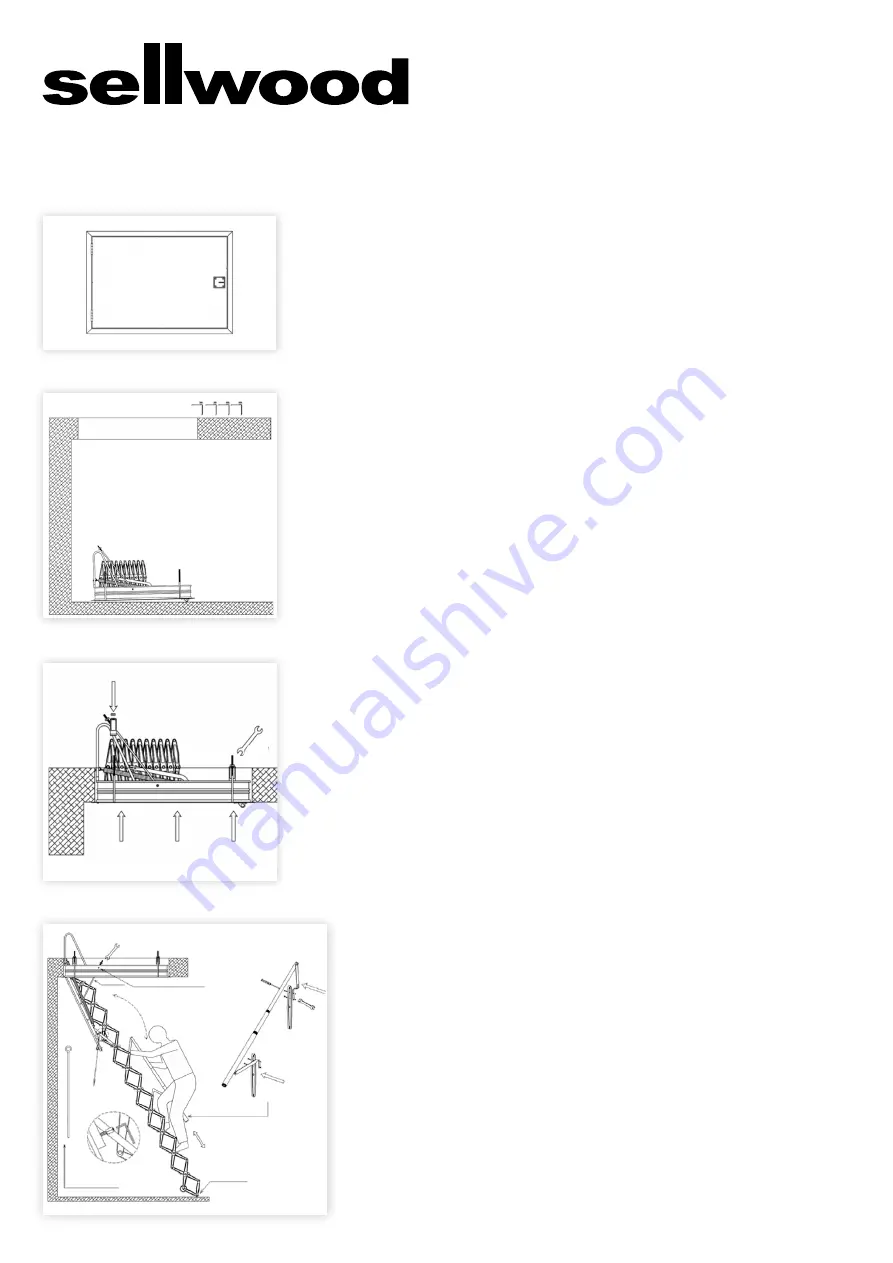
figure 6
figure 8
figure 7
Nylon Casters
figure 9
Handrail
Control Rod
PREPARING THE LADDER
1. Remove the ladder from its packaging and place it lid down on a bench or saw stool.
The lid is less likely to get damaged there than laying it on the ground, as well as
being better for your back!
2. You may choose to prepare the lid for painting by putting 1-2 coats of primer now as
it is easier than later, when the unit is in the ceiling. (Figure 6)
INSTALLING THE LADDER
1. By means of a step ladder, leave the 4 top-fixing brackets with their M10 nuts up into
the attic space. (Figure 7)
2.
For the next part of the operation there will need to be one person in the attic.
Ensure there is good light up there. The ladder is heavy and requires two people to
lift it into the opening with the architrave tight to the ceiling. While the ladder is being
held in place from below, the person in the ceiling must fit each of the four fixing
brackets over each of the four threaded rods and use the M10 nuts to secure them
in place. Check the ladder is square in the ceiling and tighten the nuts holding the
four brackets.
3. Once the 4 top-fixing brackets are in place and tigtened, check that the ladder’s
frame (in its closed position) is flush on all sides with the ceiling lining. If this
is not the case, you have to adjust the ladder from the top, by means of small
displacements. Then finally tighten the ladder firmly to the ceiling.
4. Once the ladder is adjusted and fixed securely in the right position, you will need
to connect the ladder to the most safe and accessible electricity source. Upon
connection to electricity and when it is ensured that batteries are in the remote, the
ladder will be easilly operated by the use of the remote. Should the ladder need to
be adjusted to the stud height of your house, you must adjust the rods, by either
screwing down or screwing out both M10 nuts with a spanner. (The nuts must
always rest simultaneously on the ratchets). Adjust treads to level. (Figure 9)
5. In the case that you have to fit a handrail on the ladder, you will need to fit it on when
the ladder is unfolded. Place the handrail next to the ramp, with the “L” - shaped lever
beside the bottom pre-drilled lever and the straight lever. Once the rail is placed
correctly on the ladder you will need to use a screwdriver and spanner to bolt the rail
to the side of the stair. (Figure 9)
6.
Rods to be tightened in place
www.sellwood.co.nz
0800 288 427 (ATTICS)
3/75 Apollo Drive, Rosedale
Auckland 0632
As it is very crucial to ensure safety when operating this ladder you need to
make sure all surroundings are clear for the area required for the ladder to be
opened in, whilst the ladder automatically opens and closes.


