Seiki SE48FO01UK Скачать руководство пользователя страница 23

 23

Fitting the Common Access Module

Note: 

This feature is not available in all countries.

1. Before inserting the Common Access Module, please switch the TV off.
2. If you feel resistance when inserting the CAM, turn it over and try again.
3. Switch the TV on and you will be able toaccess the encrypted channels from the  
    service provider.
Removing the Common Access Module
1. Before removing the CAM ensure the TV is switched off at the mains.
2. Pull the CAM out of the CI slot in the side of the TV.
3. Switch the TV back on at the mains.
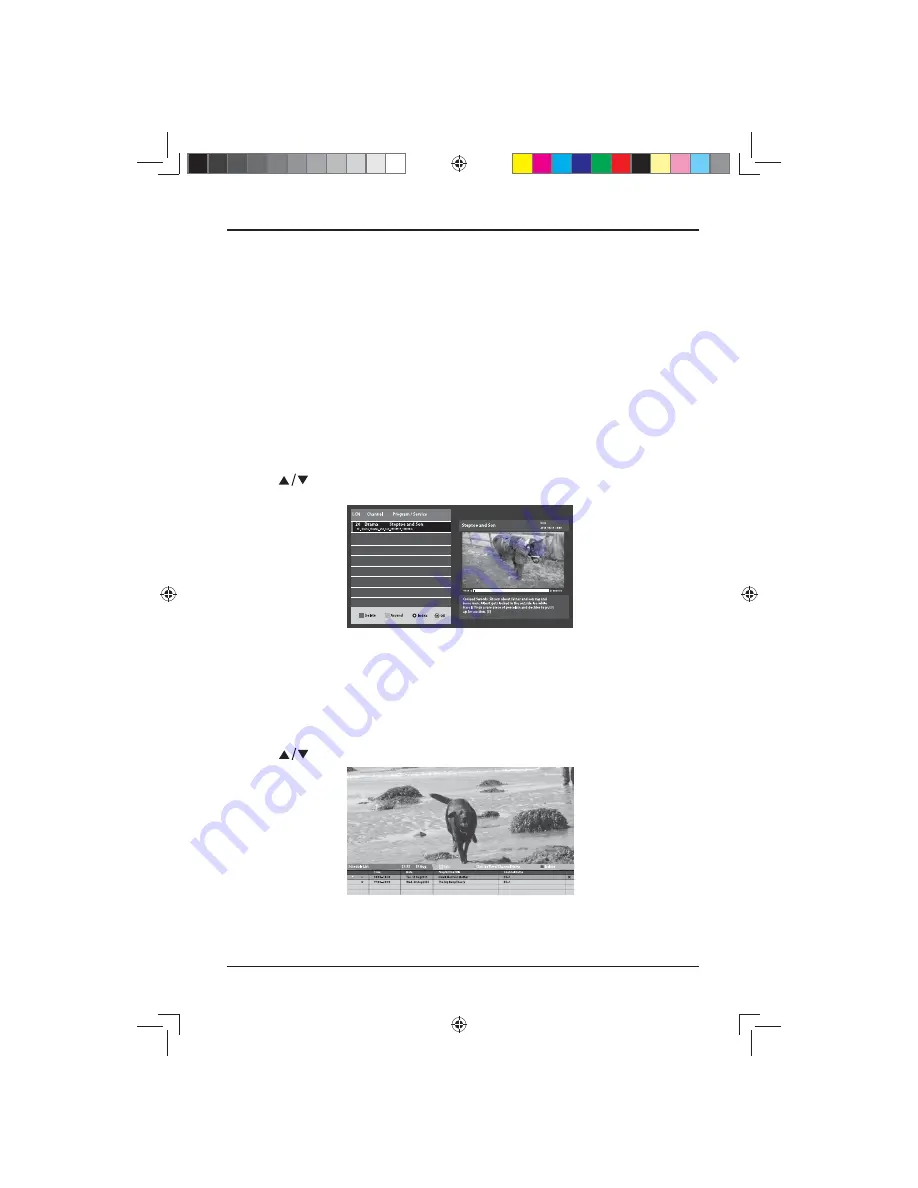
Recorded List

Use the 

 button to select Recorded List from the menu and press the 

OK


button to enter.

You can now see a full list of all of the programmes recorded on your USB drive. 
You can interact with the list using the coloured buttons on the remote control.

NOTE: 

If no USB device 

fi

 tted to the TV, a warning message

"No USB Detected" 

will pop up. 

Schedule List

Use the 

 button to select Schedule List from the menu and press the 

OK


button to enter.

You can now see a full list of all of the programmes you have scheduled. You can 
interact with the list using the coloured buttons on the remote control.

NOTE:

 If no USB device 

fi

 tted to the TV, a warning message

"No USB Detected" 

will pop up.

CUSTOMIZING TV SETTINGS

LE-48GCL-B(英国)SY15061 IM.indd   23

LE-48GCL-B(英国)SY15061 IM.indd   23

2015/1/17   9:43:29

2015/1/17   9:43:29

Содержание SE48FO01UK

Страница 1: ...18 Lock 24 Time 25 Network 26 Setting 27 Entertainment 28 MultiMedia 28 Viewing Movies 29 Listening to Music 30 Viewing Photos 31 Files 32 Using the Features 33 Electronic Programme Guide EPG DTV mod...

Страница 2: ...d use caution when moving the cart apparatus combination to avoid injury from tip over Unplug this apparatus during lightning storms or when unused for long periods of time Refer all servicing to qual...

Страница 3: ...ers There are no user serviceable parts inside Trying to service the unit yourself is dangerous and may invalidate the product s warranty Qualified personnel must only service this apparatus To avoid...

Страница 4: ...TION What is Included User Manual User Manual Quick Start Guide Quick Start Guide Base Stand Twelve Screws MINI YPBPR cable MINI AV cable Stand Support LE 48GCL B SY15061 IM indd 4 LE 48GCL B SY15061...

Страница 5: ...display menu 4 CH Press to select a channel 5 VOL Press to adjust the volume 6 POWER Indicator Illuminate blue when the TV is turned on Illuminate red when the TV is in standby mode 7 IR Infrared Rec...

Страница 6: ...utput sockets COMPONENT VIDEO share with AUDIO IN L R subscribe to 8 CI Slot Used to insert a CI card A CI card allows you to view all the channels that you subscribe to 9 MINI AV Connect to the compo...

Страница 7: ...d support using the 6 provided screws 1 Lay the TV face down on a flat cushioned surface to avoid damaging or scratching 2 Untighten the 6 pcs screws holding the stand assembly and remove them 3 Attac...

Страница 8: ...nction on and off DTV mode 16 Press to skip to the beginning of the previous chapter or track USB DTV modes TTX Turn on and off the teletext function ATV DTV Modes 17 Press to skip to the beginning of...

Страница 9: ...trol the device using the remote control point the remote control at the device and then press the button with the required function The maximum range of the remote control is about 5 meters with a de...

Страница 10: ...Satellite Receiver Satellite Antenna Cable HDMI Cable not included Cable not included Coaxial Cable not included SCART Cable not included MINI YPBPR Cable included MINI AV Cable included AV Cable not...

Страница 11: ...l socket and turn the power on if required In standby mode press the button on the main unit or on the remote control to turn the TV on The red LED indicator will turn blue The first time you turn you...

Страница 12: ...nge to store mode a warning screen will appear asking if you want to leave home mode If you do press the button to continue Note Store Mode should only be used if the TV is to be used as a display in...

Страница 13: ...the Input Source list Use the buttons to select the desired input source and press OK button to confirm Note Not all sources will be displayed when the menu is open You will need to use the buttons t...

Страница 14: ...ther Yes or No and press the OK button to confirm To open the MultiMedia menu whilst using the TV press the MENU button on the main unit or on the remote control Use the buttons to select the MultiMed...

Страница 15: ...have highlighted the one you require See over the page for a full list of the function bars list of functions Play Press to play the programme Previous Press to watch the previous programme in the pl...

Страница 16: ...u can watch Info Shows information about the current programme you are watching Press the EXIT button to return to the previous menus Picture Press the MENU button on the main unit or on the remote co...

Страница 17: ...tandard Warm Cold The colour temp changes the amount of blue and red in your picture Aspect Ratio Choose to view the TV picture in various formats Choose from Auto 4 3 16 9 Zoom 1 Zoom 2 Subtitle Nois...

Страница 18: ...Description is an auxiliary audio function that provides an additional audio track for visually impaired people This function handles the Audio Stream for the AD Audio Description when it is sent alon...

Страница 19: ...tton to enter Select the tuning type using the buttons you can choose between DTV ATV DTV Analogue TV Country is preset as UK and can be changed CUSTOMIZING TV SETTINGS LE 48GCL B SY15061 IM indd 19 L...

Страница 20: ...uning and press OK to enter Then use to select and adjust the desired option NOTE If the number about to save is the same as a channel that is already being used the manually adjusted channel will rep...

Страница 21: ...ned channel will be shown on your TV screen Channel Edit Press MENU button to enter CHANNEL and then press OK to enter Use buttons to select Channel Edit and then press OK to enter Delete Use RED butt...

Страница 22: ...ation from the menu then press the OK button to enter Press the buttons to select the items and press the OK button to confirm Press the EXIT button to close the menu The common interface allows the u...

Страница 23: ...Recorded List from the menu and press the OK button to enter You can now see a full list of all of the programmes recorded on your USB drive You can interact with the list using the coloured buttons...

Страница 24: ...play the main menu and select LOCK Press OK button to enter Use the 0 9 buttons to input 4 digit password to enter the LOCK menu NOTE the default password is 0000 Press buttons to select the following...

Страница 25: ...k Off Time Automatically turn the TV off at a specified time and on specified days Use the buttons to choose between Off Once Everyday Mon Fri Mon Sat Sat Sun Sun and set the hour and minutes On Time...

Страница 26: ...turn off the auto standby function Time zone This feature can only be used if Auto Sync is set to On Use to select the desired time zone the TV is being used in Network Press MENU button to display th...

Страница 27: ...to set hearing impaired function On Off Blue Screen Allows the blue background to turn On Off during weak or no signal conditions PVR File System Allows you to select your preferences in the PVR File...

Страница 28: ...rough HDMI directly from one remote control Note CEC also allows for individual CEC enabled devices to command and control each other without your intervention MultiMedia Always switch the TV off befo...

Страница 29: ...K button to enter 2 Then use buttons to navigate in the movie folder and then select the video file to enter Note when navigating in video file a thumbnail screen will appear 3 Press OK button or to v...

Страница 30: ...to enter Note when navigating in audio file a thumbnail screen will appear 3 Press OK or to enjoy the music in full screen 4 Press the OK button or the DISPLAY button to display the function bar Press...

Страница 31: ...ating in picture file a thumbnail screen will appear 3 Press OK or to view the picture in full screen 4 Press the OK button or the DISPLAY button to display the function bar Press the buttons to selec...

Страница 32: ...music or photo file you want to view and press the OK button to enter You will now be taken automatically to the photo or music browser 3 See the instructions for using the music and photo browsers on...

Страница 33: ...he next 7 days by pressing the button to enter the programmes listings Use the buttons to scroll through the programmes a brief description will be shown in the window near the top of the window At th...

Страница 34: ...ect the programme you want to view in Home page How to use Fast Text At the bottom of the Teletext page there is a row of subject headings coloured in Red Green Yellow and Blue To access these pages s...

Страница 35: ...will be displayed on screen showing that Time Shift is working When you wish to resume watching the programme press the button on the remote control to show the PVR Time Shift progress bar Use the but...

Страница 36: ...Backward Select to move the recording backwards in 10 sections of the recording Forward Select to move the recording forwards in 10 sections of the recording Shows the amount of playback time the rec...

Страница 37: ...ain press the button on the remote control When the programme has finished and you want to stop the recording simply press the button Note The recording will stop automatically once the USB drive is f...

Страница 38: ...amme Guide menu Use the buttons to select the programme you want to record then press the RED button to open the Record menu Use the buttons to change the settings in the menu if you need to Channel U...

Страница 39: ...e the colour buttons on the the remote control to change organise and delete items in the schedule list Press the EXIT button to close the menus Note When the preset time is reached the TV will start...

Страница 40: ...standard DVB T MPEG 2 Demodulation COFDM with 2K 8K FFT mode FEC all DVB modes Video MP ML PAL 4 3 16 9 Audio MPEG Layer I II 32 44 148kHz We apologise for any inconvenience caused by any minor incon...

Страница 41: ...ep timer is set Check whether the Auto Standby is activated The video function does not work No picture No Sound Check whether the TV is switched on Try another channel The problem may be caused by th...

Страница 42: ...s unstable or show a single colour Check the signal cable Reinstall the PC video card Maintenance Early malfunction can be prevented Careful and regular cleaning can extend the amount of time you will...

Страница 43: ...osal This symbol on the product or on its packaging means that your electrical and electronic device should be disposed of at the end of its service life separately from your household wastes There ar...

Страница 44: ...service Exclusions and Limitations This Warranty covers manufacturing defects in materials and workmanship encountered in the normal non commercial use of the Product and does not cover a damage or fa...

Отзывы: