Hardware Installation Guide
13
Option 2: Fixed Installation
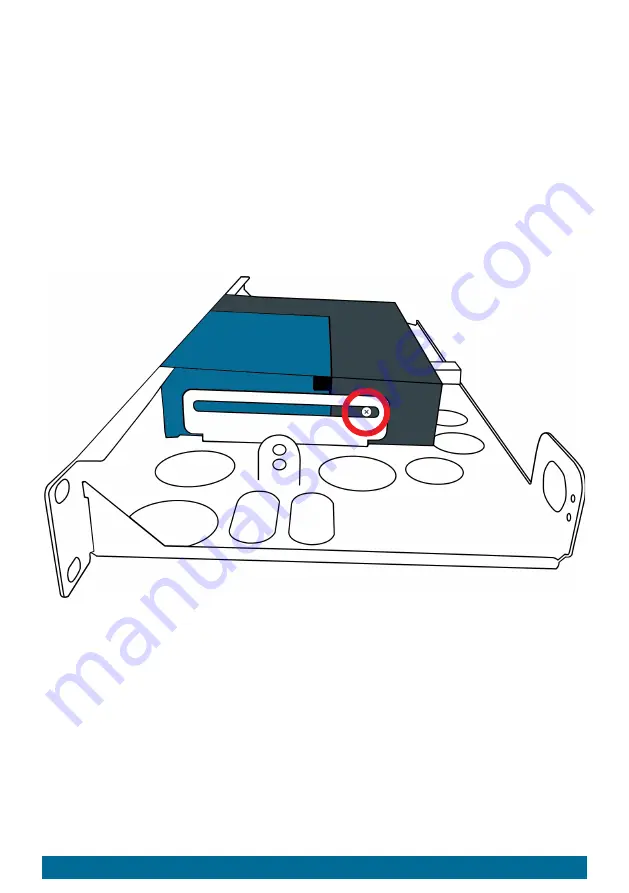
The RMK4 has two guiding holes in-
between which the device is retained
with 2 screws in a first step. Then a
third screw on the underside of the
device locks it into place.
1. Screw 1 of the supplied round
head screws into the tapped hole
on the right side of the device.
2. Repeat step 1 on the left side of
the device.
3. Turn over the installation frame
including device so that the
underside of the installation
frame faces upwards.
4. On the right-hand front side, a
counterbore in the frame and a
tapped hole in the device align
congruently.
Insert the countersunk screw and
fix it in order to lock the device
Variante 2: Fester Einbau
Das RMK4 verfügt über zwei
Führungslöcher zwischen denen das
Gerät mit Hilfe von 2 Schrauben
zunächst beweglich fixiert wird. Mit
einer 3. Schraube auf der Unterseite
wird das Gerät anschließend
arretiert.
1. Schrauben Sie eine der
mitgelieferten
Flachkopfschrauben in die
Gewindebohrung auf der rechten
Seite des Gerätes.
2. Wiederholen Sie Schritt 1 auf der
linken Seite des Gerätes.
3. Wenden Sie den Einbaurahmen
inklusive Gerät, sodass die
Unterseite des Einbaurahmens
oben ist.
4. Rechts vorne überlappen sich
eine Senkbohrung im
Einbaurahmen und eine
Gewindebohrung im Gerät.
Schrauben Sie die
Senkkopfschraube dort hinein,


